A nearly new 1917 center door stuck in the mud near Seattle, Washington. These cars were originally equipped with either the Kingston L2 or the Holley Model G carburetor.
Ford always had primary and secondary vendors for parts purchased from outside vendors for the Model T. Such was the case for carburetors. Some time in late 1916 model year a new, improved Kingston carburetor was fitted to about half of Model T production. The Model L2 used an improved float bowl design and the needle / seat arrangement was simpler to manufacture and more reliable than the type used in older Kingston carburetors. The L2 proved to be a good design, and was used on millions of Model T’s from late 1916 through mid 1922 model year, when it was replaced by an improved model Kingston.
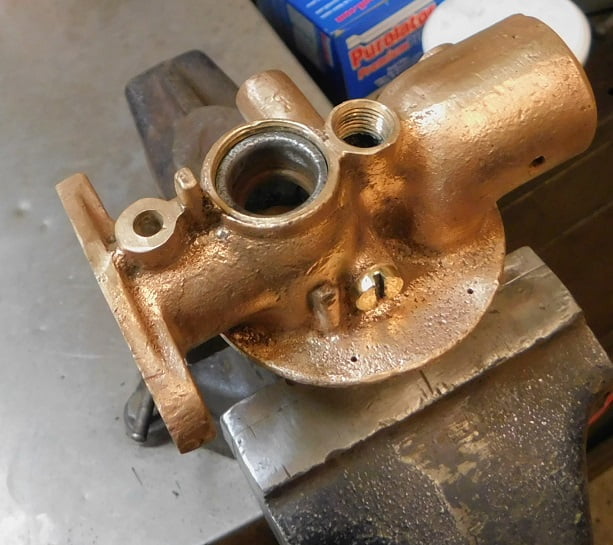
Let’s see what it takes to fix a typical old Kingston L2 that has been sitting in the weather for decades.
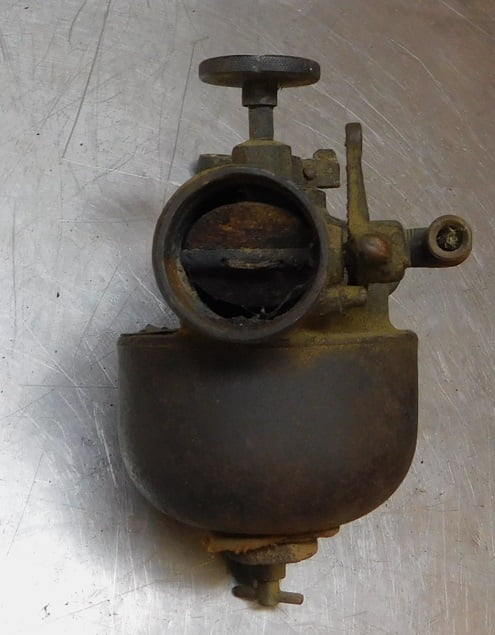
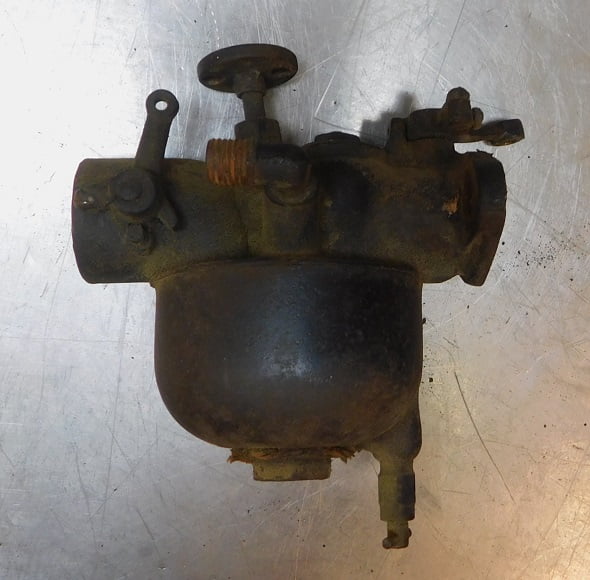
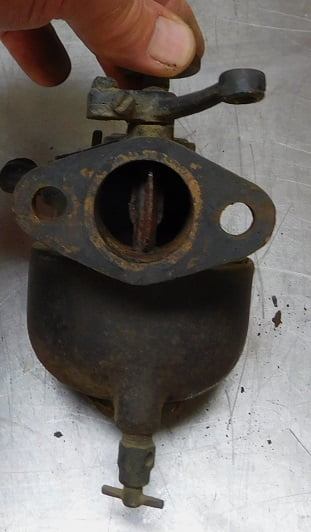
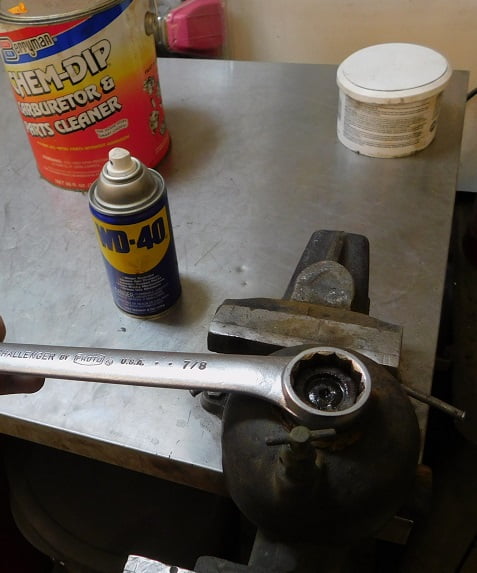
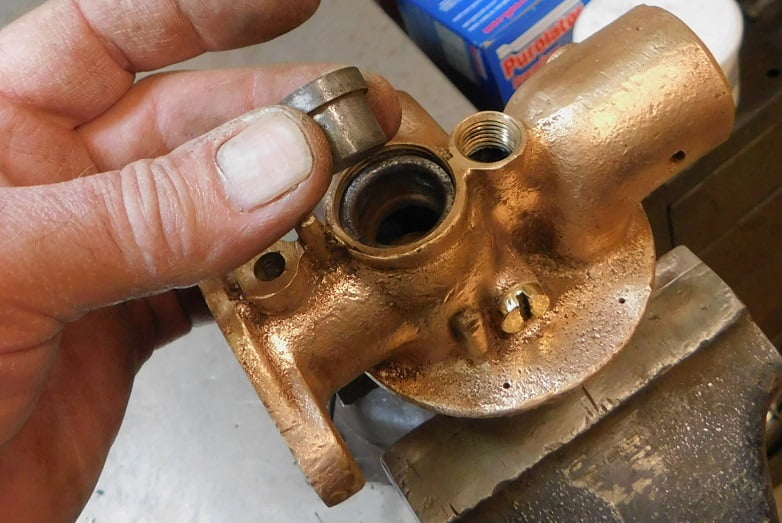
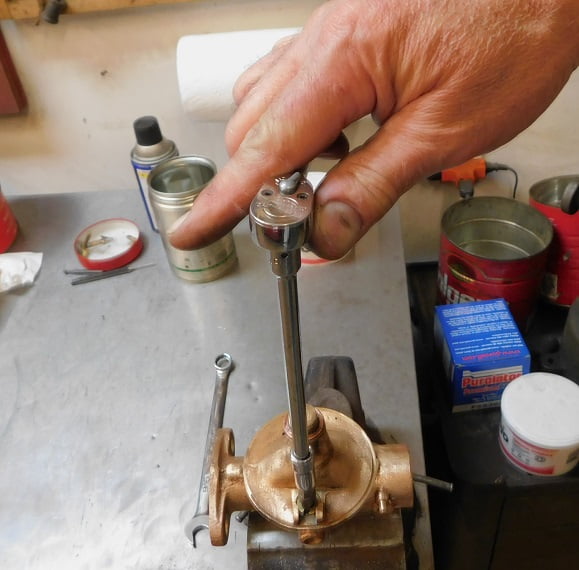
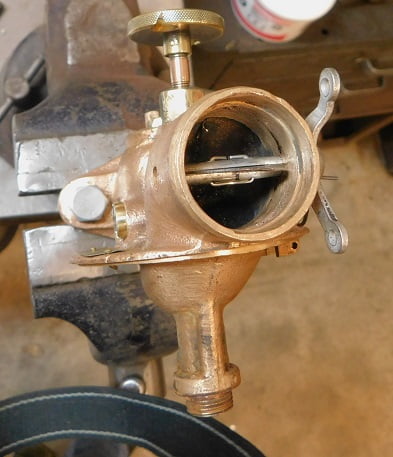
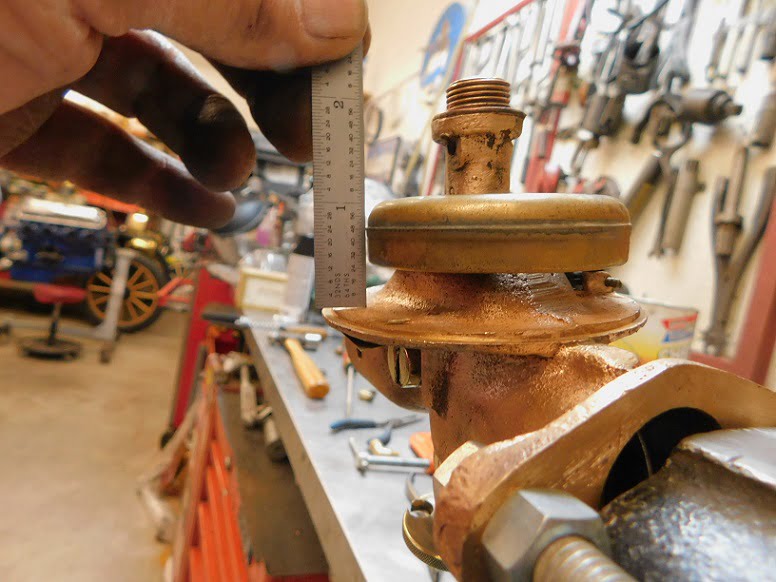
Our subject carburetor looks to be complete, although the cruddy cardboard gasket on the bottom looks crude.Looking in the back end we can see some debris. The choke moves, but the return spring is broken.The single choke arm means this carburetor is an early L2 from late 1916 – 1918 model year.The throttle moves and the flapper behind it is free. Inverting the carburetor you can see the flapper open, it closes with gravity when the carburetor is right side up as shown.The mixture knob holes are somewhat elongated, indicating that this carburetor has seen extensive use over the past 100 years.The bowl nut was very tight and did not want to come loose. We ended up heating it with a MAP gas torch, letting it cool, and then applying some spray lubricant. It came right off.With the nut and the crappy looking cardboard gasket peeled away the bowl looks really bad. Too rusty to repair.The bowl was resisting being removed so the big Channel Lock pliers had to be used. We saved the bowl drain and tossed the rusty bowl in the trash.The cork float was rubbish. We dug out a serviceable brass float from a later Kingston L4 from our spare parts box. Many of the fasteners on this carburetor required application of heat / cooling before they finally came free.
With the carburetor disassembled we put everything into the Berrymans carburetor cleaner can for a couple days. Then the parts were rinsed in hot water. Some of the parts required wire brushing and a repeat bath in the carb cleaner and the hot water several times until all was clean.
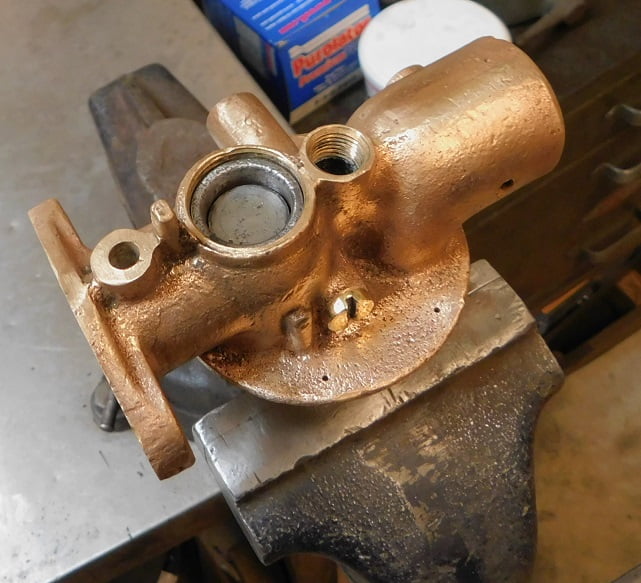
Another bowl had to be found to replace the scrapped one. It got cleaned and wire wheeled.
We substituted a later double choke arm from the spare parts box. That way we can have a choke inside the car.
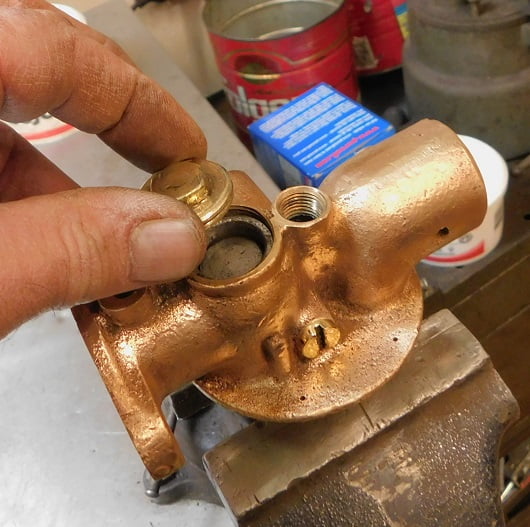
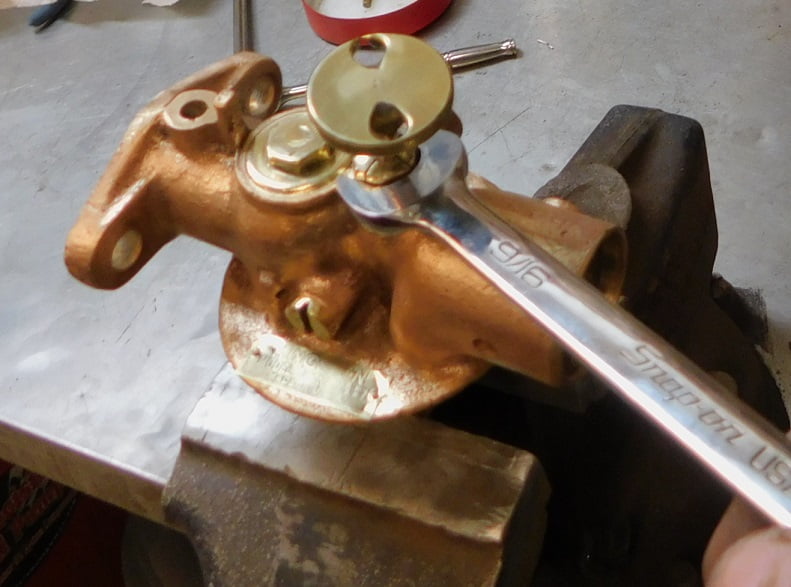
The flapper valve is the first part to be installed. If you look carefully you can see the valve has a piece of leather glued to the top and bottom. We did not remove or replace the leather, it was in good shape.The flapper is set in place over the hole using needle nose pliers.The flapper door pivot screw secures it in place. After tightening the screw, take the carburetor out of the vice and make sure the flapper door opens and closes freely.After tightening the screw, take the carburetor out of the vice and make sure the flapper door opens and closes freely.The next piece to go in is a sleeve for the weight above the flapper. It just drops in place.We polished the inside of the sleeve to make sure the weight would move freely.The weight was polished too. It just drops into the sleeve as shown.The cap retains all the parts of the weight. It is stamped sheet metal, so you need to be careful not to bend it or damage the threads.The nut is tightened. Don’t go crazy, someone will likely have to take this carburetor apart again some day for cleaning 50 years from now.The carburetor is turned over and the area where the needle / seat assembly fits is inspected carefully to make sure there are no remains of any old gaskets or corrosion. The new gasket is dropped in place.Our needle and seat were in nice condition so they were re – used.The seat has a special wide slot. You can buy a screwdriver tip that fits it, we used a 1/4″ drive ratchet to tighten the seat securely.
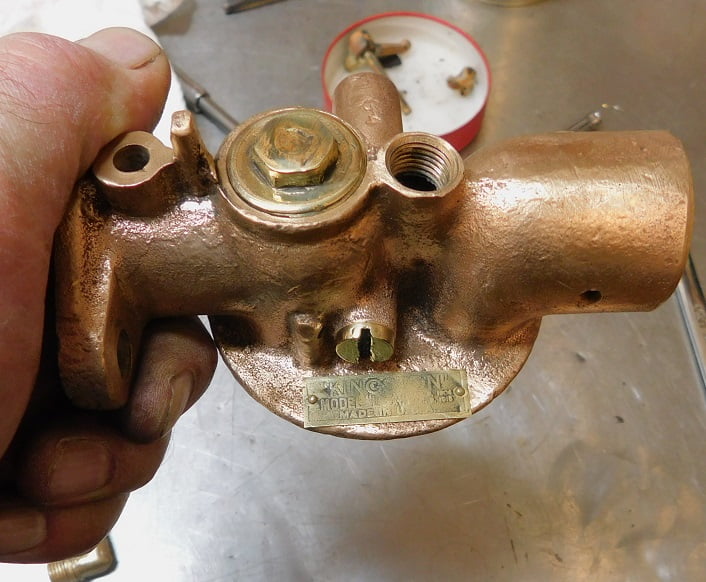
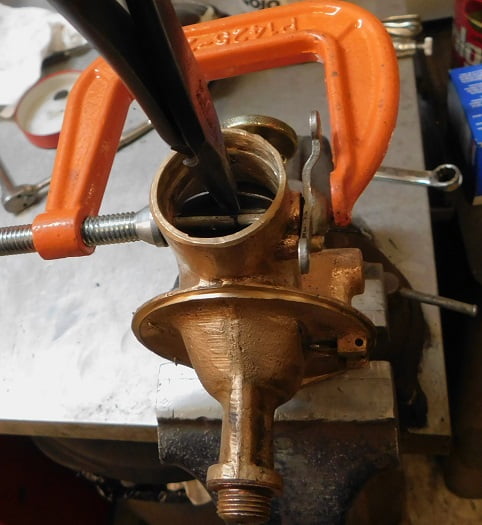
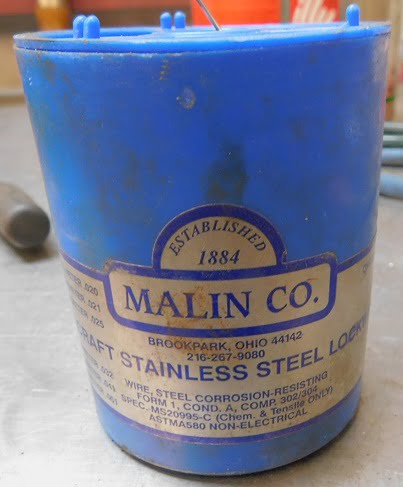
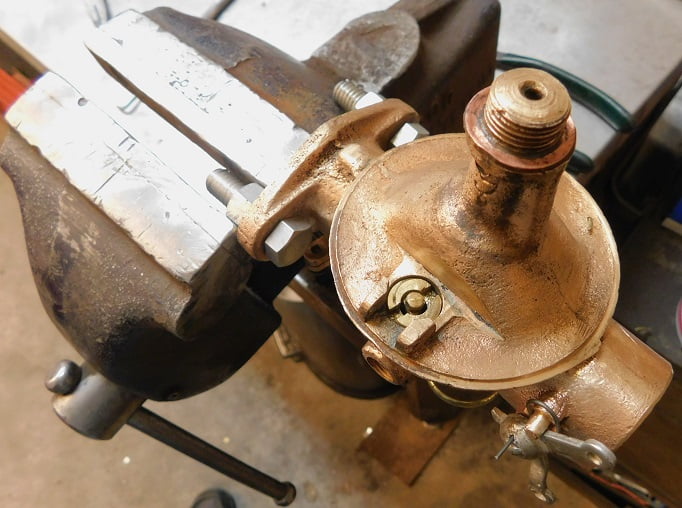
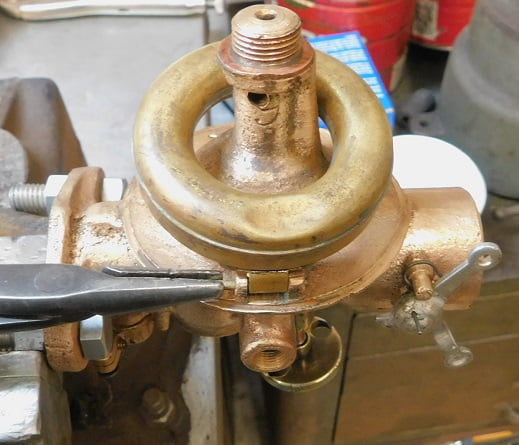
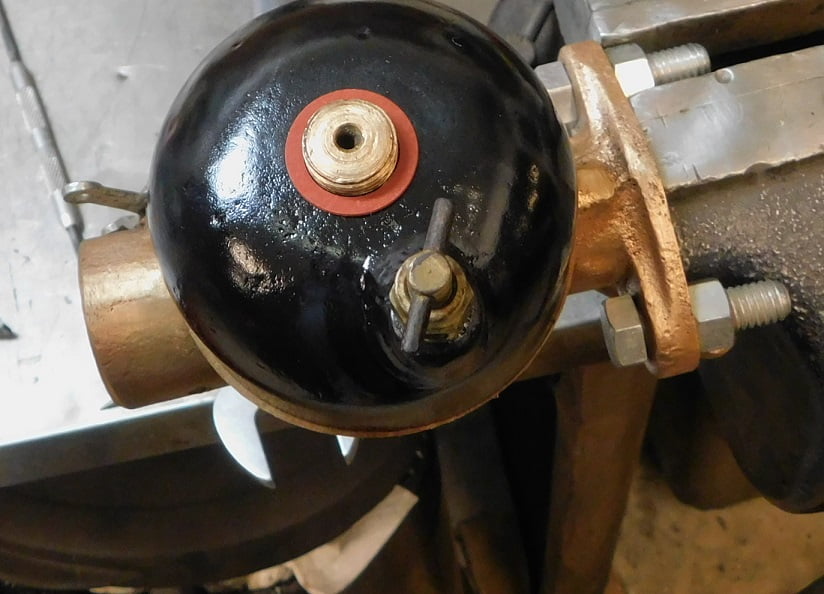
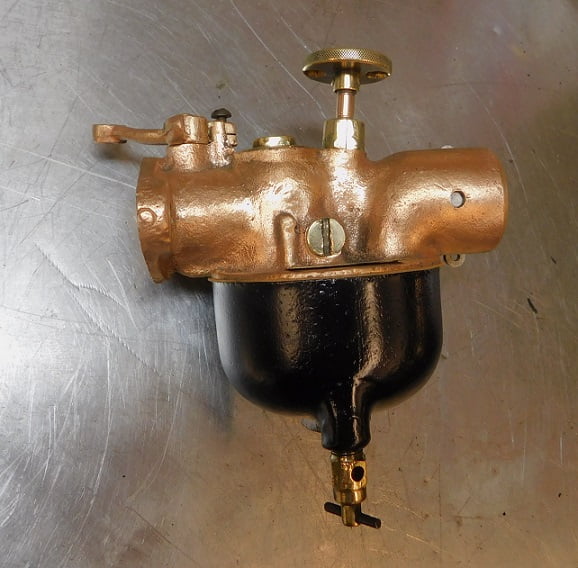
The part vendors sell a reproduction makers plate, but our original polished up nicely so we installed it.The main jet was in great shape, as was the friction nut. We put them back in the carburetor, with the needle backed off about three turns from being seated. For starting the car we closed the jet, then opened it 1 1/2 turns.We temporarily installed a couple of bolts and nuts where the carburetor bolts to the intake so that the carburetor could be secured in the vice standing on end. A C clamp was used to hold the choke shaft and spring in place. This left us enough hands to be able to insert the choke plate and also snap a photo of it going in.The clamp is removed, the choke closed, and a wire staple is inserted and folded over to secure the choke plate. We installed the throttle shaft and blade the same way.We make the staples from .041″ aircraft stainless safety wire. Or you can buy brass ones from the part vendors.The float needle is dropped into place.We cleaned the brass float in carburetor cleaner, it had a lot of corrosion on it that would have weighed it down. The float pin secures the float in place. We set the float level so that the valve closes with the float top parallel to the carburetor body.A new bowl gasket was set on the carburetor, then the bowl, and the lower bowl (red) gasket was installed.We tightened the bowl nut, with the bowl drain positioned close to the engine. Make sure the bowl drain is tight enough that fuel won’t leak when the car is operated, yet not so tight that you won’t be able to loosen it when needed.The inlet fitting is turned with your fingers until it requires a wrench to turn it enough to point rearward. Overtightening this fitting can ruin the carburetor. I have found over the years that pipe fittings normally seal just fine when assembled clean and dry. Using Teflon tape often causes trouble where none existed previously. The completed carburetor just needs to be installed. We predict it will be a good runner.