The Marvel Carburetor Company started as somewhat of an afterthought. Burt Pierce of Batesville, Indiana was a friend and mentor to another pioneer in early automotive carburetors, George Schebler. Batesville is a sleepy little town about halfway between Cincinnati, Ohio and Indianapolis, Indiana. Schebler was working on a carburetor design that incorporated a spring loaded air valve that opened automatically as engine demand increased. Meanwhile Burt Pierce was working on a carburetor design of his own that used a hanging air control valve. As things developed over time, both men received patents on their carburetor designs and both became successful. Schebler found a partner, Frank Wheeler, and formed the Wheeler Schebler carburetor company in Indianapolis, Indiana. These carburetors became common on Stutz, Overland, and countless other brass era cars and motorcycles. Meanwhile Marvel carburetors became common on cars produced by General Motors.
By 1912 the Marvel company bought out Wheeler and Schebler. The Marvel Schebler company moved to Flint Michigan in 1912 to be closer to production of the General Motors cars and trucks that used the majority of its products. Wheeler Schebler continued as a brand, while Marvel and Schebler also continued to be a separate carburetor brands of the combined companies. By the mid teens there were both Schebler and Marvel accessory carburetors for the Model T Ford being built, and in the 1920’s a Wheeler Schebler carburetor as well. In this article we will rebuilt a crusty old Marvel carburetor of this era and bring it back to life.
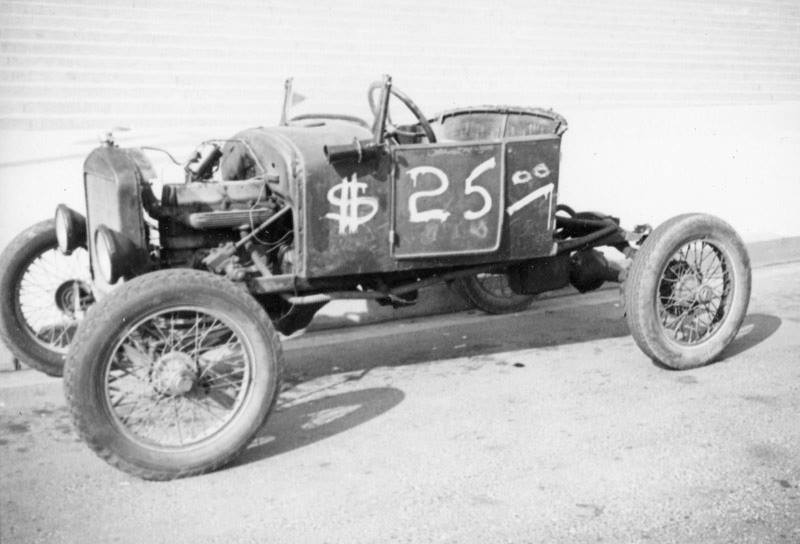
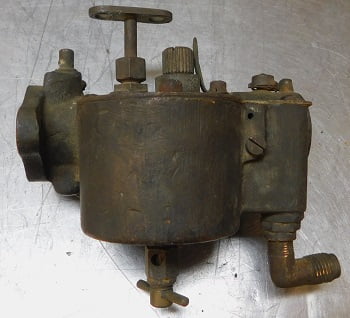
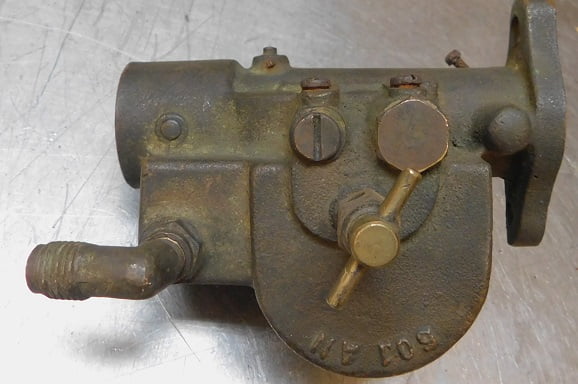
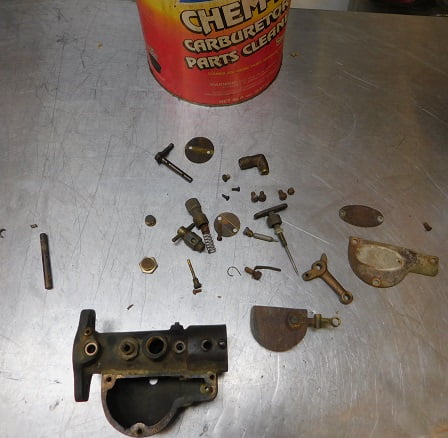
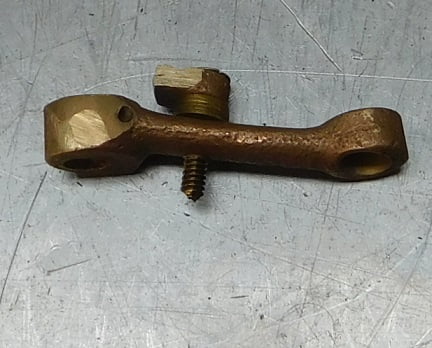
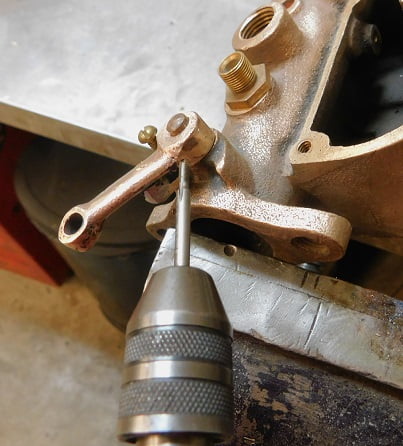
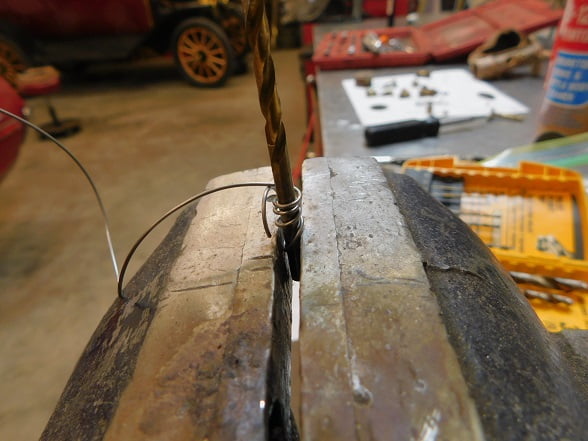
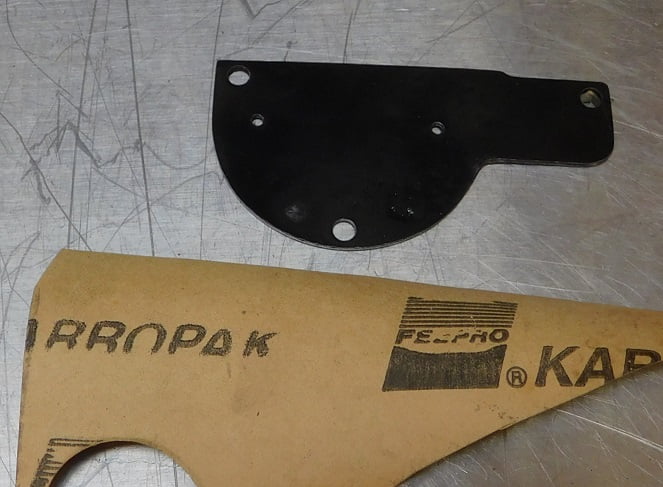
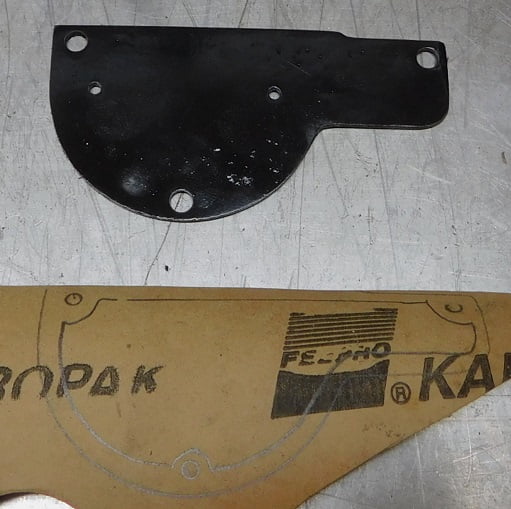
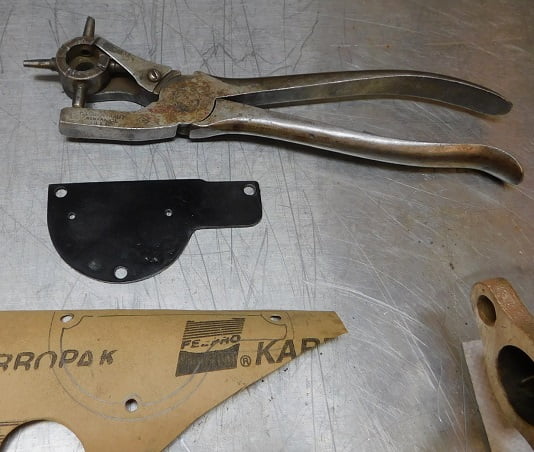
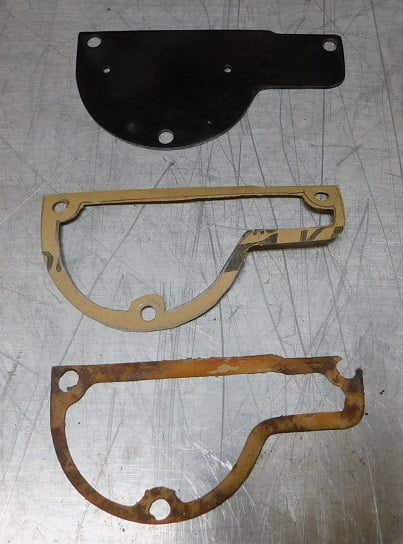
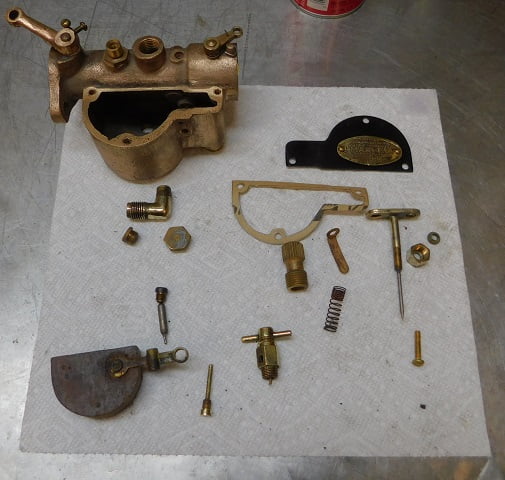
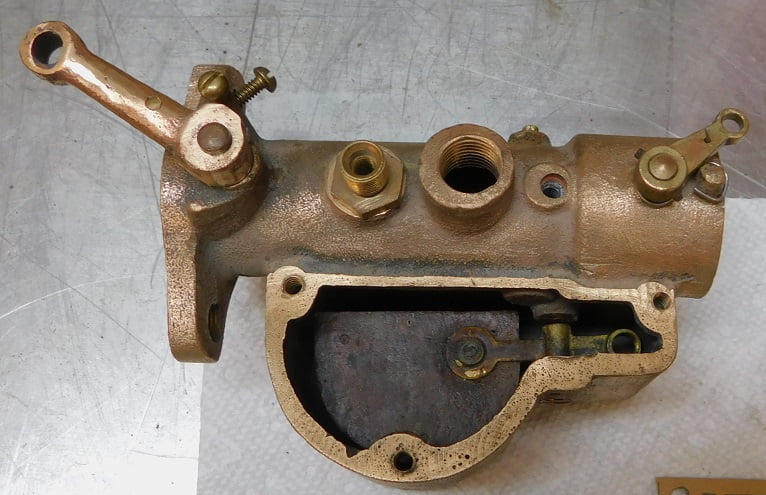
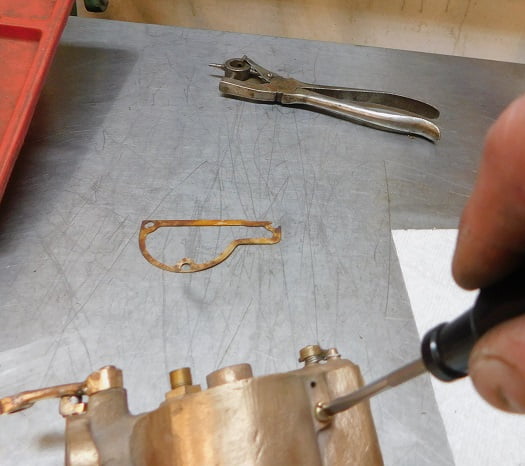
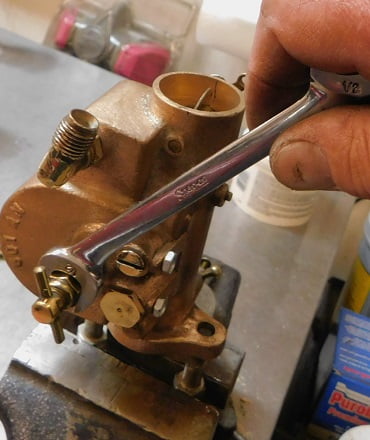
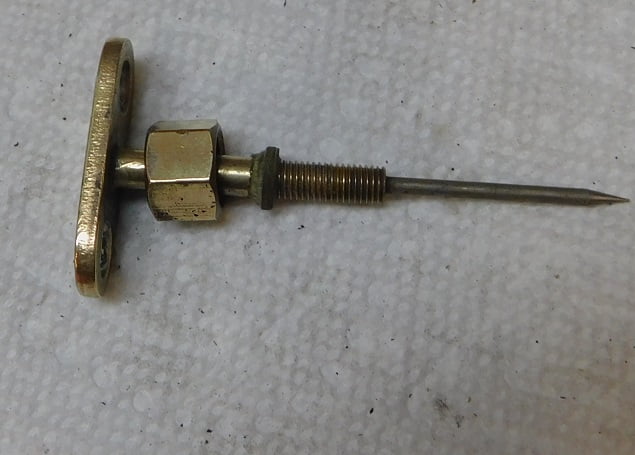
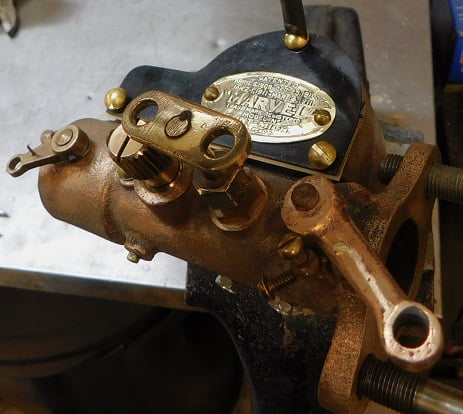
We think this speedster is worth the asking price. A Marvel carburetor would be a nice addition.We started with this decrepit looking Marvel carburetor. The throttle arm is missing, the choke spring is broken, and it is filthy.On the other hand it is otherwise complete and the fuel inlet shuts off when the carburetor is inverted, signaling that the float may be intact.We took everything apart so that the bronze / brass parts could be cleaned in the Berryman’s can. Just above the float you can see the throttle arm we got from Lang’s, which is actually intended for a Holley G carburetor.We made the throttle stop from the cut off portion of the Holley G arm, some washers and a #6-32 screw. A hole was drilled and tapped into the arm, the screw cut off, and the whole thing soldered together. The mixture adjustment has a felt seal that we removed before placing the needle in the parts cleaner. We re – used the felt piece, it would be difficult to find a new one. Thank goodness ours is present and in good shape!After the carburetor was clean we reassembled the throttle shaft with the new arm positioned where it would work properly. Then we drilled it #42 AWG, and tapped the hole for a #4-40 screw. A screw was installed to secure the arm to the shaft with Loc Tite, then the head of the screw was ground off.We found a spring with the proper size wire at the local Ace Hardware store for $0.50. We straightened the spring, then used a 9/32″ drill bit and the vice to wind a new choke return spring. After some false starts and a little experimentation we had a functioning stainless steel choke spring.The float bowl cover was originally nickel plated. We drilled out the rivets securing the name plate, then sanded it down to remove all the rust. It was painted black. A new gasket had to be made using Fel Pro 1/64″ gasket paper.We drew the gasket that we needed.
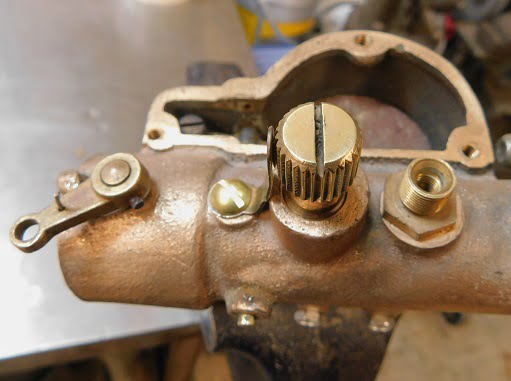
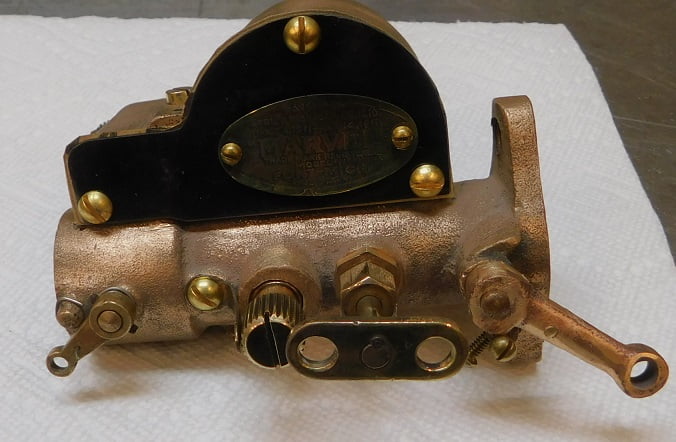
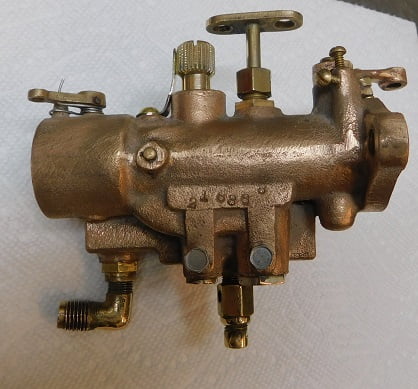
We punched the holes, then cut out the gasket.Our trip to the hardware store also yielded a new set of screws. Originally the screws were nickel plated steel, but after 100 years they were too rusty to use. Brass screws cost just a few dollars and will look great.With all the parts repaired, replaced, or cleaned we are ready for final assembly.The float is dropped in place first.The float pivot is installed and tightened, then the float is checked for freedom of movement.The inlet needle is dropped in place, carefully making sure that it is inserted with its guide pin through the seat assembly below. There is no float adjustment other than bending the float arm if needed. The float was set to where the top surface of the float was parallel with the float chamber top mating surface.If you look closely at the fuel inlet (arrow) you can see the guide pin extending into the seat. Make sure this is the case before tightening the inlet needle into the float arm. If this is not assembled properly you could bend or break irreplaceable parts.We install the rest of the plugs and fittings on the bottom of the carburetor. None of these parts uses a gasket, they are simply a good machined fit; or pipe thread in the case of the bowl drain and inlet fitting. We do not use any sealant or thread tape on anything unless it leaks later on when testing the carburetor. In most cases nothing is needed.The original felt seal was installed on the cleaned and polished mixture screw.Marvel carburetors have a large thumbscrew adjustment on the spring that pushes against an air valve. This air valve, when open, also uncovers a second fuel passage below. We set the valve with minimum tension. If necessary we will adjust it when we go on a test drive. The float bowl cover was tapped #4-40 to secure the name plate instead of the original rivets. The new gasket was installed and the cover secured with our new brass screws. These little carburetors run well, and now our carburetor looks good too.The Marvel Model T Ford carburetor was never equipped with a choke that could be operated from inside the car. We think it would have been obsolete when the company began selling the Wheeler Schebler carburetor in the early 1920’s.