Testing and adjusting the Zenith 04 Carburetor on your Model T Ford
Last time we went through the cleaning / rebuilding process for the Zenith updraft 1″ bore 04 carburetor. Let’s see how this thing runs!
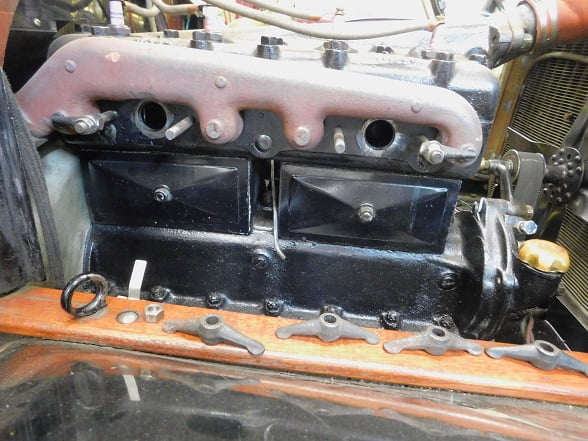
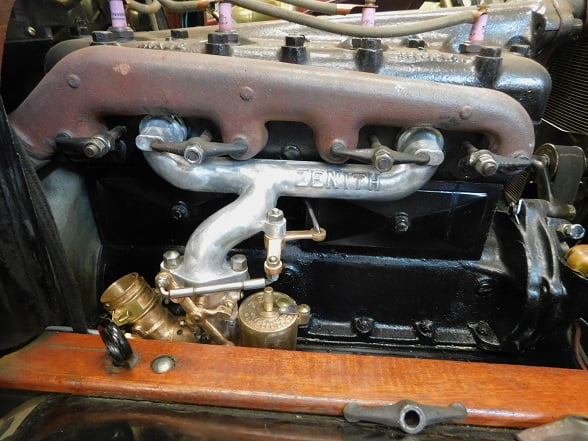
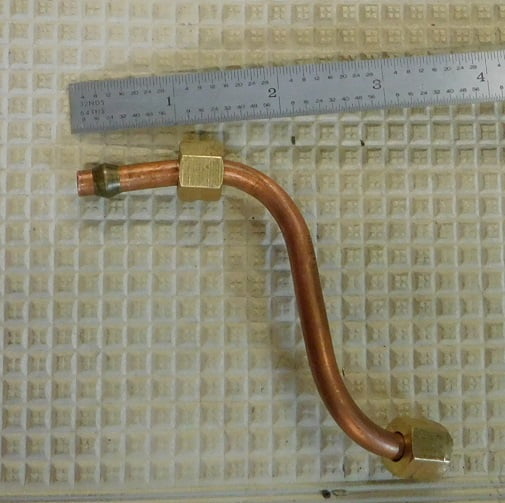
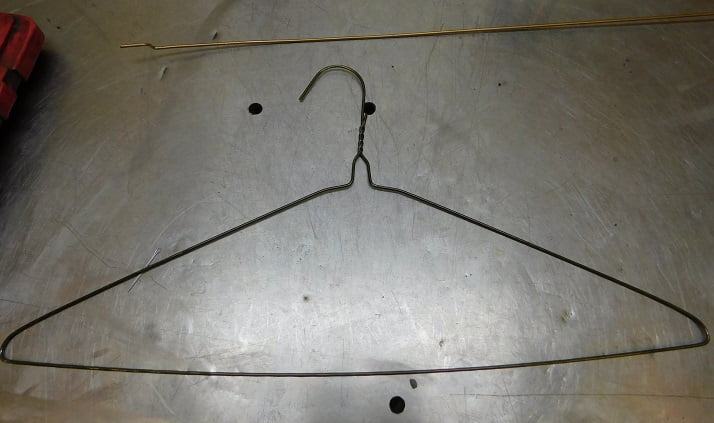
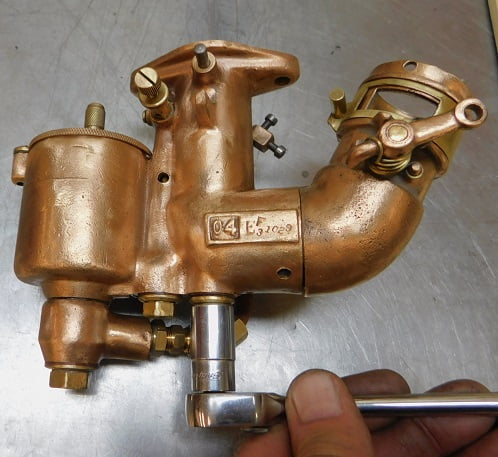
With our manifold and carburetor rebuilt and ready to install we cleaned the steel rings from the previous intake. The copper gland rings are new. We removed the previous intake and carburetor, using half clamps to hold the exhaust manifold so we would not need to replace the four exhaust manifold glands. We cleaned the intake ports using a razor blade, scraping away traces of silicone sealant.We put a tiny bead of “The Right Stuff” around each steel ring, then laid the glands on top, and put another tiny bead on top of each copper gland ring before installing the intake and carburetor.The stock throttle rod was not quite long enough so we fabricated a new one using 4130 3/16″ steel rod. 3/32″ (#40 AWG) holes were drilled in each end for cotter pins.We bent up a piece of 1/4″ OD copper tubing to make an adapter line. If this were going to be a permanent installation steel tubing would be used.We ended up removing the carburetor in order to be able to install and tighten the fuel line properly. Access is terrible with the carburetor installed.We made a new choke pull wire from an old coat hangar.With the carburetor installed we turned on the gas and checked for leaks. It had none so we are ready to go!
We pulled the choke wire and; with the key off, pulled the crank up 1/4 turn four times. With the throttle open a few notches and the spark lever all the way up we turned on the key. The crank was pulled up and the engine started on that first pull. All was not well. The engine was running quite lean. There were infrequent backfires through the carburetor, response was poor, and it would not idle. The mixture screw was adjusted for full rich and some improvement noted. But it was still very lean.
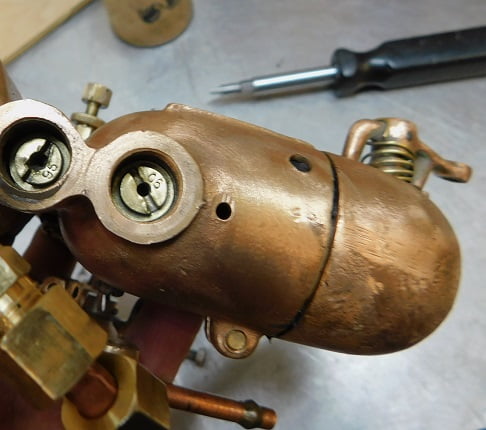
We pulled the carburetor and drained the gas from it. The jet covers were removed so we could try another set of jets.We installed the two jets from our second “parts” carburetor. The main jet is on the right, compensating jet on the left.
With the carburetor back on the car again we repeated our starting sequence. The engine again fired up on the first pull of the crank. It was noticeably improved. Gone was the backfiring through the intake. Engine acceleration now has no bog, it runs very well overall. Idle quality is the only thing that we think can be improved. We have (so far) only tried the two largest main and compensating jets. We think the combination of the smaller compensating jet with the larger main jet may prove to be the best combination. We don’t have time right now to try it, so it will be a future episode. More to come!
The Canadian magazine “Everywoman’s World” published this interesting advertisement in 1919.