

Any one of the guys above could change a set of bands faster than this author. This article tells the Model T owner / mechanic how to reline the bands.
![]()
The planetary transmissions used in our Model T Fords is a very simple design. This type of gear reduction goes back to the earliest days of machinery, predating the automobile by many decades. In the Model T transmission there is one set of three planet gears and one sun gear. Through the use of two bands and two drums the transmission can be reversed or used as a forward gear reduction device. A third drum is connected to the output shaft, and is used as the foot operated brake. A clutch is contained within the brake drum, allowing the engine to be uncoupled from direct drive when neutral, low, or reverse operation is needed.
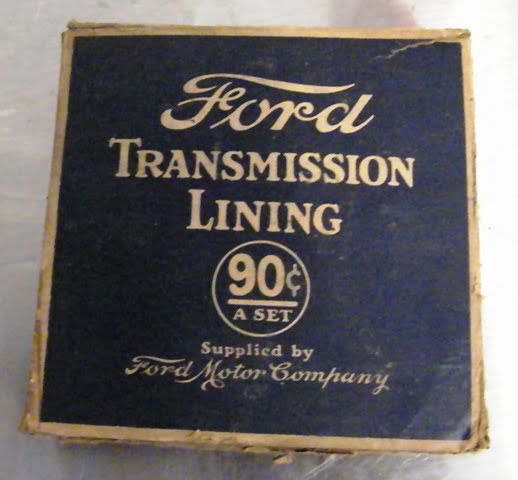
The part that we concern ourselves with today is the bands, or more specifically, the band linings. Ford originally used a cotton / linen / asbestos woven material for the band linings. The original style material is not currently being manufactured, however there were millions of new sets made and they are not impossible to find today. The original style material was sold by Ford, Montgomery Wards, Pep Boys, JC Whitney and a hundred other brands. There are also new band linings available in three materials; Kevlar, Wood, and industrial belting “Scandinavia” brand.
My experience is that the original type band linings are wonderful yet getting harder to find. The Kevlar bands work almost too well; the main issue is that instead of the band wearing it actually causes wear on the cast iron drum. For this reason I tend to use the Kevlar material only on the brake drum, and original style band material on the clutch and reverse drums. I have driven a Model T that had Guinn brand wood linings, it had a chatter that was annoying when trying to use reverse or low. Other than that one experience I have not tried them and so cannot recommend their use.
There are also “new” Scandinavia bands available. I have not used them, and have not seen them, I have heard bad stories about them and do not wish to become the subject of one of those bad stories. They are nicknamed “tar baby” bands because they apparently have some sort of tar like coating.
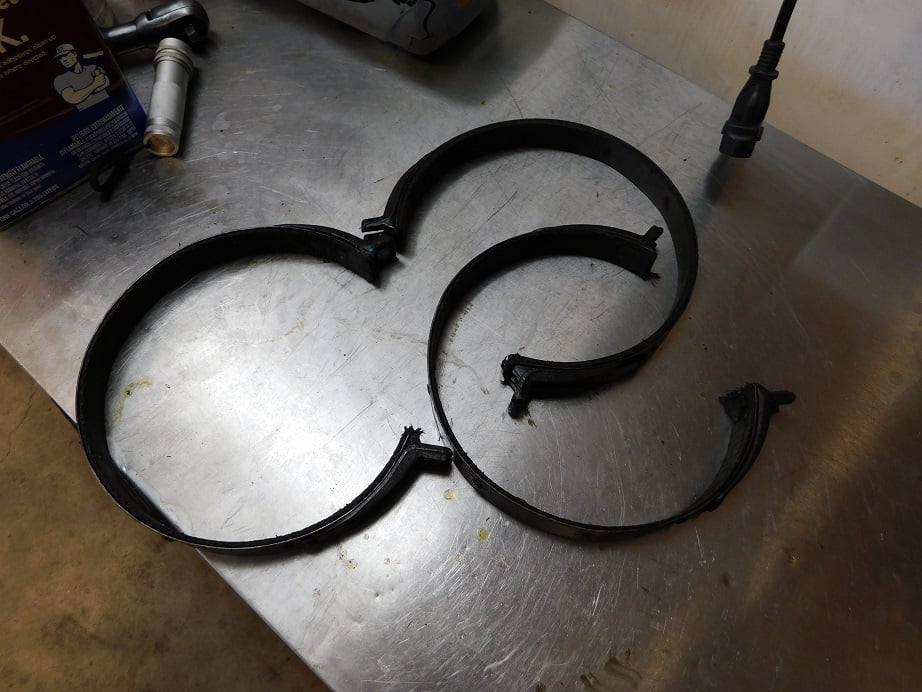
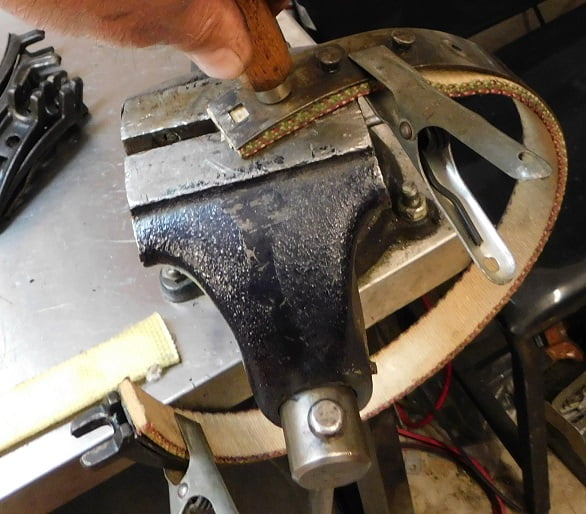
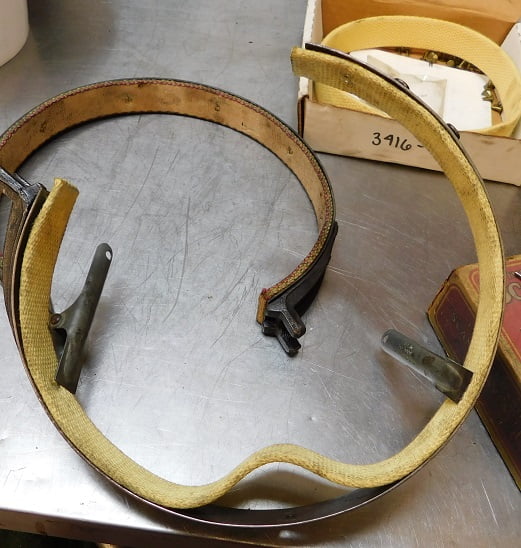
We pulled this set of bands out of a 1924 engine. The linings are not yet worn through, but the brake band was close to tearing from one of the rivets near the end. These are detachable ear bands, which means the band can be disassembled to allow changing band linings without removing the hogshead.

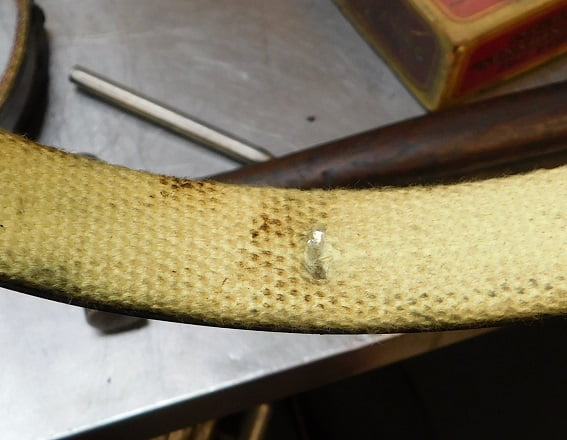
Above, a closer view of the brake band shows the lining glazed and starting to tear away near one of the ends. A few more miles and it would have started causing damage to the drum from metal – on – metal contact. You don’t have to pull the bands out of the transmission to see the wear. You can remove the transmission inspection door and see the ends of the bands. If the material is thin and beginning to unravel you know it’s time for new band lining.
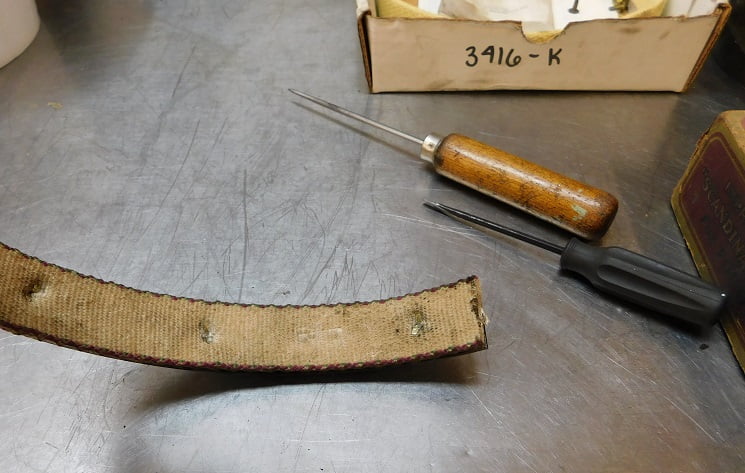
Removing the old band lining is easy. First of all these things are coated in the nastiest black goo you will ever touch; I recommend rubber gloves at this stage. Grab the lining in between rivets with a set of pliers and it will easily rip loose from all the rivets. Then the rivets are loose in their holes and can be quickly removed with either diagonal cutting pliers or end nippers. Then wash the metal bands in cleaning solvent so you don’t have to wear the rubber gloves any more.
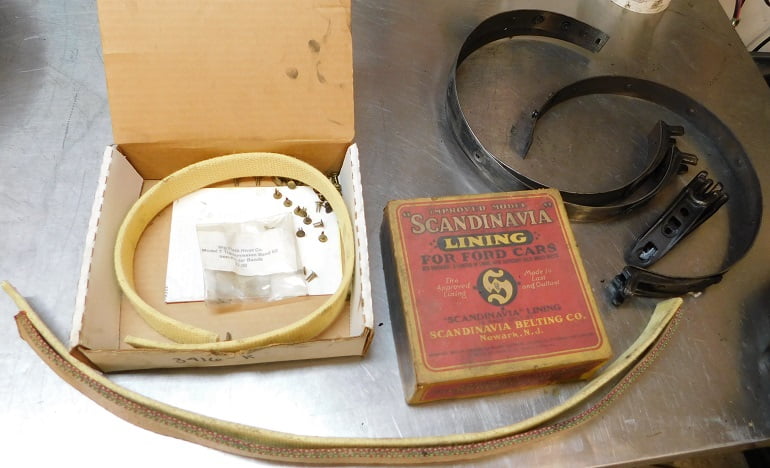
Above, a box of Kevlar linings lasts three cars for us. We use two original Scandinavia bands. Rivets are brass, beware that sometimes you will find brass plated steel or plain steel rivets. Test them with a magnet if you are not certain.
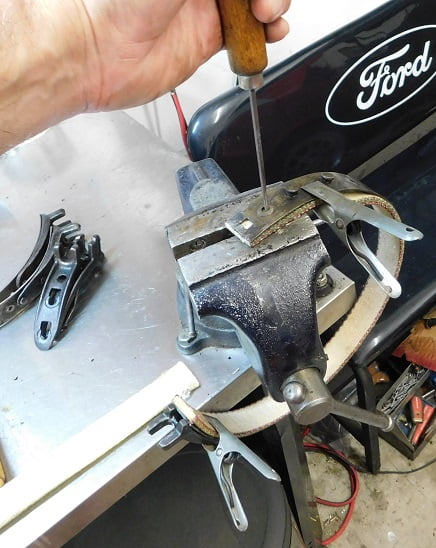
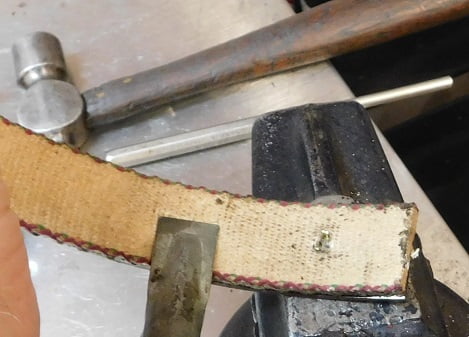
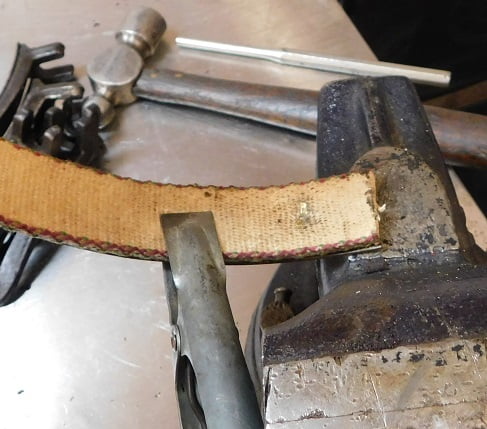
Above, I am starting with one of the Scandinavia band linings clamped to the metal band. Using a 3/16″ ice pick I use the nearly closed jaws of the vice to support the band lining as I punch the hole with the pick. Not shown – I wallow out the hole by moving the pick in all directions to enlarge the hole as much as possible.
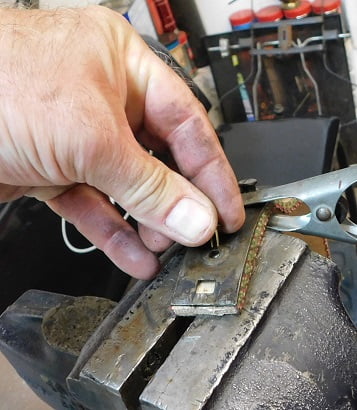
Above, the rivet is inserted so that the slot between the two tangs is in line with the circumference of the band.

A small slot head screwdriver is inserted between the tangs of the rivet and the you can turn it back and forth while resting the rivet against a steel bar beneath the band.
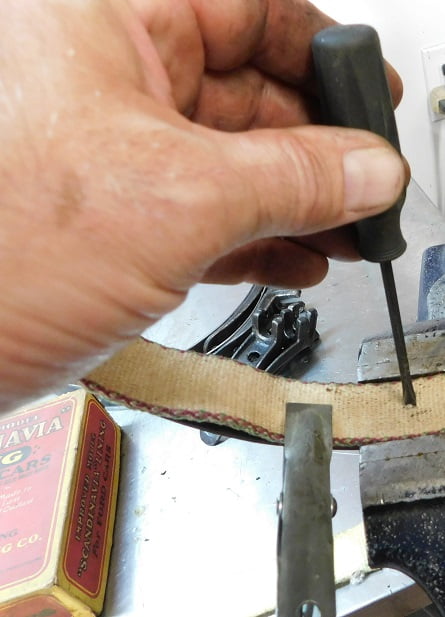
The screwdriver is then rocked away from you to bend one tang…..
….and towards you to bend the other tang.
Above, the rivet after being bent using the screwdriver. The next step is to mash it flat using a small hammer and a 5/16″ punch. This firmly embeds the bent over tangs below the surface of the band lining so that the rivets do not contact the drums.
Above, the rivet tangs have been hit with the hammer and punch.
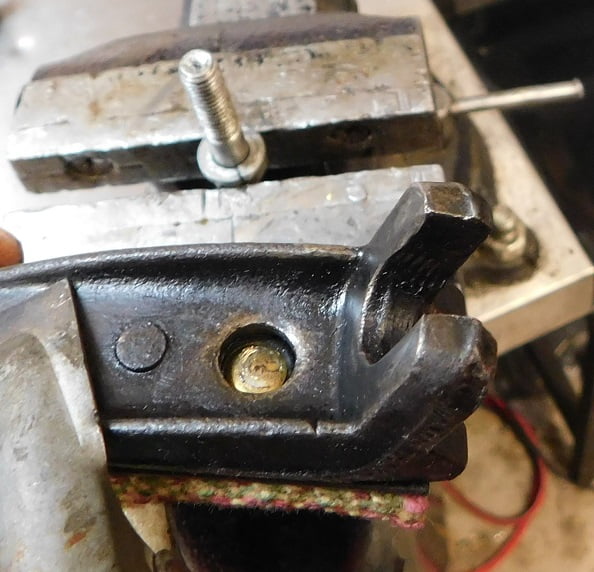
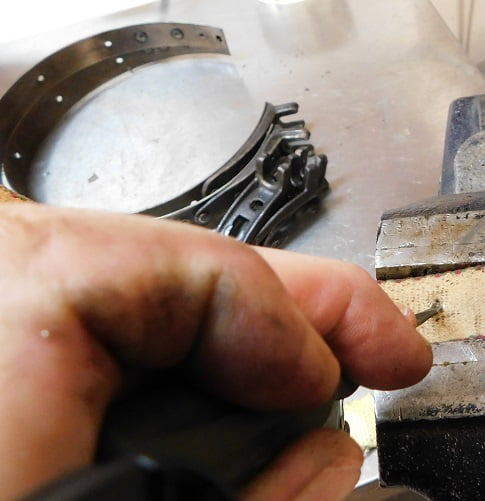
Above, the end rivets are recessed in the permanently mounted band ear. We have a bolt clamped in the vise to hold against that rivet head when installing the rivet.
The rest of the rivets are installed in the Scandinavia band linings.
Next we turn our attention to the Kevlar band lining. It measures about 1/2″ longer than a Scandinavia band. We allow a little bit of overhang at each end and allow the center to bow up until the end rivets are installed.
The Kevlar band rivets are installed in exactly the same manner as the rivets for the Scandinavia linings. The main difference – it’s harder to shove the ice pick through the tough synthetic material.
![]()
The finished set of bands ready for installation.
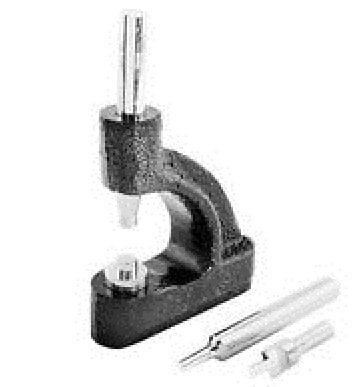
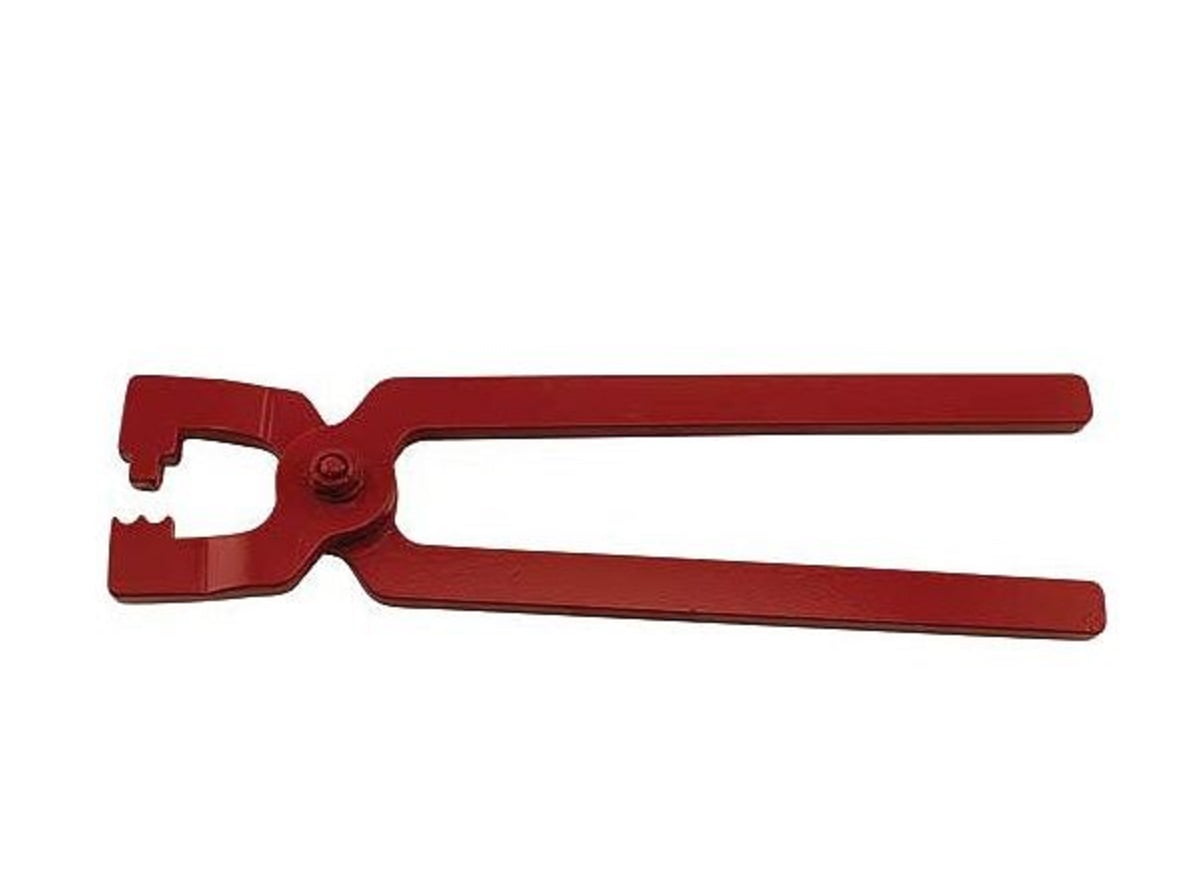
The Model T Part sellers offer the tools above for this job. I have both of them. You will notice how I installed the band rivets. I also have several tools available back when the Model T was new. Again, I use what works best for me. Results count.