

One of the most common aftermarket timers for the Model T Ford was – and is – the New Day. Made from a very hard Bakelite type material with copper contacts and a bronze wiper style brush, the New Day was popular because it needed virtually no maintenance. The original old New Day timers are one of the best aftermarket timers that you can find. Often they are found for sale at swap meets for less than $10. My advice is to buy any good ones that you see. On eBay they tend to command $40 – $50 in good shape with a usable brush.
In more recent times there have been attempts to manufacture the New Day timer for sale by the Model T parts trade. Results have been mixed as we shall see. In any case, occasionally there are defects related to wear and age that can be corrected to salvage a defective New Day timer and make it into a usable one. This installment of Model T Ford Fix will show you just how to do that.
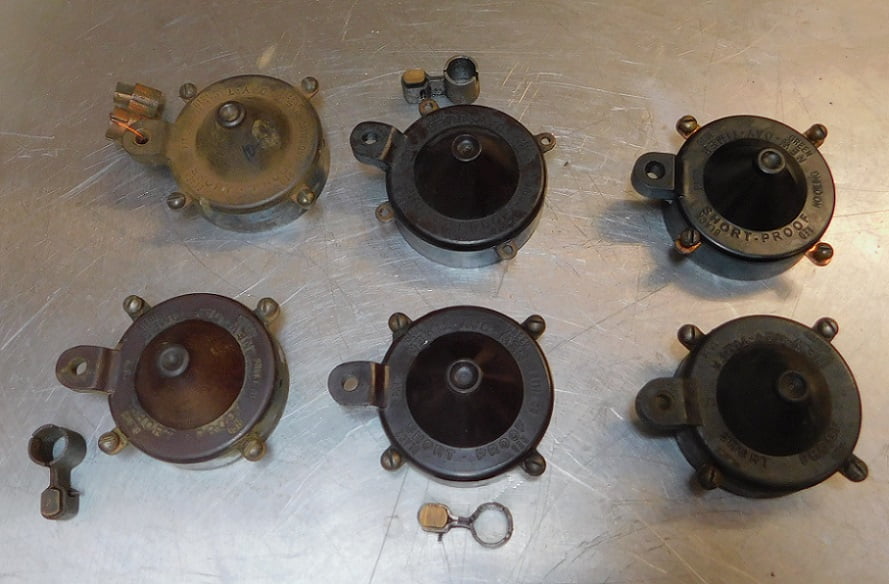
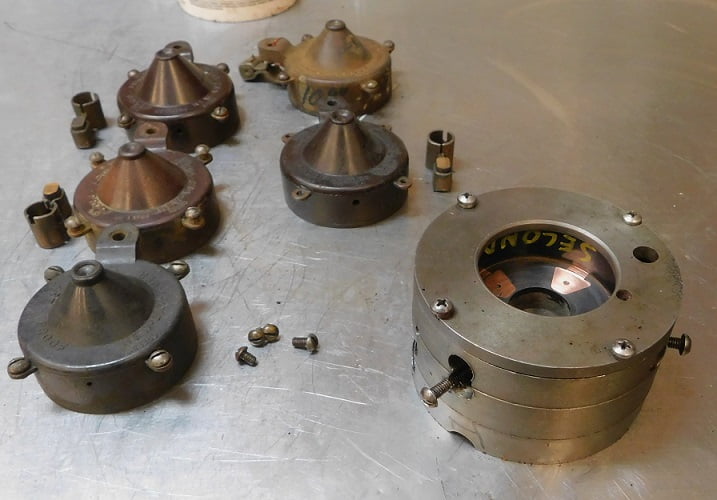
We have several shoe boxes full of various Model T timers. We dug out a selection of New Day timers to evaluate for this subject. The top left timer was purchased at Chickasha this year for $10. It is an old one made from brown Bakelite, in nearly perfect condition. All of the other timers and brushes are in need of repairs.
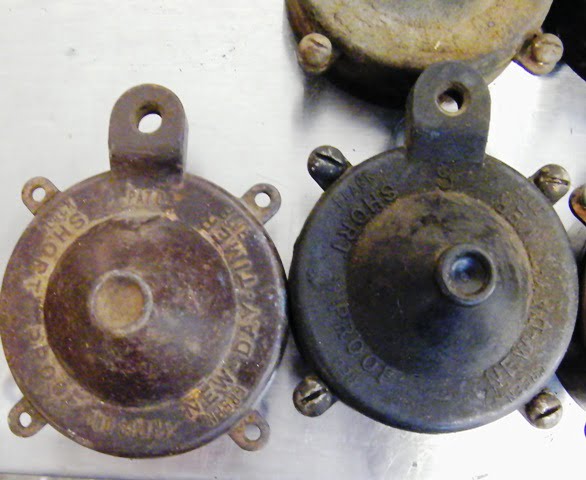
It is easy to spot good original New Day timers like the one shown on the left above. The reproductions like the one on the right are made from other colors of plastic or Delrin material. Some reproductions have been made in white, gray, and black materials over the years. If you intend to use a New Day timer for very long, search for the brown ones.
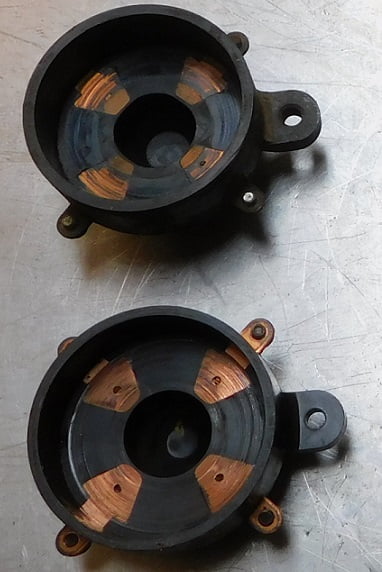
Each of these black reproduction timers has been used less than 200 miles yet they exhibit significant wear. The upper one came from one of the reproduction part sellers in the 1990’s. The lower one is much more recent, being only a couple years old. Notice the melted plastic on the contacts, which prevents the brush from making good contact and affects engine operation.
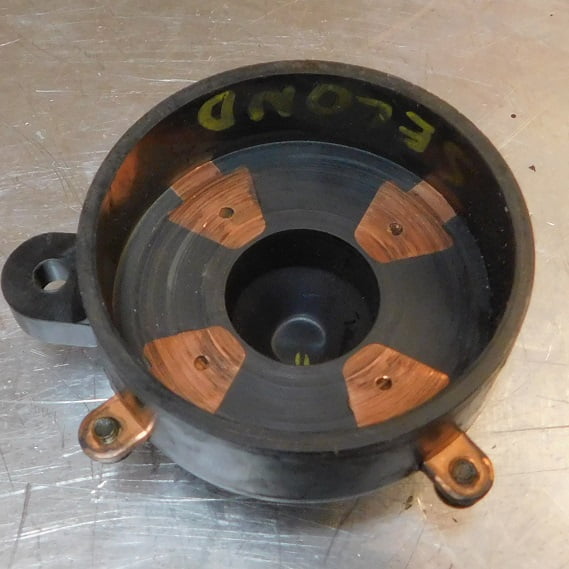
Close up view of the lower reproduction New Day timer shows uneven wear. The timer body indexes on the engine front timing gear cover. The surface of the timer body bust be parallel to the timer’s contact surface or the brush will be constantly moving up and down, causing this uneven wear. We are going to rework this timer to make the two surfaces parallel and smooth.
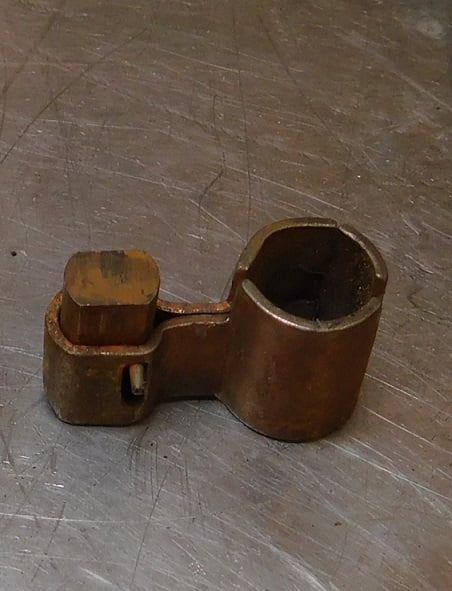
We need a tool for cleaning up and trueing the surface. The timer brush covers a diameter of 2 1/4″ so the tool needs to be larger than that.
We selected a scrap piece of mild steel round stock that is 2 5/16″ OD. We trued up one end. Any day that you get to use the lathe is a great day!
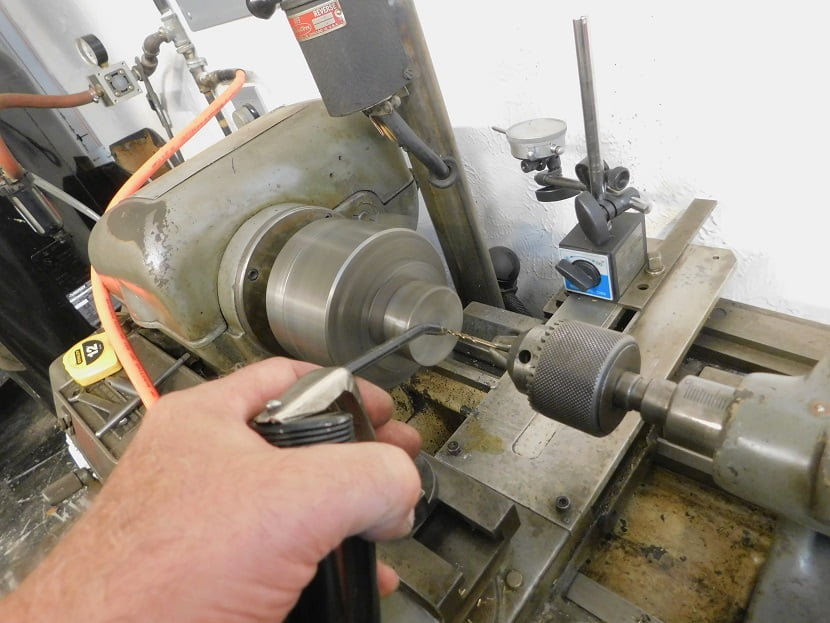
To make the tool easier to use we need a mounting post. We start with a #30 AWG pilot hole, using lots of cutting oil and backing the drill out of the material frequently to knock the offal out of the drill flutes. A jammed drill bit is a broken drill bit. Broken drill bits turn great days into not so great days!
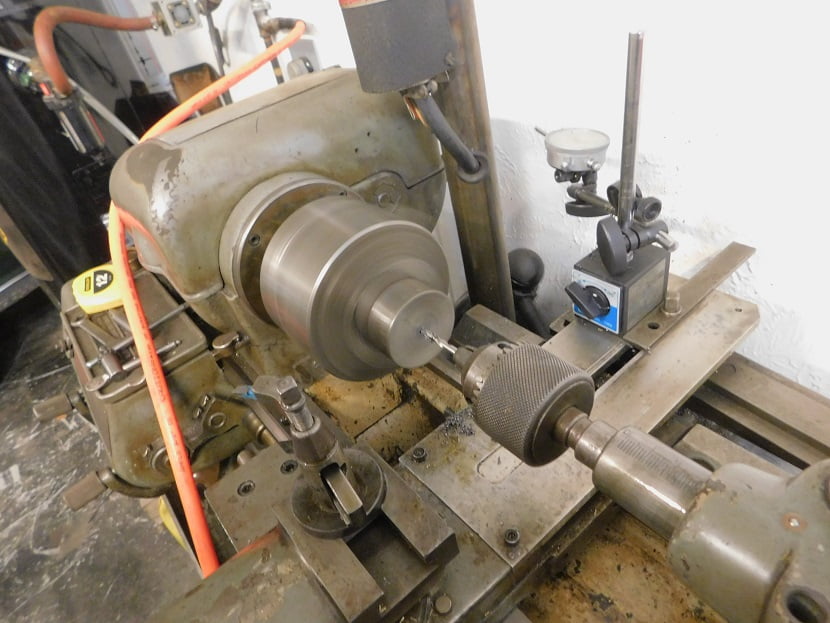
We step up to a 3/16″ bit, the lathe at low speed to keep the drill bit temperature down.
The pile of shavings keeps growing as we step up to 1/4″.

Last drill size was “F”. Then we tapped the hole 5/16″ – 18 UNC.

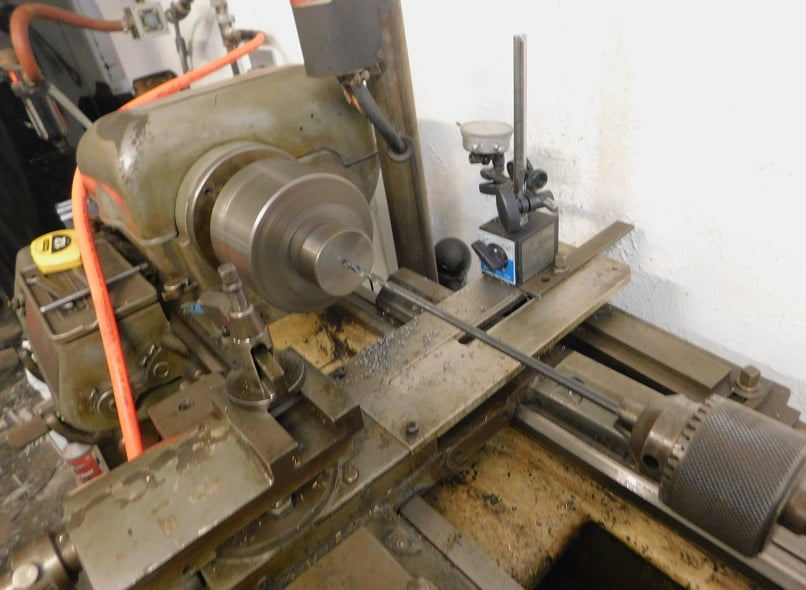
We installed a bolt to use as the shaft.
Then cut off the head of the bolt and deburred the end.
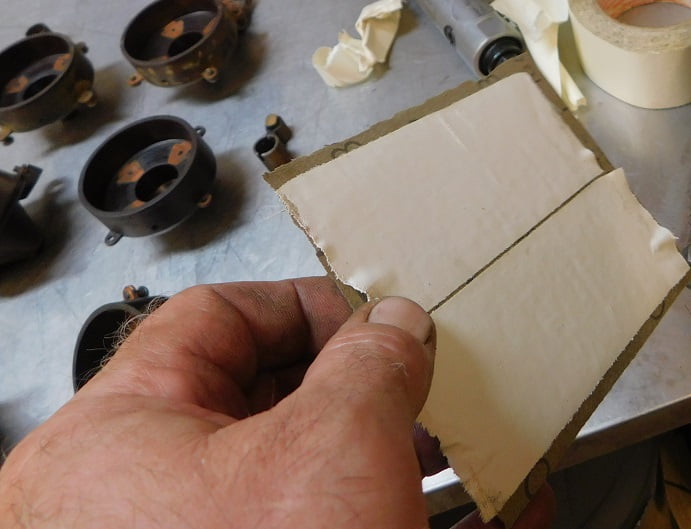
I selected #180 grit Tri – M – ite wet / dry 3M sandpaper. Some double back tape is applied to the back side to hold the paper to the tool head.
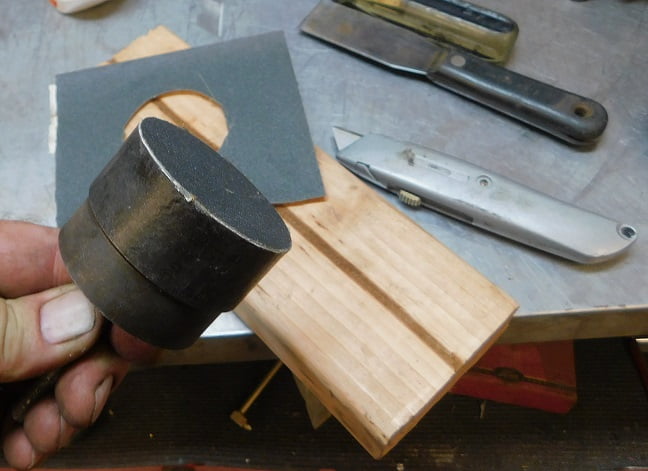
I used a razor knife to cut the paper to size.
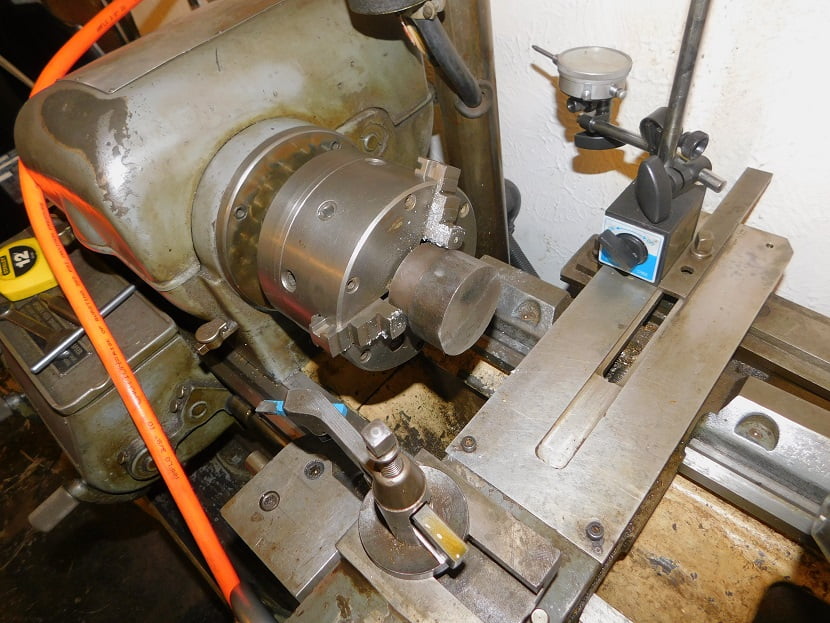
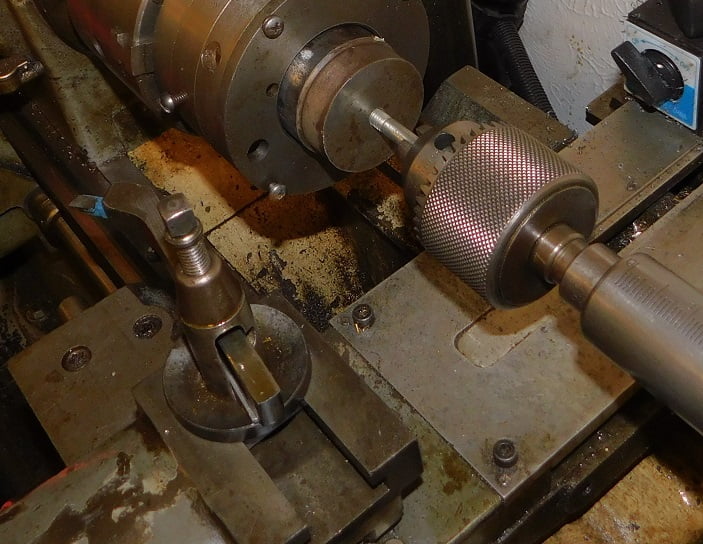
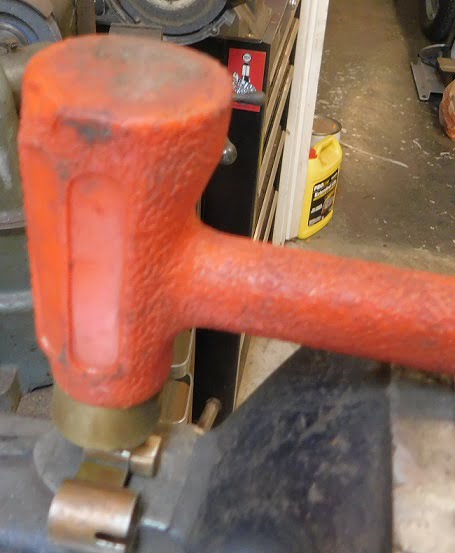
We already own a fixture for truing up Ford roller timers. It turns out the fixture also fits New Day timers well.
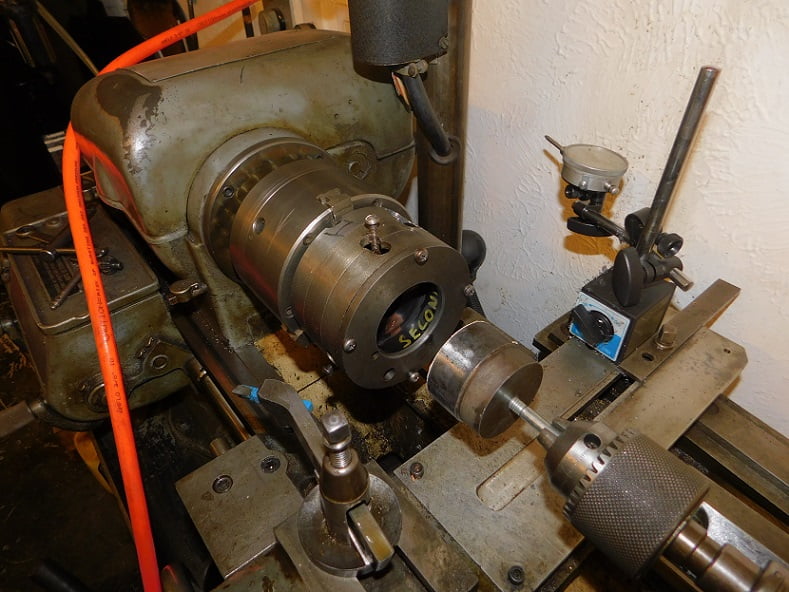
With the timer mounted in the three jaw chuck inside the holding fixture we can face off the inside.
We needed to remove about .030″ of material to get the inside smooth and level.
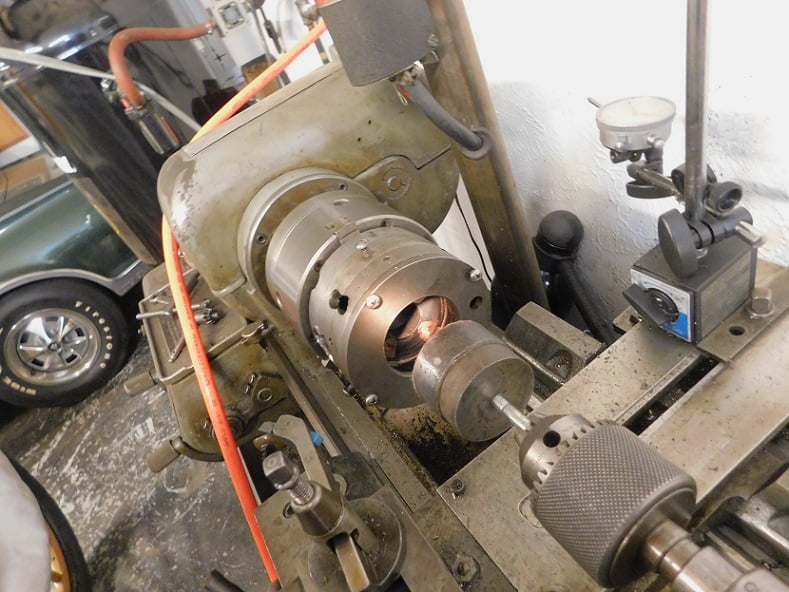
This timer is ready.
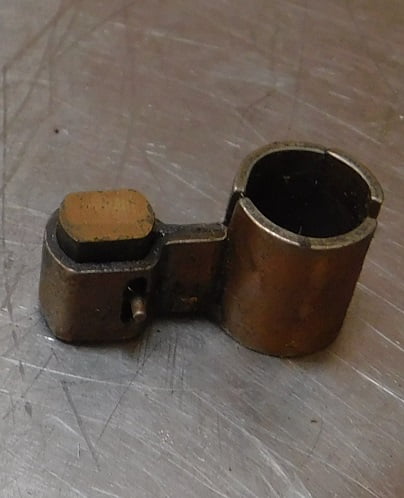
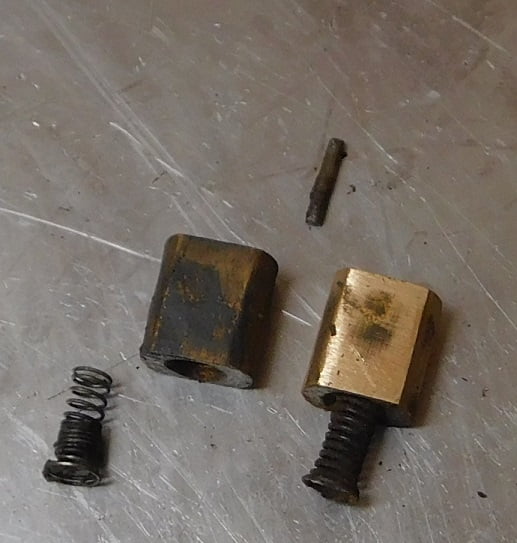
Next we turn our attention to the timer brush. This one is a NOS brush made back in the day. Notice the pin is completely up in the slot. The brush moves smoothly and effortlessly when you push on it.
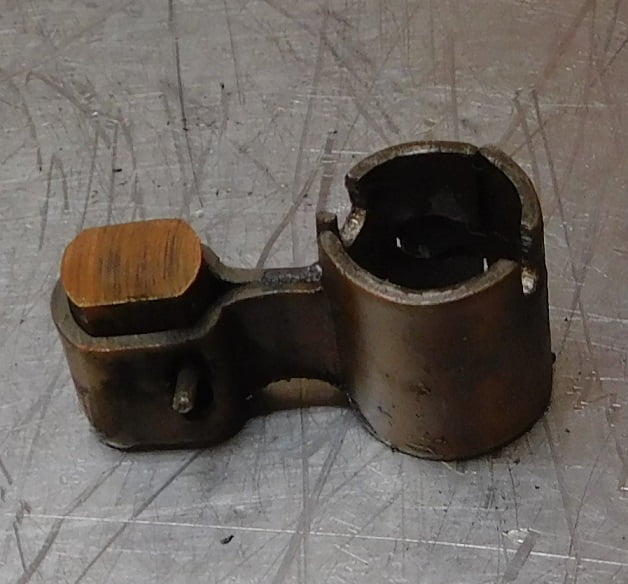
This is another one from our collection that is also an old original. The pin is at the top of its travel, and the brush moves smoothly in and out, but the brush has worn to the point that it likely does not make good contact with the timer, particularly at higher engine speeds. This one would be a good candidate for a new bronze brush. Note that the contacts in the timer are copper, a material that is harder than bronze. This is intentional so that the brush wears out without damaging the timer. In days past you could go to your local auto part store and buy just the brush. Your New Day timer cost $1.35 new. Why would you want to spend that much when a 25 cent brush could be all that you needed? In those days a gallon of gas cost 20 cents, to put the prices in perspective.

This brush apparently was on an engine that sat outside in the rain for decades. It is so full of rust that the brush can’t move. It might be a good parts donor to fix some of our other brushes.
This brush has a broken spring. It could be easily repaired by installing a new spring.
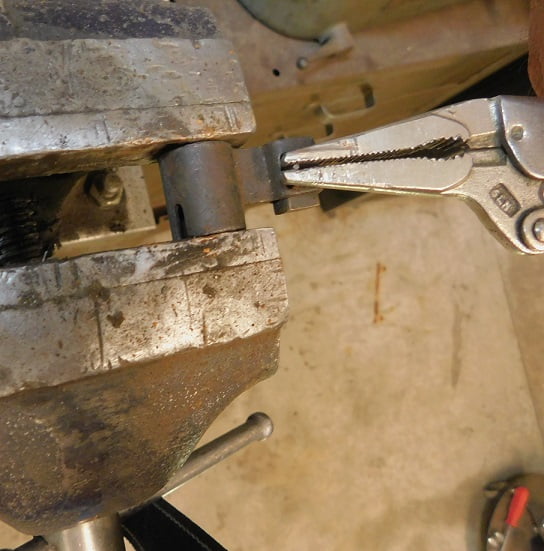
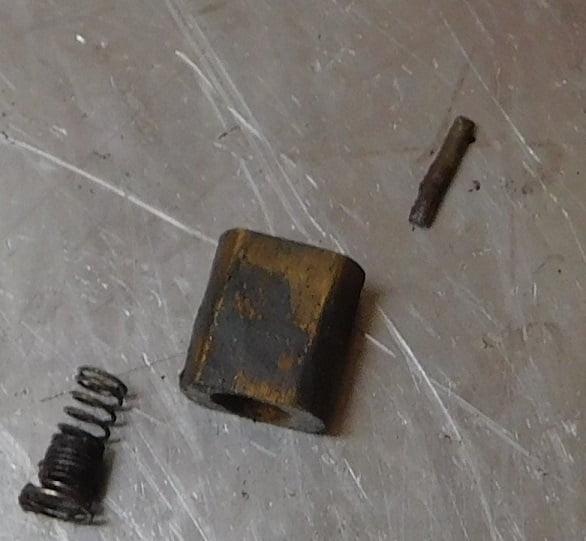
First we take apart the rusty brush. A small Vice Grip plier is used to rotate the pin, then pull it out.

The brush is virtually unworn, and the spring is intact too!
Half of the spring from the other brush is missing. Bet that T didn’t run well, if at all.
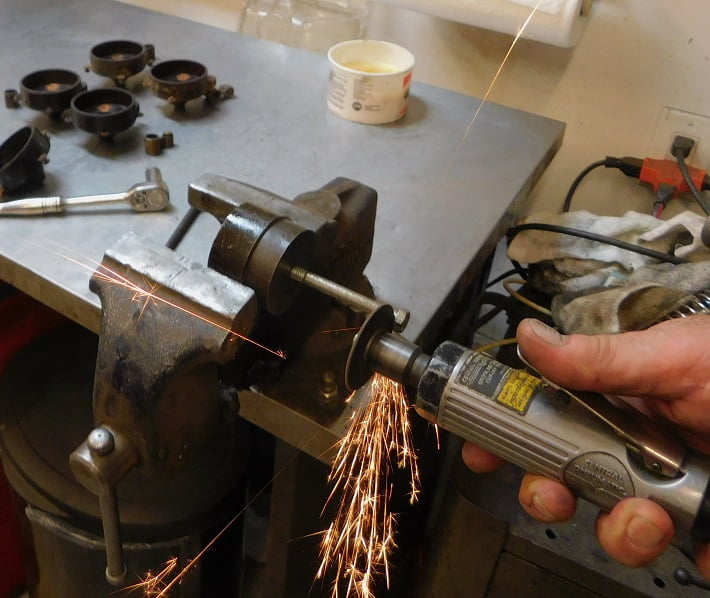
We cleaned up the brush from the rusty timer rotor (right) using the belt sander. The other brush is in good shape other than the broken spring so it will be saved.
The best parts from the two timer rotor brush assemblies are combined. A light tap on the pin ensures that it won’t fall out.
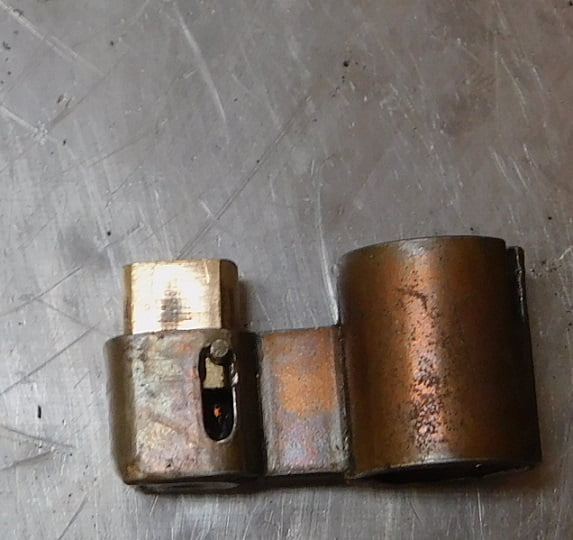
The finished product, ready for thousands of miles of smooth and powerful Model T driving.
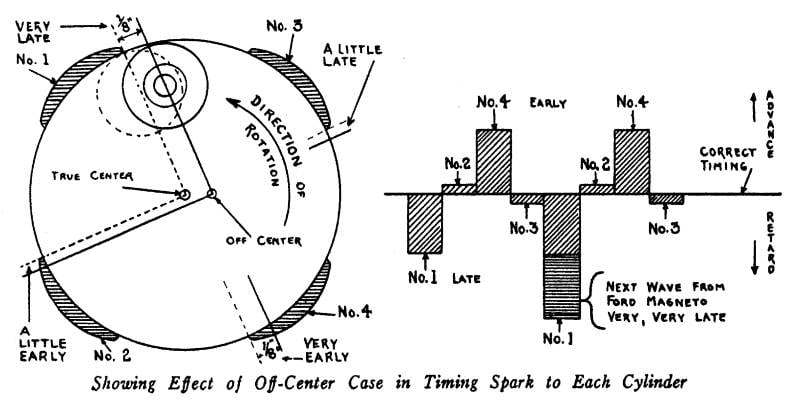
This very well conceived drawing illustrates the effect of the timing cover not being installed properly on a Model T engine. New Day timers are particularly affected by this. The T part sellers offer an inexpensive tool for this purpose that fits over the camshaft while fitting inside the groove on the timing cover that locates the timer. It is an essential tool for engine assembly.

When installing a different brand of timer it is necessary to check for proper spark event timing. The simple way is to remove #1 spark plug and lay it on a head bolt next to the spark plug hole. With the key off and the gas shut off, parking brake set, rotate the engine while looking at the valves and piston. A flashlight helps. When you see both valves closed and the piston coming up towards top dead center you know that the cylinder is nearing the end of the compression stroke. Using a non – metallic tool (I am using a plastic Mickey D’s stir stick that came with my coffee) You can feel as the piston passes top dead center and begins to move downward. The point where the piston is moving downwards is when the spark should happen with the timing lever all the way up. Once you see what is happening and understand when the spark should occur you can turn the key on and check to see when the spark plug fires on Battery.
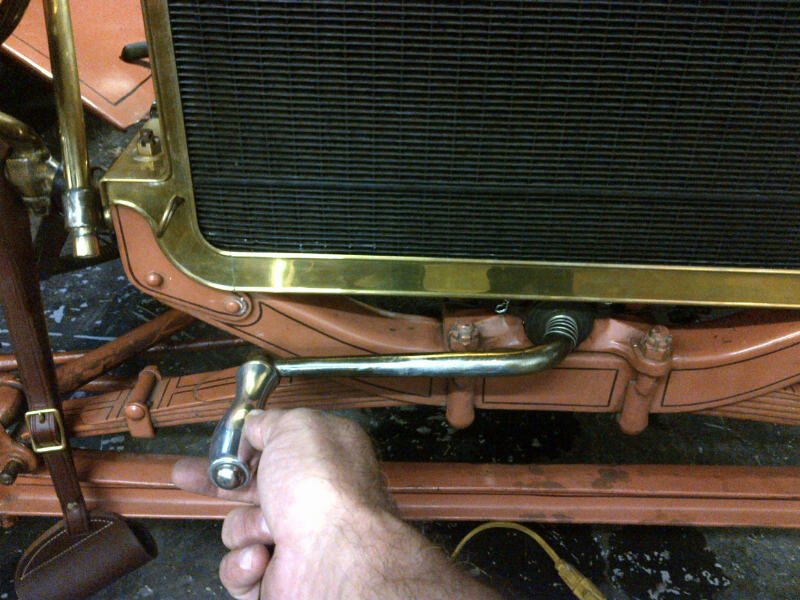
Position of the hand crank when the spark plug fires is not relevant to this discussion. Ford at various times drilled the hole in the hand crank at different relative angles to the crank. Please do not depend on this. Your arms will not like it if the timing is set too early and the crank kicks back! Always verify timing at the spark plug in relation to the piston position to avoid injury or death.
It may require removing, bending, and reinstalling the timer rod several times to achieve proper timing.
This is the part in the story where we say goodbye until next time!