Rebuilding the Stromberg B No 3 Carburetor for the Model T Ford
A 1916 Model T runabout has been converted to an early version of semi – tractor / trailer.
Alfred Stromberg made his first fortune manufacturing telephone equipment copied from expired Bell patents. Between 1893 and 1905 the Stromberg Carlson company became dominant in the Rochester and upper New York state area. Stromberg and his partner Carlson sold out, leaving both men extremely wealthy but bored.
Stromberg and his partner moved to Chicago, Illinois and purchased two companies. One eventually became Stromberg Office Products, a company mostly known for making time clocks. The other company was the John Goldberg carburetor company. The name was changed to Stromberg Motor Devices company, building carburetors designed by John Goldberg at first.
Image of a Stromberg B series carburetor from the 1909 book “Automobile Motors and Mechanism” written by Thomas Herbert Russell
This issue we will examine and rebuild one of the earliest aftermarket carburetors built for the Model T Ford, the Stromberg model B No 3 .
Goldberg incorporated carburetor ideas that came from the very latest designs then in use. He especially was influenced by the designs of Frenchman Arthur Krebs, who was by 1905 the managing director of the Panhard Levassor company, at the time a very successful car manufacturer.
Arthur Constantin Krebs was a very famous French inventor and scientific genius. He first became nationally famous in France for co – designing and piloting one of the earliest powered, navigable dirigibles in the world. With his partner Charles Renard, the two French Army officers were able to pilot their airship 5 miles in 23 minutes, taking off and landing from the same point. This was a remarkable feat in 1884! Krebs next partnered with Gustave Zede to design and pilot the first of what is now described as a “modern” submarine in 1888. This submarine was used later in actual battle, successfully forcing a naval blockade in 1890 for the French naval forces.
After his military service Krebs was not content on enjoying his fame. He managed the Parisian Fire Department for several years in the 1890’s, with very positive results in improving the effectiveness and response times, saving the city from destruction on many occasions. It is from this that somehow Krebs decided to turn his attention to the automobile.
Krebs invented a remarkable number of things that we today take for granted. For example, he invented the concept of positive caster (or castor as it is known in some parts of the world) which causes automotive steering to return to center if there is no input from the steering wheel. He invented the idea of four wheels on an automobile, with the engine in the front driving the rear wheels, known initially as “le Syteme’ Panhard” because it was first adopted by his employer, Panhard et Levassor, at that time the world’s most successful automaker. This is all before the year 1900! Krebs is credited with invention of the automatic air valve carburetor, which was clearly the basis for early Goldberg designed Stromberg carburetors.
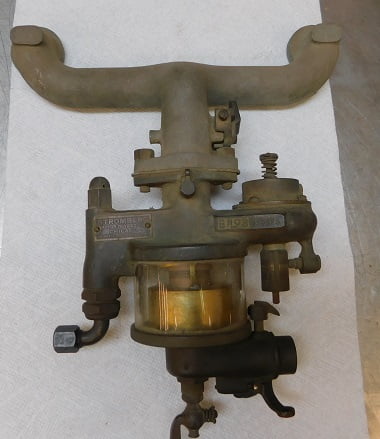
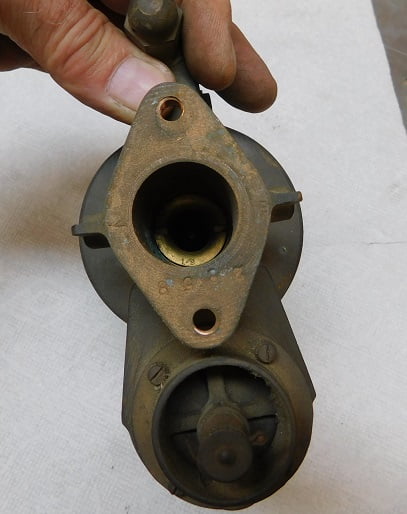
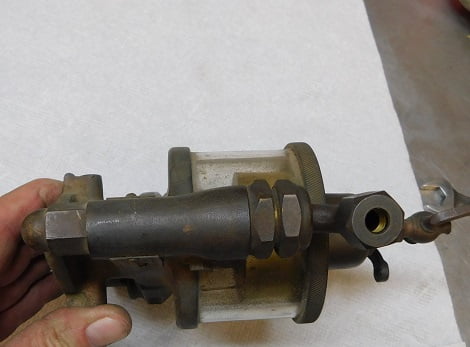
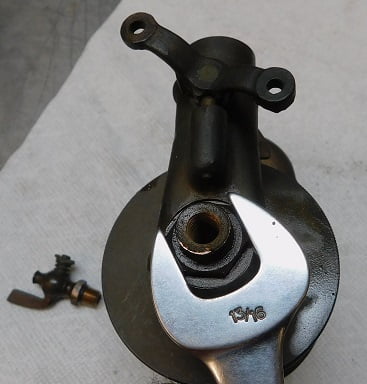
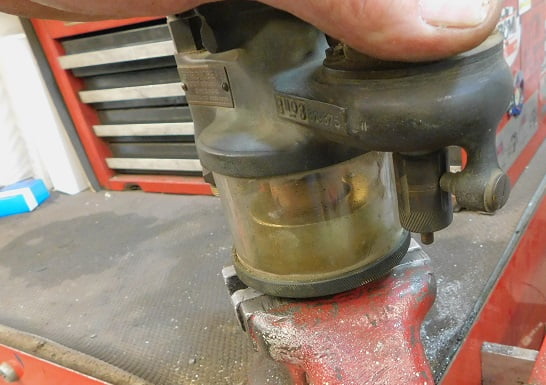
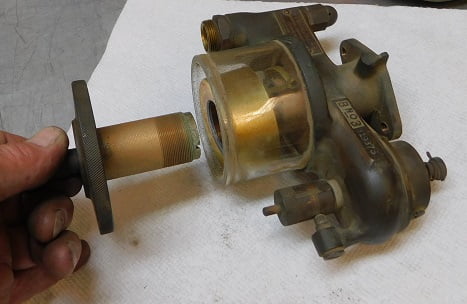
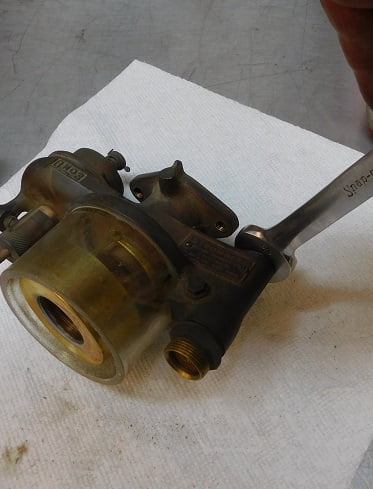
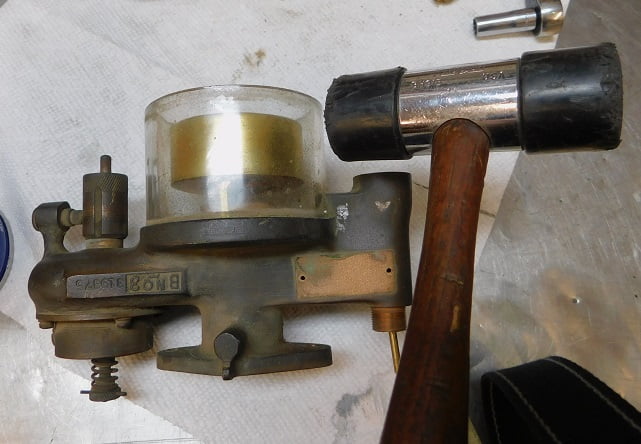
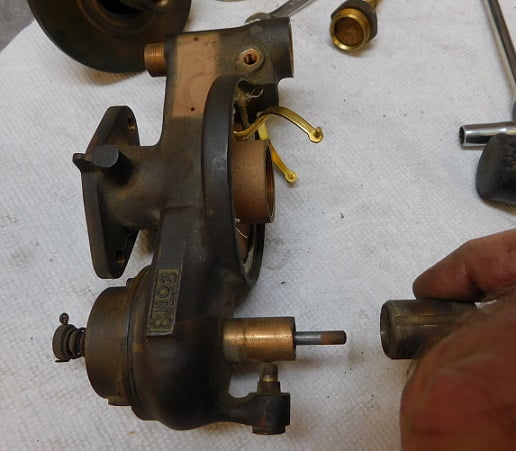
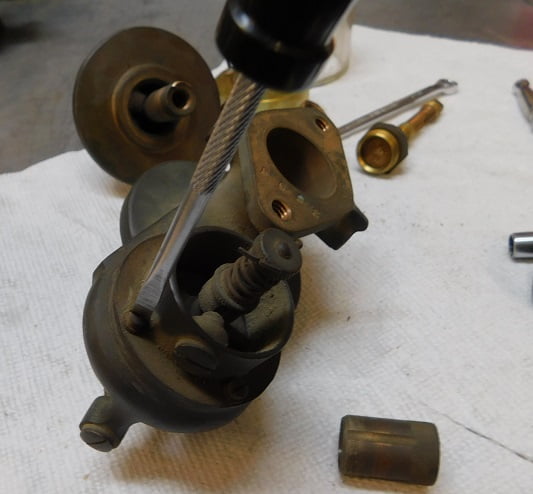
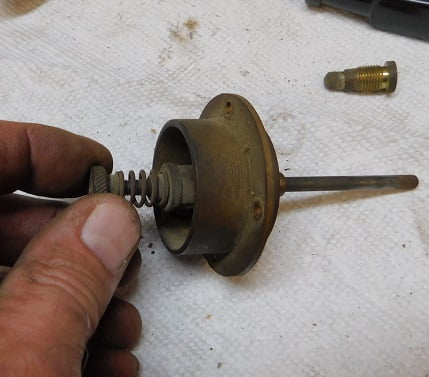
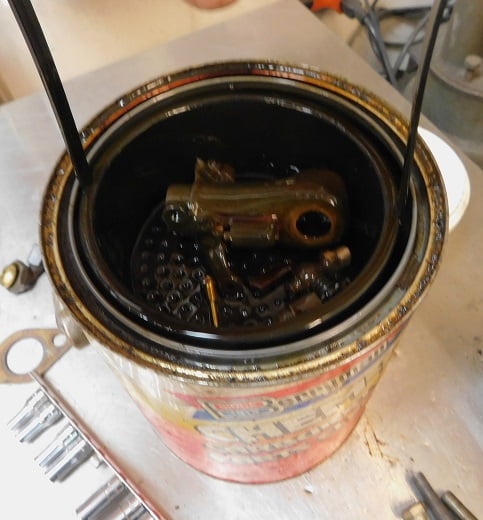
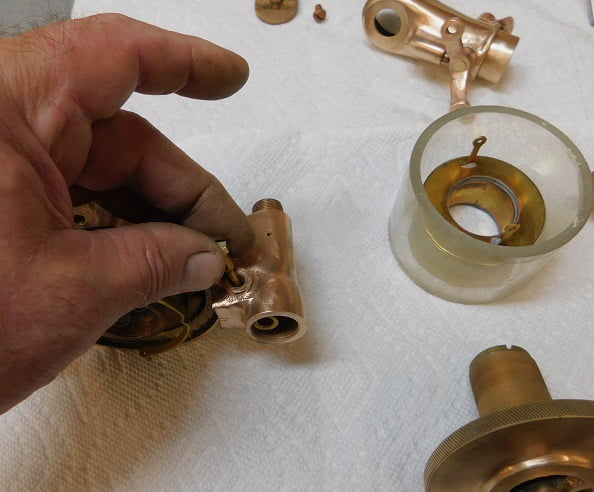
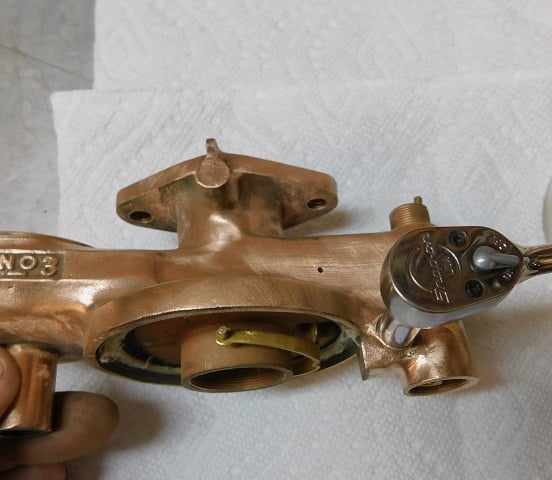
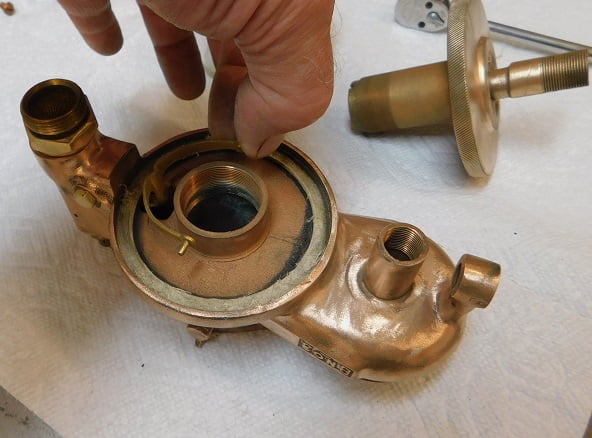
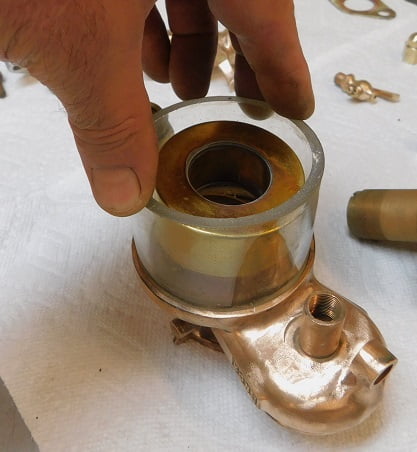
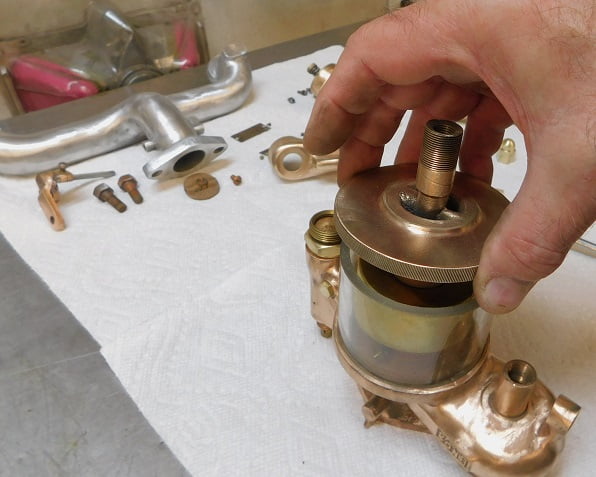
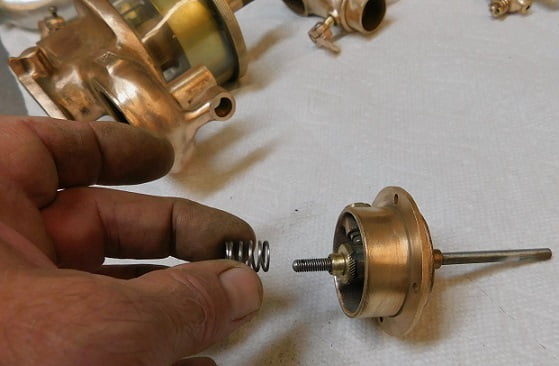
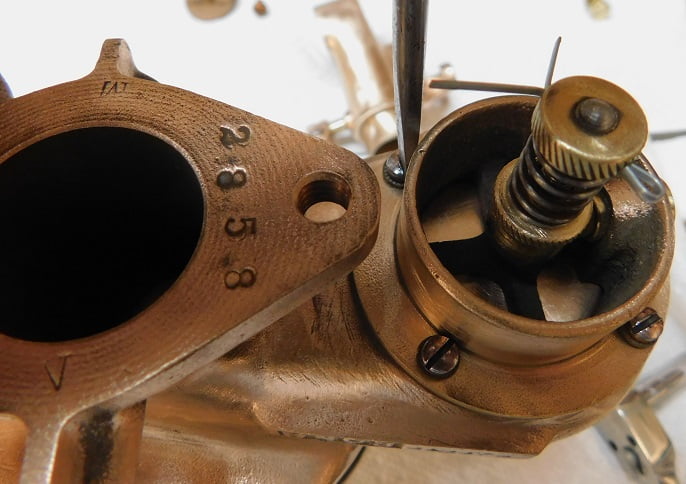
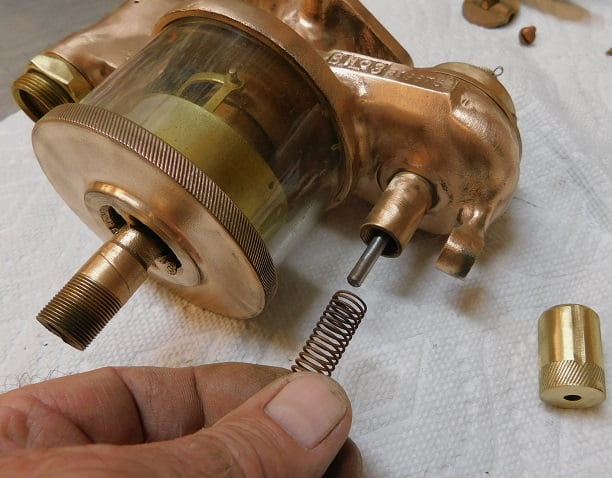
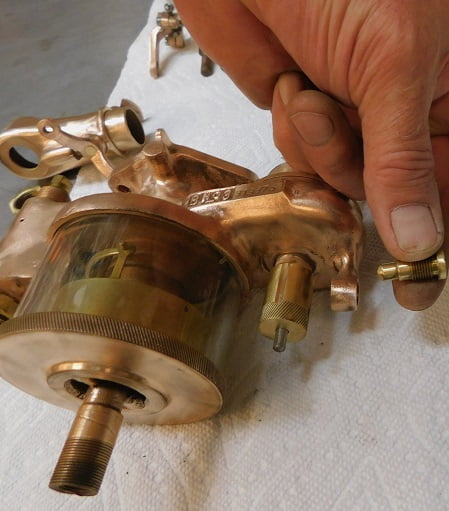
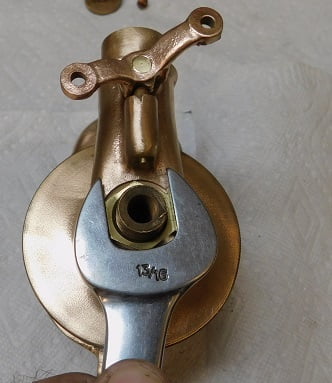
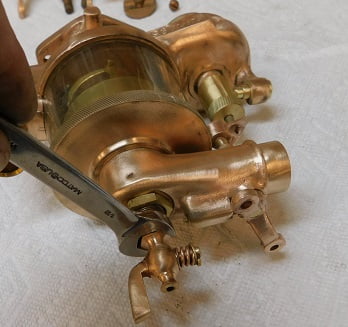
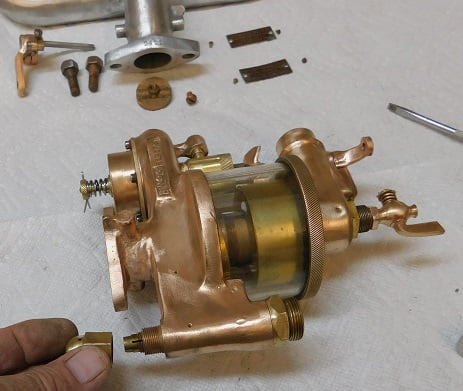
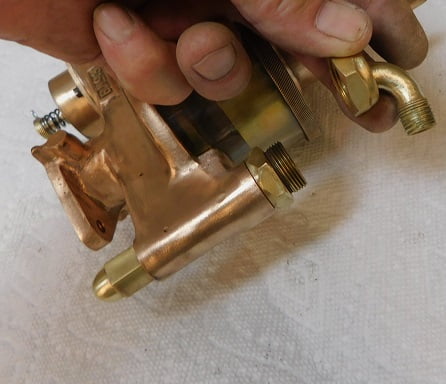
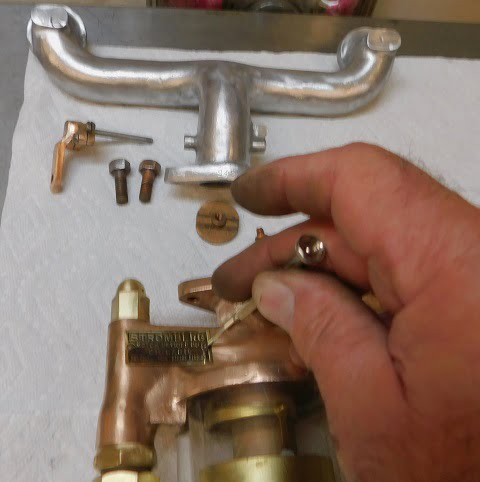
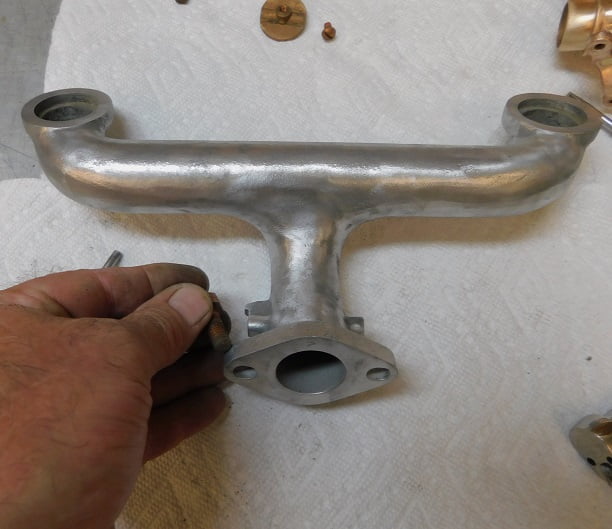
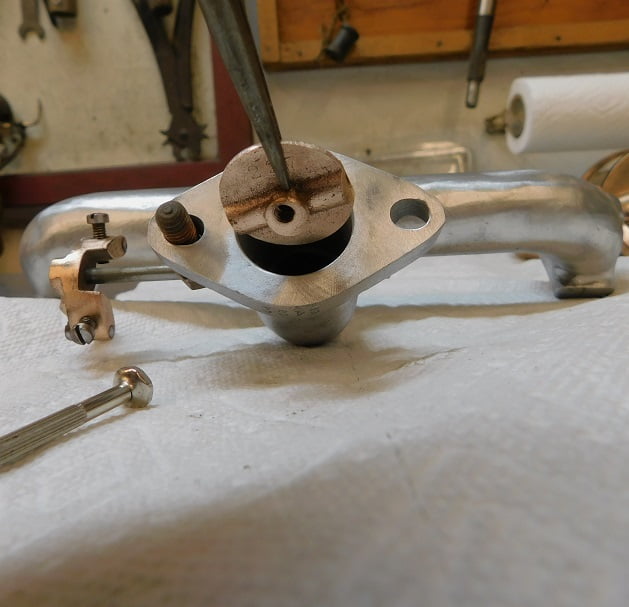
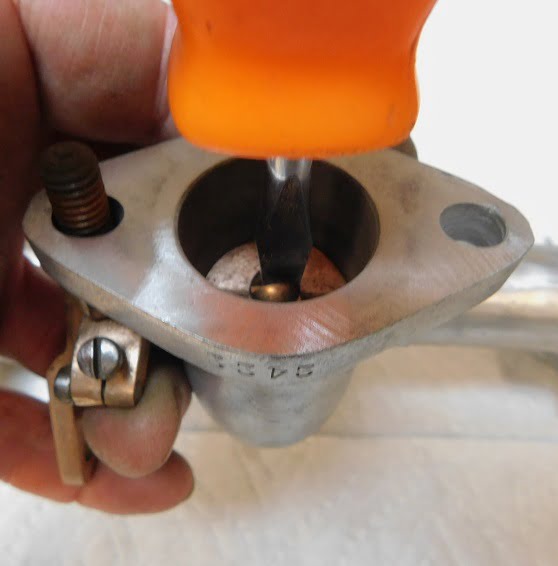
Krebs designed Panhard Levassor carburetor circa 1903 showing the spring loaded auxiliary air valve.A cross section drawing of the John Goldberg designed Stromberg “B” series carburetor from 1908 shows the auxiliary air valve, upper left. The primary venturi is denoted by letter “A”, the main jet is “D” and the float is “F”. The inlet choke assembly is omitted in this drawing.Our Stromberg B No 3 carburetor and intake manifold is very grimy and sooty, but complete and in very good condition for being 100 + years old. The inlet butterfly throttle control is part of the intake manifold. The carburetor is mounted backwards on the manifold for some reason. The clear glass float bowl is a distinctive feature of these B series Stromberg carburetors.With the carburetor removed from the intake we can see the venturi looking down the inlet passage. The spring loaded air valve is at the bottom of this image.Looking at the bottom of the carburetor we can see the choke control lever, which has a detent so that if you set the choke it stays set until the choke is selected off. The lever has two legs so that it can be controlled either from inside the car or at the radiator.The fuel inlet is at the bottom of a casting containing the fuel inlet needle / seat assembly.We begin disassembly by removing the bowl drain valve. The arrow shows that when the choke is closed a mechanism blocks the air valve from being able to open, ensuring the richest possible mixture for cold starting.With the drain out of the way we can remove the nut securing the inlet choke housing to the bottom of the carburetor.The lower stem of the inlet venturi is clamped in the vice (aluminum jaws) so that we can rotate the carburetor to loosen the float bowl.Once loosened the venturi can be unscrewed by hand.Removing the dust cap exposes the needle / seat adjustment.The float pivot pin is removed using a 5/16″ socket.The bowl is stuck to the seal. We give it a couple taps with a rubber mallet to loosen it so it can be removed.We removed the float, then unscrewed the tension adjuster from below the automatic air valve.Four small screws secure the air valve to the carburetor body.Removing the cotter pin allows the thumb nut to be removed so the air valve can be disassembled for cleaning.We cleaned all the parts in carburetor “Chem Dip” solution in batches since all would not fit in the can at once.There are gaskets at the top and bottom of the glass float bowl which we did not disturb, and will re – use. The carburetor to inlet gasket is brass / copper and was also re – used. There are no other gaskets.We start reassembly by first placing the fuel needle (arrow) into the casting, then sliding the float hinge in place so that it captures the slot milled in the needle assembly.The hinge pin can be installed …………….………and tightened with a 5/16″ socket.The spring is dropped over the needle, and the float adjuster installed. For now we just screw it in about half the threaded area. Final adjustment will be on the car with the engine running.The float height is also adjustable by bending the float arm up or down. Fuel level is supposed to be 15/16″ from the bottom of the float chamber. We squeeze the float arm and attach the float.We put Vaseline on the gasket and install the glass float bowl which is quite thick.The venturi is threaded in and then the stem clamped in the vice so the bowl can be tightened securely. Note: Vaseline is placed on the gasket prior to assembly.The air valve parts are assembled next.The spring is installed, followed by the thumb nut.Four screws with lock washers secure the air valve to the carburetor.The lower air valve spring is installed prior to threading the adjuster cap in place.The adjuster is shown at full tension. We backed it off almost entirely before installing the detent spring assembly.With the choke in the “closed” position we position the inlet assembly so that the air valve is blocked from opening.The drain valve is installed and tightened. We do not use thread tape, a bit of lubricant is a better idea.For now we install the dust cap finger tight on the float adjustment screw.The fuel inlet is installed and tightened in the desired position.Stromberg badges are secured with the tiniest screws on either side of the carburetor after polishing.One of the inlet bolts is trapped by the throttle arm. Be sure to drop it in the hole first or you will be doing repetitive unnecessary extra work.The throttle blade is held in place with needle nose pliers until the shaft can be slipped through.With the arm against the “closed” stop the screw can be installed and tightened.We cleaned the gasket so it will be ready for installation when the time comes.The carburetor is clamped in the vice so that it is level. We use a coffee can with a 1/4″ barb soldered to it as a testing device. The can is connected to the carburetor with a rubber hose. Then it is filled with water so that we can do a leak check and measure float level. Unfortunately gasoline and water do not act exactly the same, so the leak check is good but the float level can be misleading. We drained the water and rinsed the carburetor out with isopropyl alcohol before installing it on the car.
Next week we talk about fabricating the linkage and fuel lines, then tuning the carburetor for best performance.
The fuel inlet is at the bottom of a casting containing the fuel inlet needle / seat assembly.