
A 1916 “Wide Track” touring shows its unique clipped leaf front spring. Car belonged to Julius Neunhoffer of Kerrville, TX when photographed in 2015.
The front springs used on the Model T Ford evolved over the 18 model years. In this issue we will look at the evolution of changes and see what it takes to rebuild a worn out original for 100 more years of use.
The earliest 1909 Model T’s used a seven leaf taper leaf spring in front and eight leaf in the rear. The same spring was used on all body styles. Springs on the earliest Model T’s are quite dainty, the taper is well executed and smooth. As production increased Ford used a number of suppliers; various styles have been seen.
1910 chassis above has a later style of taper leaf spring. Notice how the spring leafs are not ground as carefully on the ends; less dainty than the earlier car.
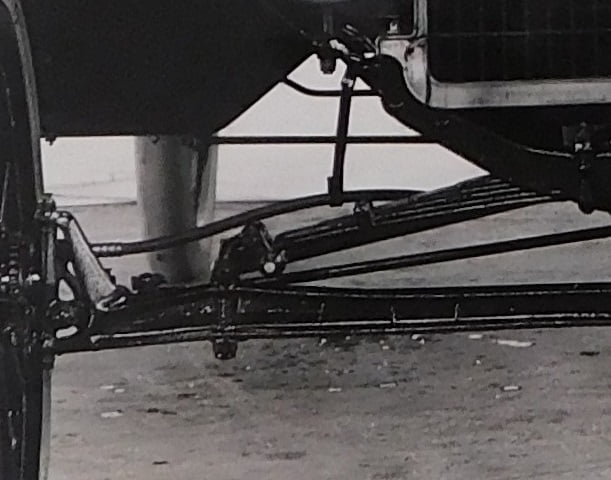
Ford factory photo from 1915 shows the last version of the taper leaf front spring used on the Model T. It is virtually unchanged from the 1910 version. Speedometer and speedometer support strap shown are typical of Stewart & Clark “T Special” factory standard equipment for the 1915 model year.
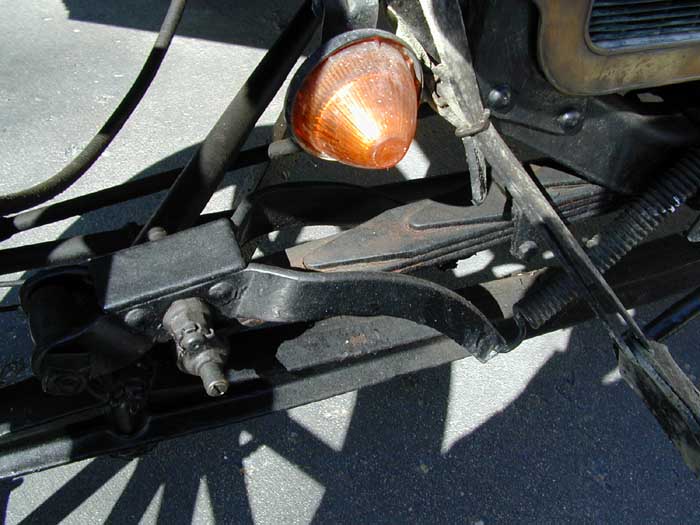
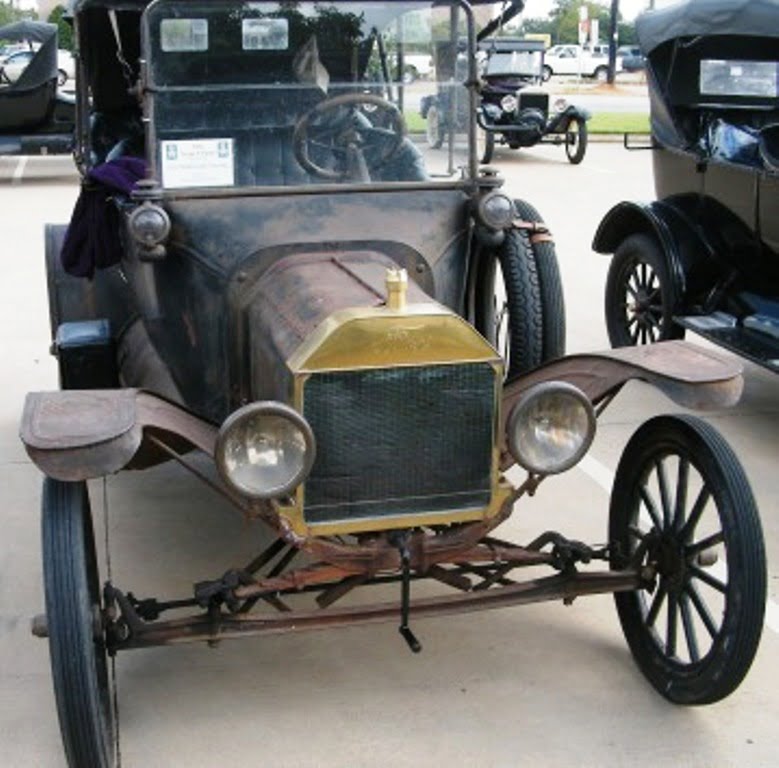
Early in the 1916 model year (mid November 1915) a “clipped leaf” front spring – as seen above – replaced the taper leaf spring. This car is equipped with accessory shock absorbers and owner added turn signals.
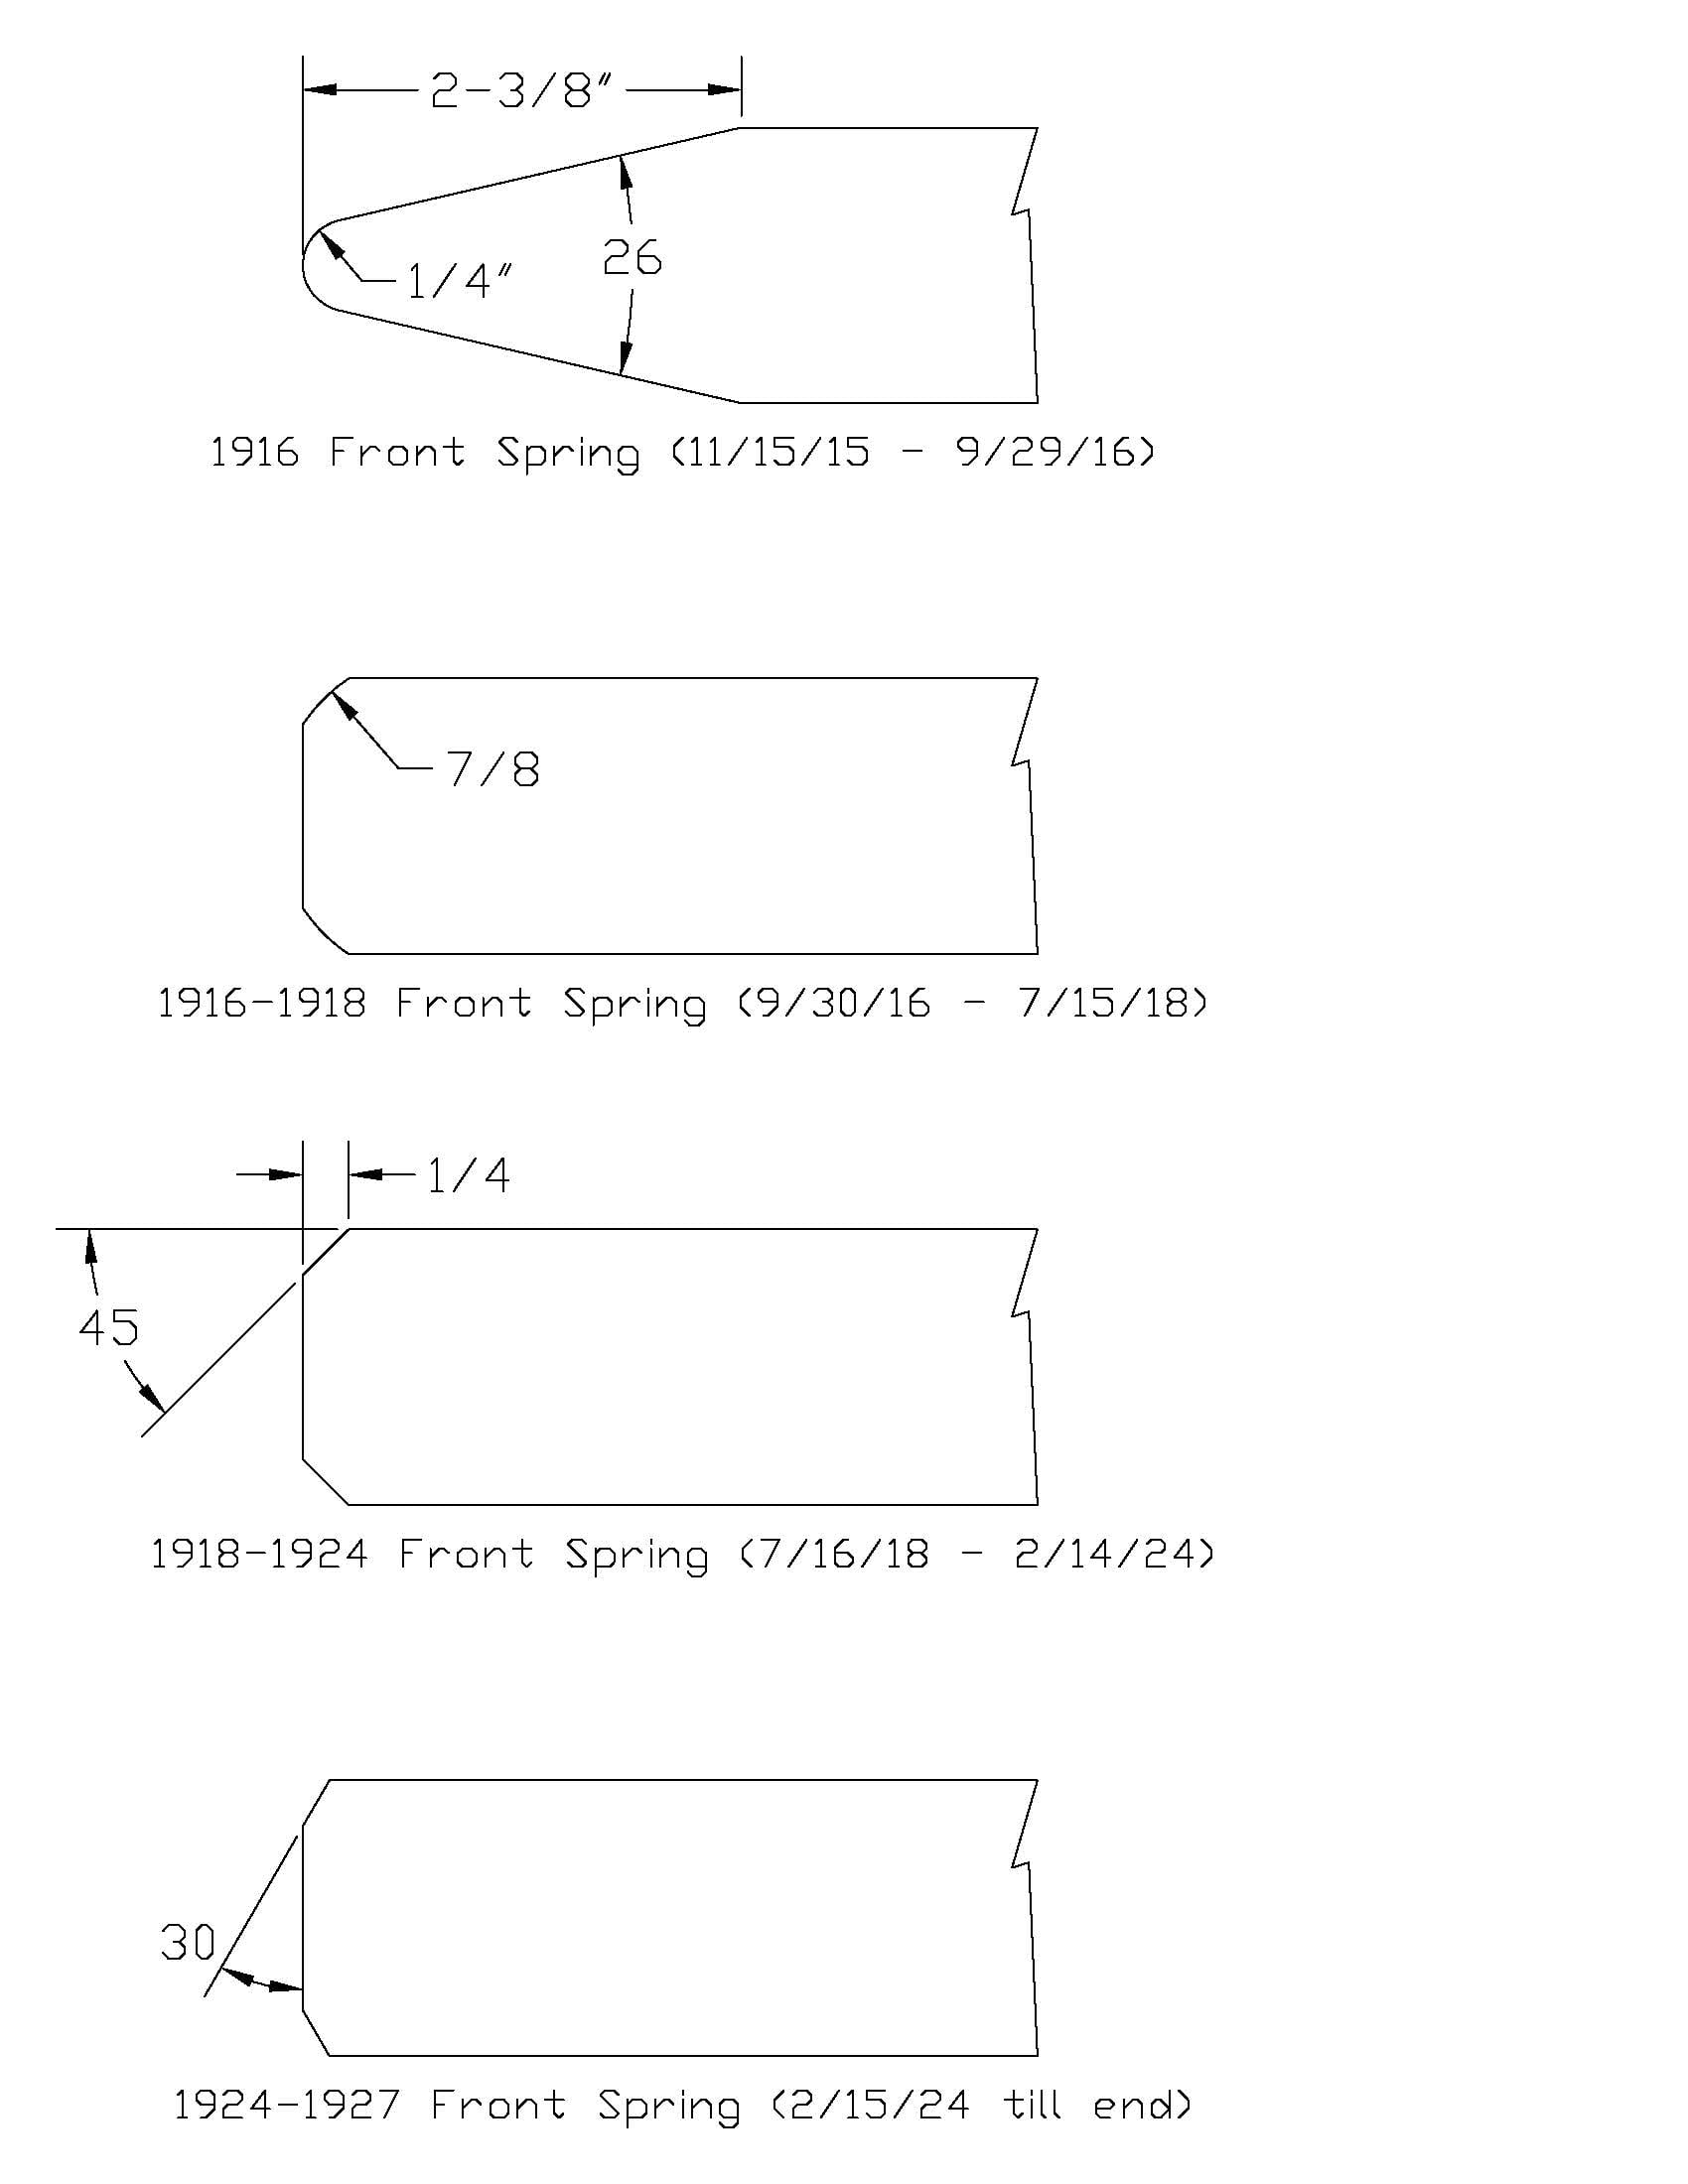
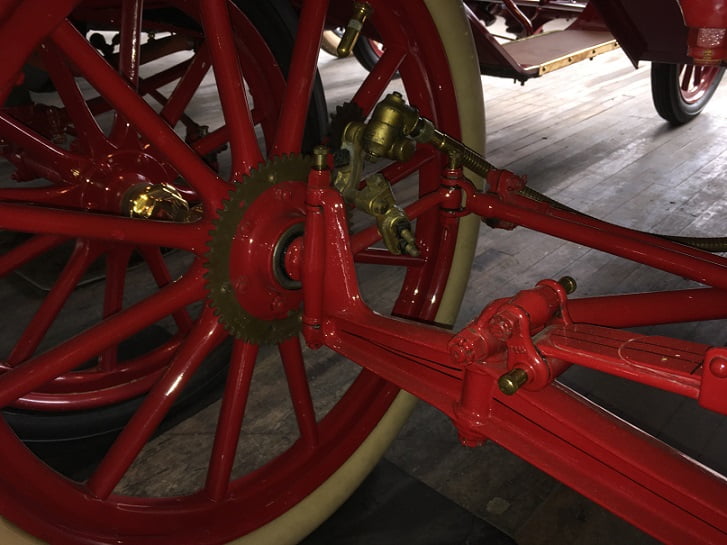
The illustration above (credit: John Regan) shows the various types of front spring used in production from 1916 – 1927 Model years. Ford was changing the design each time in order to streamline production and maximize profits by lowering the cost to manufacture each part. For 1923 – 25 model years Ford used 6 leaves for the runabout body style front spring, while there was also an eight leaf front spring used for sedan body styles in 1926 – 27 model years.
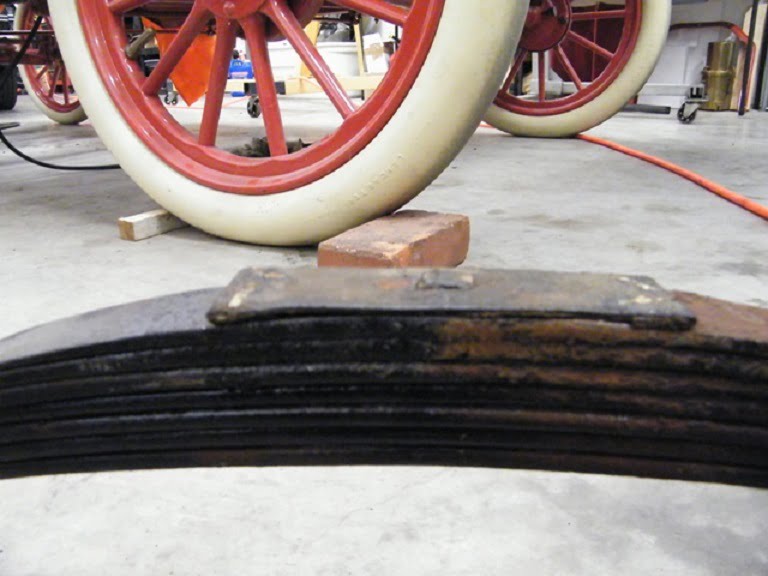
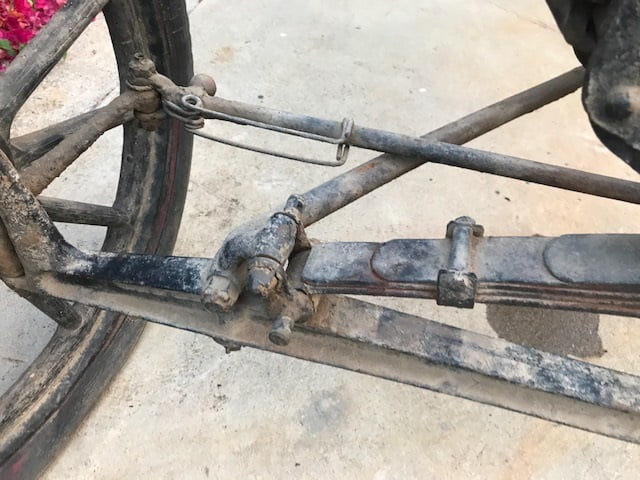
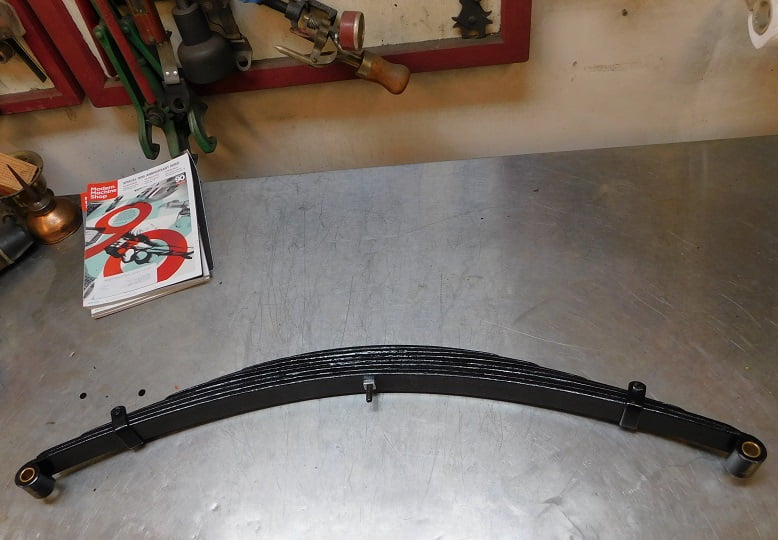
We are rebuilding a front spring found in a 1914 chassis. It even had the original leather spring mounting pad in place. The paint seen here is original, it had never seen the light of day until now from the time it was installed by Ford.
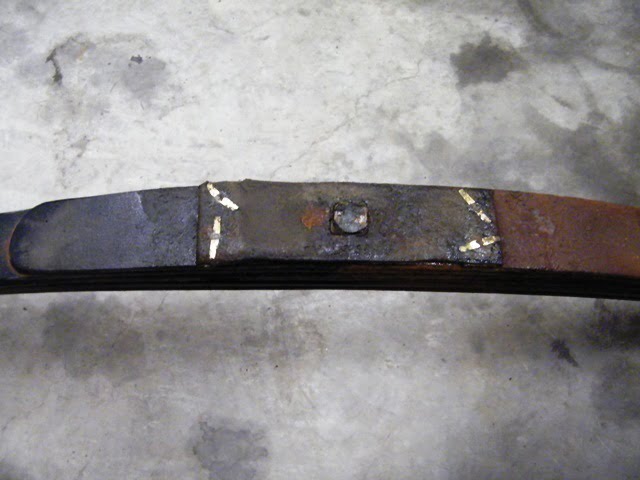
Top view of the spring pad shows the folded over brass rivets used to secure the ends which are rolled under. The pad measures 5 3/4″ long. The folded areas measure 3/4″. The leather is about 1/16″ thick.
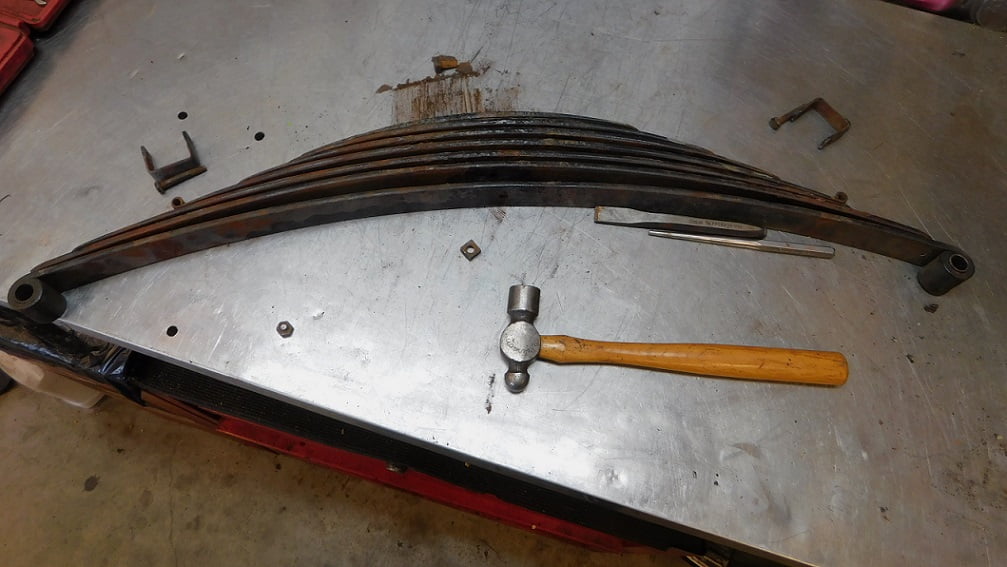
We had to use a cold chisel to remove the nut, it was peened and rusted solid to the bolt. Note that the spring clamps are secured to the #4 leaf (counting from the bottom) which has curled ends to provide a place for the bolt. Some manufacturers used a riveted clamp instead of the curled leaf.
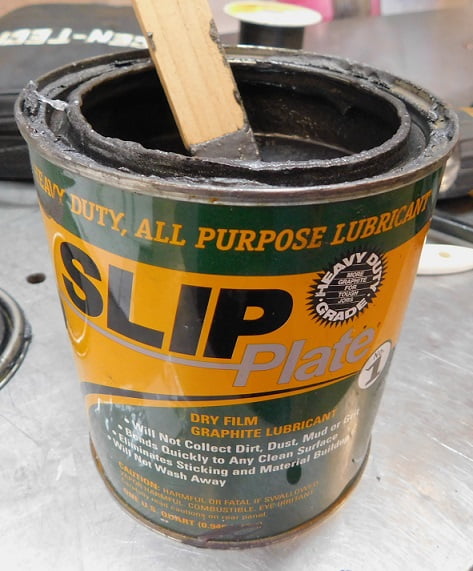
This can of “Slip Plate” paint was purchased about 15 years ago at Tractor Supply. We have rebuilt perhaps 6 springs, and the can remains 3/4 full. It needs to be thoroughly stirred or shaken prior to use. The graphite tends to settle out of the paint sitting on the shelf.
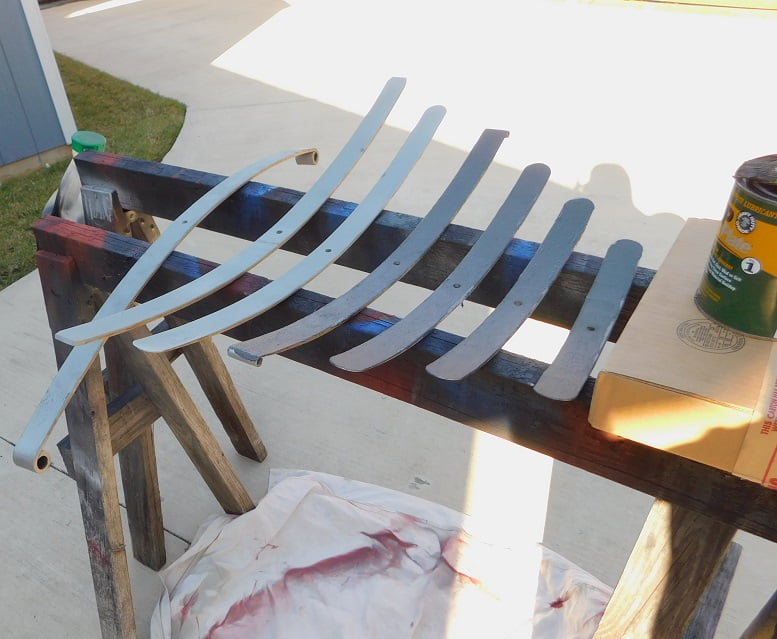
We had the spring components sandblasted, then coated the surfaces that rub on one another with the Slip Plate. Paint is applied with a 2″ brush. It takes a 1/2 hour to be dry enough to flip the leaves over and coat the other sides as necessary. This duplicates precisely what Ford did originally according to production notes found at the Benson Ford in Accession 166 “Process Sheets”.
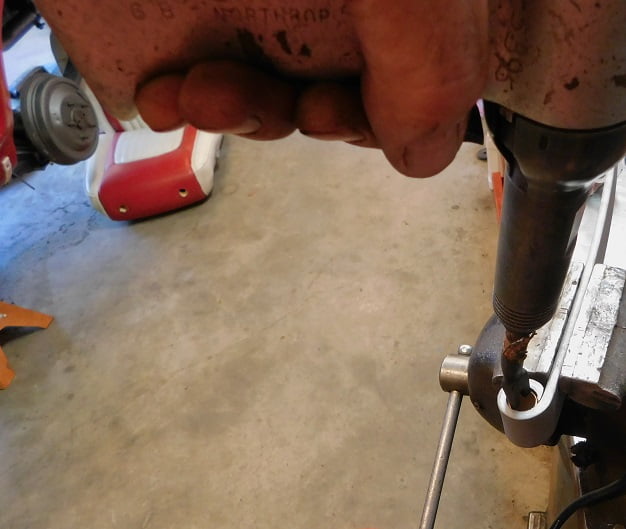
We drove out the old worn spring bushings using a rivet gun and a sheet metal cutting tool.
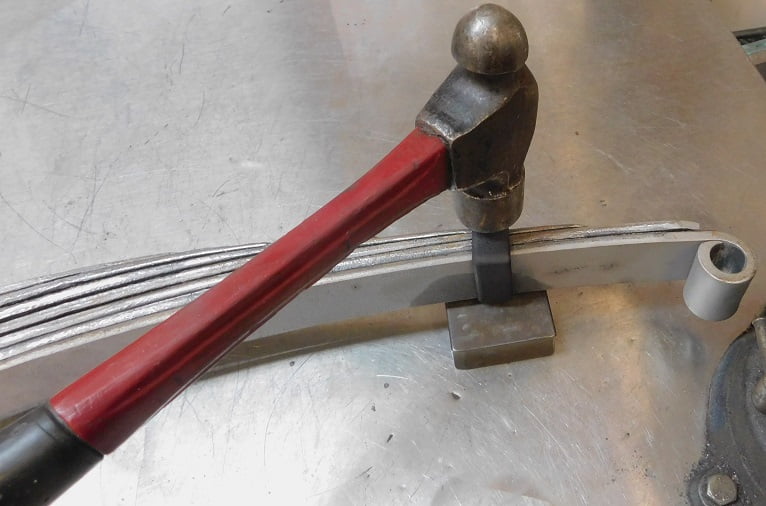
The spring leaves were bolted together with a new center bolt purchased from Langs. Then the spring clamps were primed and bolted on with new bolts and nuts. The bolts are cut to length, then peened over so they cannot come loose.

The peened over bolts being complete, we primed and painted the spring.
New brass end bushings were pressed into place after paint. We used a dead blow plastic mallet to install them.
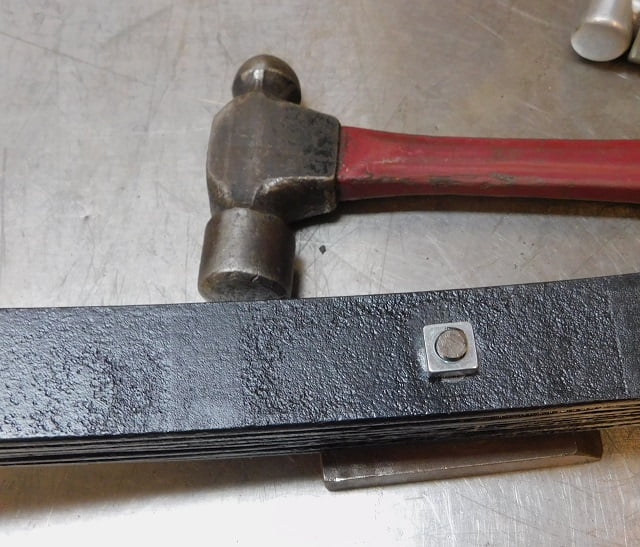
Last operation, we cut the center bolt to length and peened it to make sure it would never fall off.