Rebuilding the 1915 and 1916 Kingston Model L Carburetors
A Ford dealership displays the new 1915 Model T Couplet, Center Door Sedan, and Runabout in January 1915.
Ford was busy revamping the exterior “look” of the Model T Ford in 1915 model year. At the same time, subtle mechanical improvements were being implemented. The Kingston Model L carburetor was introduced about the same time as the new model and fiscal year. Because of its lower fuel inlet Ford engineers specified the Kingston L be used exclusively in the new Center Door Sedan, coupled with a longer intake pipe and heat tube which positioned the carburetor lower for better fuel flow.
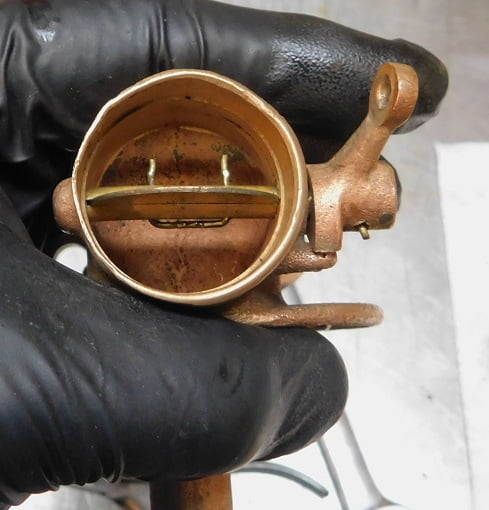
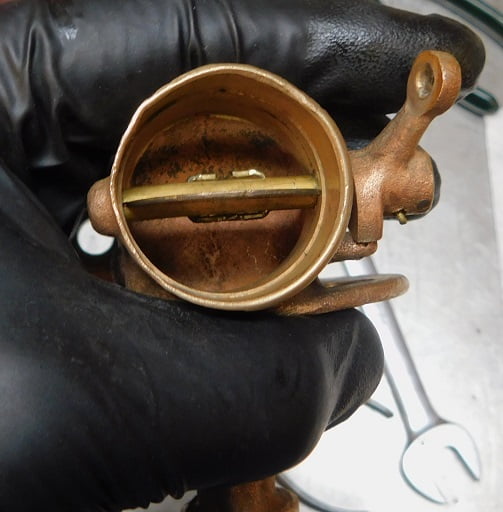
The Kingston L is a relatively simple design. It has a main jet that is adjustable from the firewall mounted control in the passenger compartment. There is a “flapper” air valve that helps improve throttle response. The all cast brass / bronze design is sturdy and not typically susceptible to cracks. Let’s see what it takes to rebuild one.
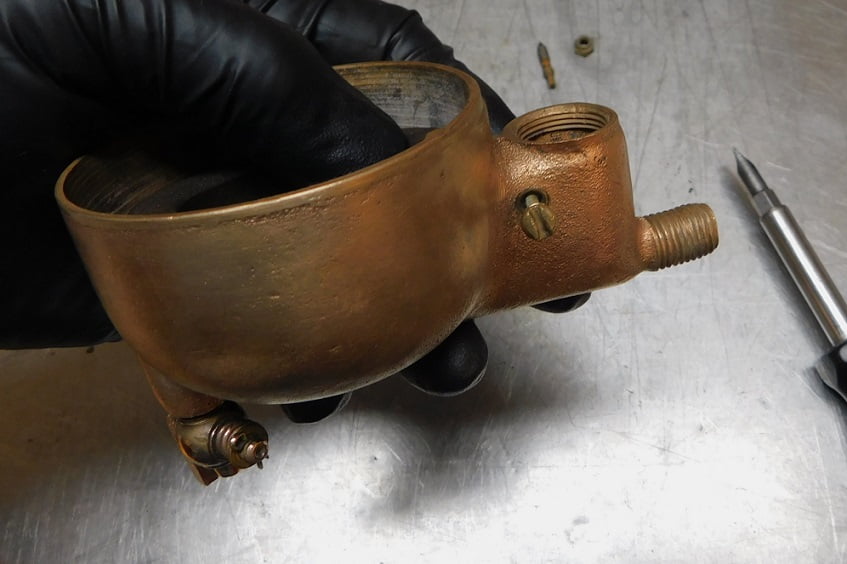
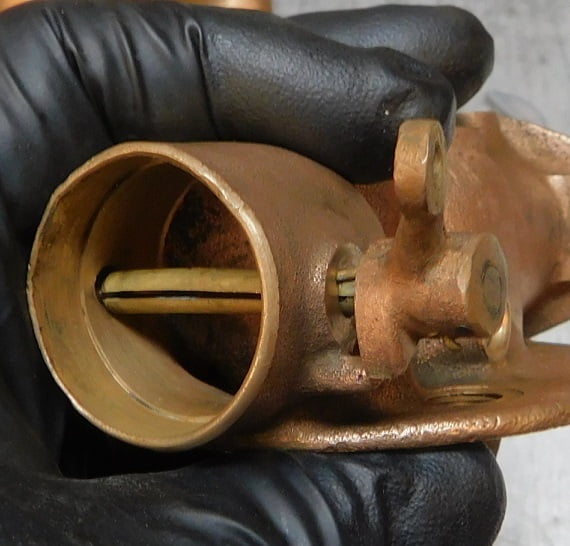
The 1915 Kingston Model L carburetor with its distinctive bowl incorporating a fuel inlet. Note the “tickler” enrichment button which can be used for carburetor enrichment to aid starting in cold weather.
We started by taking the float bowl apart from the rest of the carburetor. Our cork float was broken which is typical, and likely the reason the carburetor has been sitting on a shelf instead of being used on a car. We ordered a gasket kit and a replacement float from Lang’s.
We used super glue to make the float whole again. That way we could turn the bowl upside down and blow in the fuel inlet. It opened and shut nicely. Replacement parts are not available, if the float valve needs to be replaced you will need to adapt a modern one from something like a 1960’s Rochester Quadrajet for example. Fortunately we didn’t need to do that.
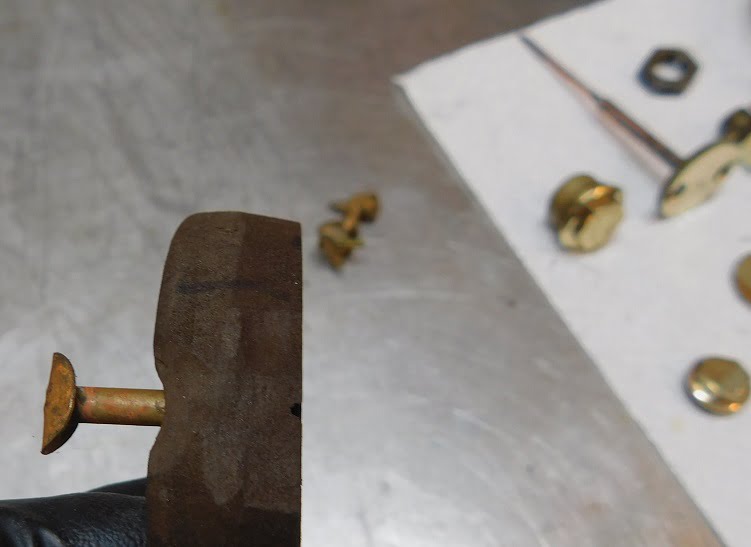
We disassembled the carburetor. All the brass / bronze parts went into the Berryman’s carburetor cleaning solution. After 24 hours they were rinsed with hot water and the brass parts were polished.
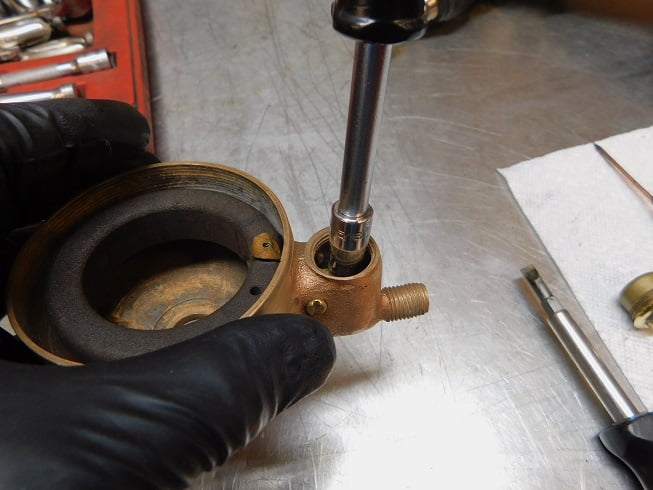
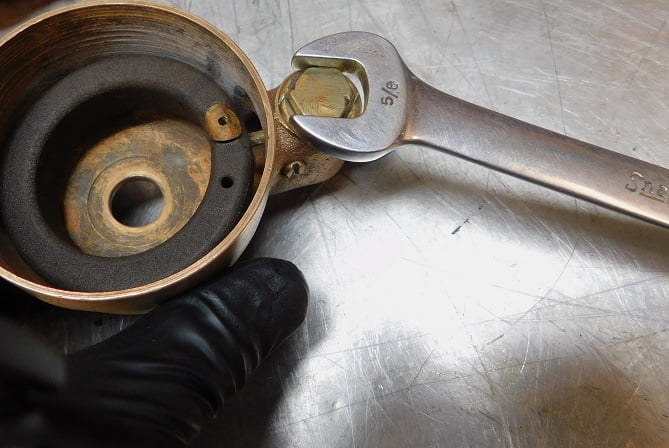
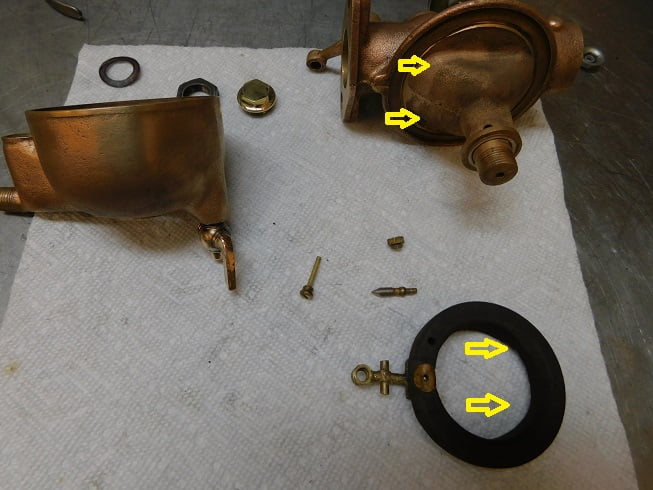
We cleaned and polished the parts and lay them out on clean paper towels prior to reassembly.The new “composite” float arrived. It comes with two holes drilled in it. The float arm on our Kingston uses only one hole. That hole had to be drilled larger using a #23 AWG drill bit to accept the carburetor float valve arm. We traced around the arm with a pencil, then “eyeballed” the old float, and finally used a 1/2″ sanding roll to carefully remove material to mimic the shape of the original float.You could also do this job with an Xacto knife. The float material is very easy to work with, and it is also very easy to take too much material which will ruin the new float.With the hinge / float valve arm is secured with its #4-40 brass screw.The needle valve and its retainer nut are removed for installing or removing the float.After the hinge screw is tightened you can install the needle, and finally the nut (arrow). A 5/16″ nut driver is used to tighten the nut. It is a very frail part, be sure not to over tighten it.The cap can be installed once the assembly is assembled and operating properly.These brass caps are soft and easily damaged. You can see where some clumsy mechanic has buggered up the cap in the past.The choke spring is positioned and the choke slides into place. If your choke spring is missing or broken you have to make a new one. There are no replacement springs. If yours is bad or missing you will have to make one from .032″ spring wire.When we took the carburetor apart, before removing the choke and throttle blades we faintly scribed lines on the butterfly plate at top and bottom of the shafts. That makes it easy to see if you are in the right position when reassembling.With the staple in place the choke is released and the legs bent over to retain the choke blade.The tickler has to be installed before the flapper hinge screw, otherwise the wrench can’t fit.The flapper and its hinge pin screw go in. The hinge pin is snugged with a screwdriver and then checked for freedom of movement.The weight goes in and gets snugged with a wrench or socket.Not shown – the throttle went together similar to the choke. Then the mixture valve is assembled. The valve is gently screwed in until it seats, then backed off one turn for initial starting. The jam nut is tightened just enough to provide some tension on the valve movement so it doesn’t vibrate out of adjustment while driving. The bowl gasket in the kit was utterly wrong, so we had to make a gasket from .064″ gasket material. Here we are test fitting it, we trimmed a little more around the bowl vent hole (arrow).We installed the bottom bowl gasket and nut. Then we turned the carburetor upside down to simulate the bowl being full of fuel. Blowing in the fuel inlet, it would not shut off. Hmmmmmmm…..The bowl had to come off again. Looking at the original float and the new float, we noticed that the old float was scalloped to clear the carburetor casting (upper arrows). We trimmed the float a bit more to provide clearance in the area indicated (lower arrows).While we were rebuilding the 1915 Kingston L, we also rebuilt this 1916 version. It is nearly identical except for the lack of a tickler and the mixture knob being made of steel.The 1916 Kingston L ready for an overnight stay in the Berryman’s can.
We got very lucky on the 1916 carburetor, it’s main problem seemed to be excessive dirt, and the fact that some small rodent built a furry home in the inlet area using what appeared to be cotton seat stuffing. The cork float looks like new.
1916 (left) and 1915 Kingston Model L carburetors ready for testing.The 1915 carburetor installed.
We ran the two newly rebuilt carburetors to make sure that there were no leaks. Both worked very well. The two carburetors both seem to run best with the mixture set at 3/4 turn from closed once the car warms up. Both run great and crank start easily.