
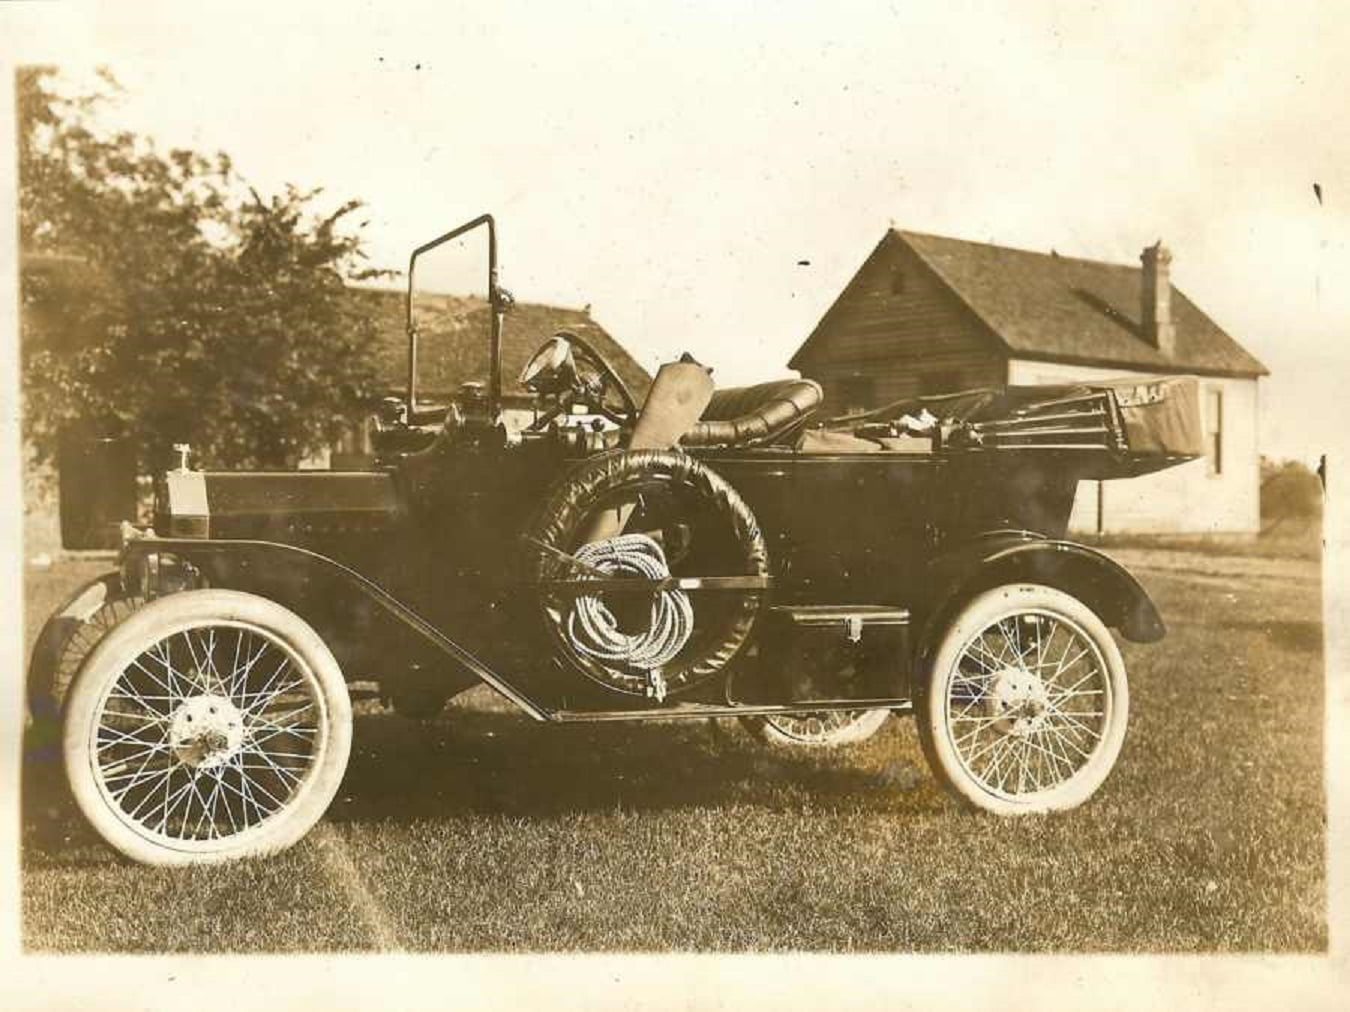
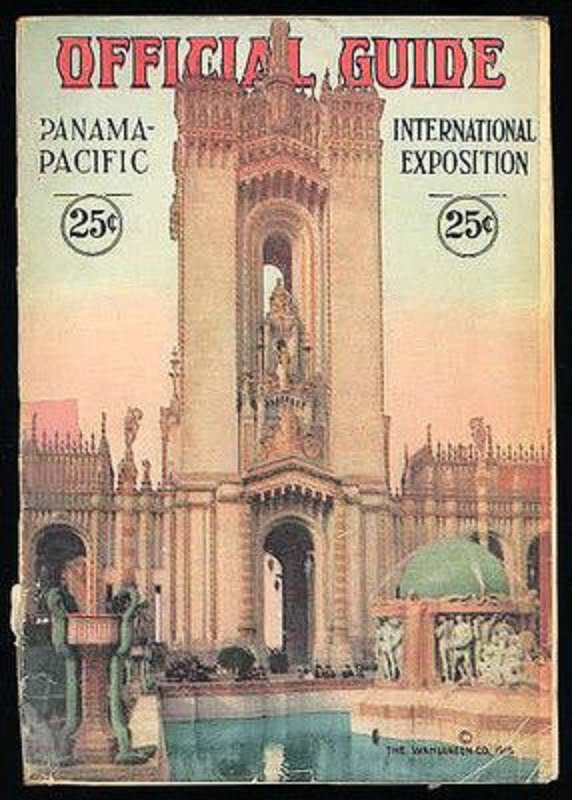
We all try to be prepared when setting out on a tour in our Model T’s. The photo above shows Edsel Ford’s 1915 touring just prior to departure from Detroit on his epic drive to San Francisco to visit the 1915 Pan American Exposition. Edsel and the crew at Ford Motor Company tried to think of everything he might need on the trip. We can see many period accessories on his car, including wire wheels, rope, and even a rifle scabbard secured between the spare tire rack and the driver. We know that Edsel and his car suffered several flat tires as well as ruined wheels on his month long drive. It really puts things in perspective when you have a flat tire to fix on your Model T.
We recently went on a rainy, muddy and cool dirt road tour with the T Totaller’s club in Minnesota. After the tour the T was loaded into the enclosed trailer, having never missed a beat the entire day. The next morning we loaded some suitcases in the trailer and found that the right rear tire was flat. We waited until the car was home to fix the flat. Had it happened on the tour we could have installed the spare and continued.
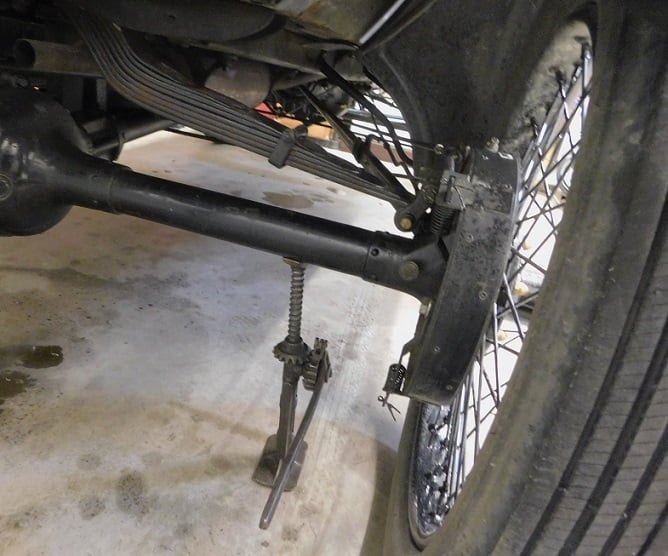
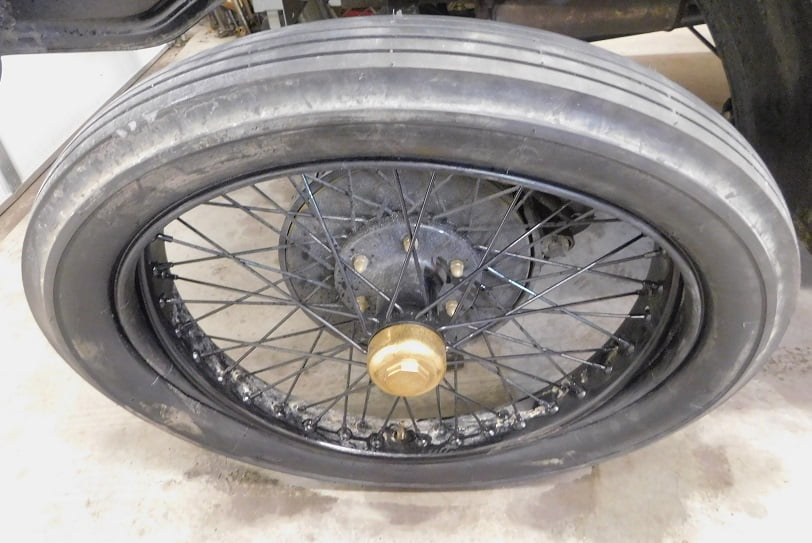
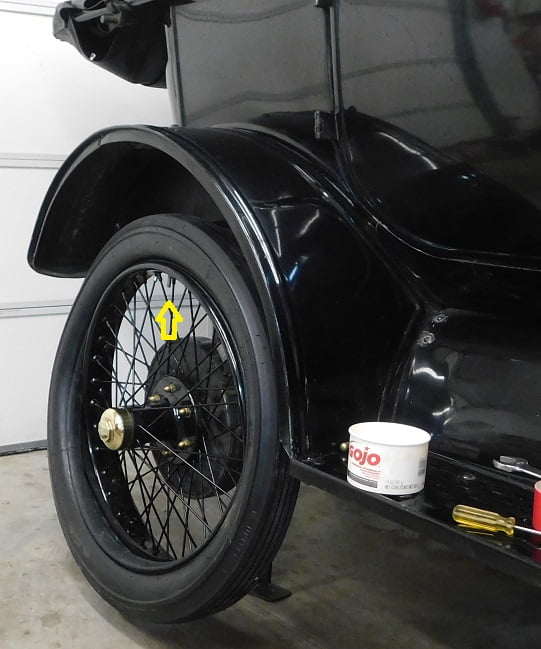
We aired up the offending tire and it held long enough to drive in the garage. The T jack was used to elevate the car just enough so the inflated tire could be rotated with the brake lever in neutral.
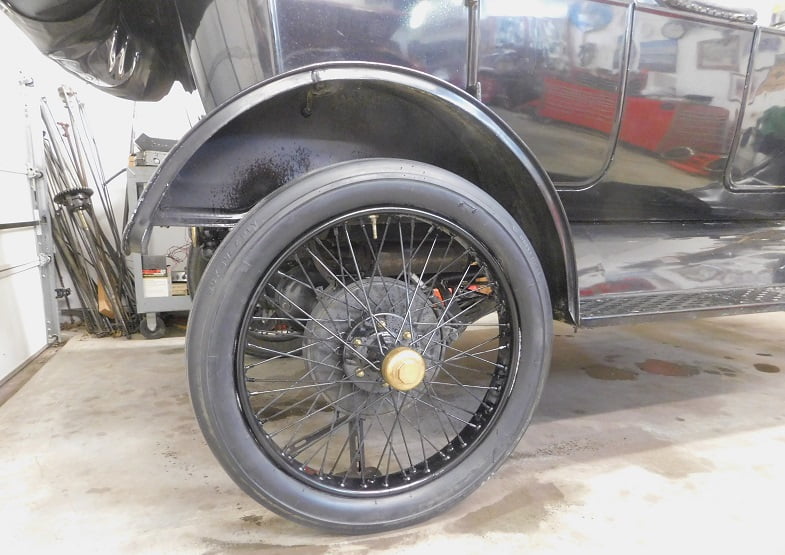
We first wiped the tire and wheel with some 409 spray and a rag. That makes it less dirty to work on. we rotated the wheel to look for the possible cause of tire trouble.
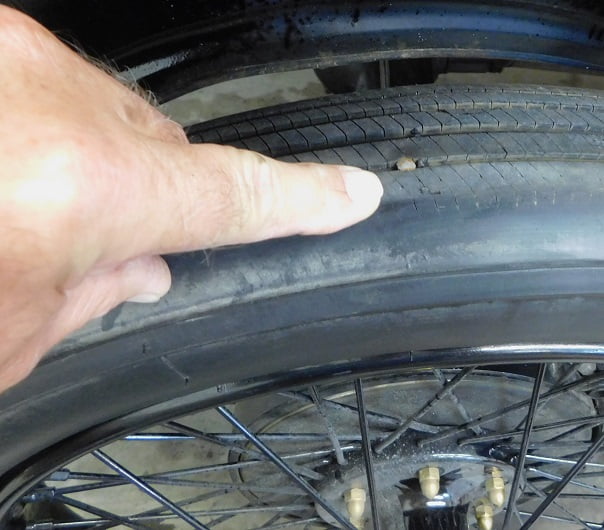
A nail stuck through the tire seems to be the likely culprit!
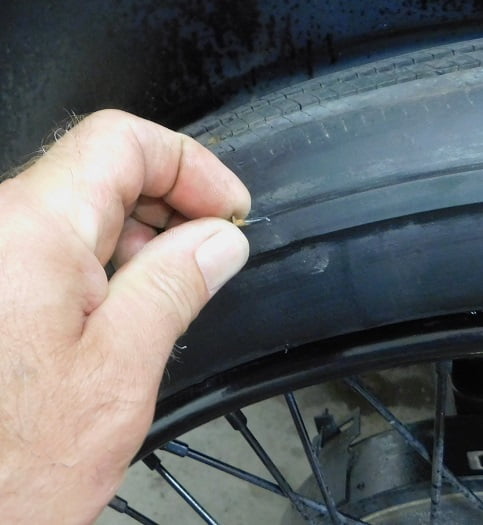
With the aid of a small screwdriver we were able to pull the nail out.

We removed the nut that secures the valve stem to the wheel, then unscrewed the center core to remove the Schrader, allowing the air to escape.
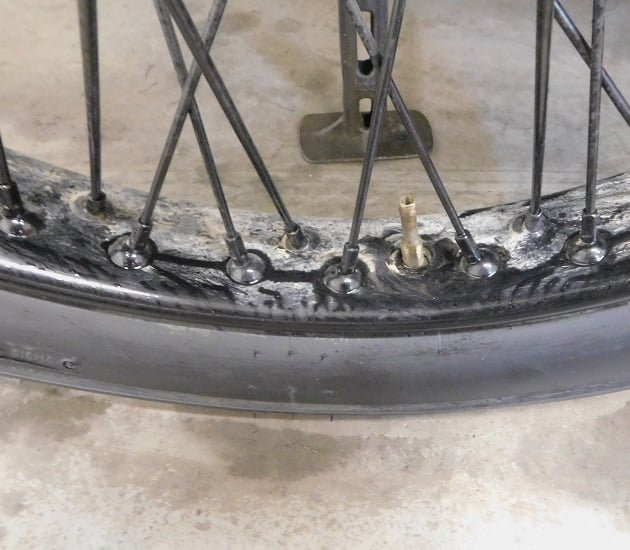
We rotate the wheel to place the valve stem at the bottom, since any removal of the tire from the wheel must start opposite the valve stem.
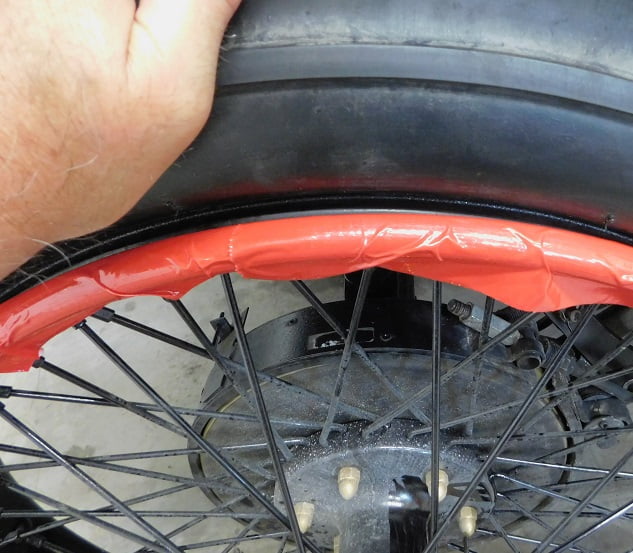
At the top of the wheel we push the deflated tire until it separates from the rim. Then we put duct tape on the rim, perhaps 18″ of tape, to protect the paint from being scuffed by tire tools.
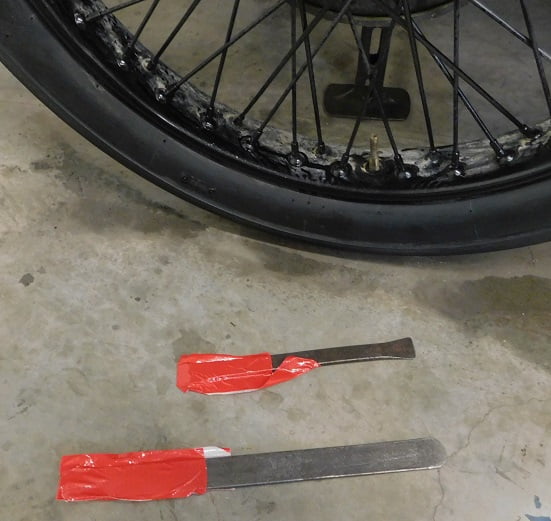
The tire tools are similarly wrapped in duct tape, again to protect the rim from damage. The smaller tire tool is from the tool kit, the other one is made from an old lawn mower blade.
The tire tools are used to lift the entire tire and tube towards the outside of the car. with the tire separated from the rim at the top we simply push downward to take it all off the wheel, rotating the wheel to place the valve stem at the top to remove the tire and tube from the car.

A razor blade is used to cut the rubber stem off a brand new 30 X 3 1/2″ tube. Then a 90 degree high speed air motor with a 100 grit sanding disc is used to make the surface of the tube flat and smooth where the stem was cut off.
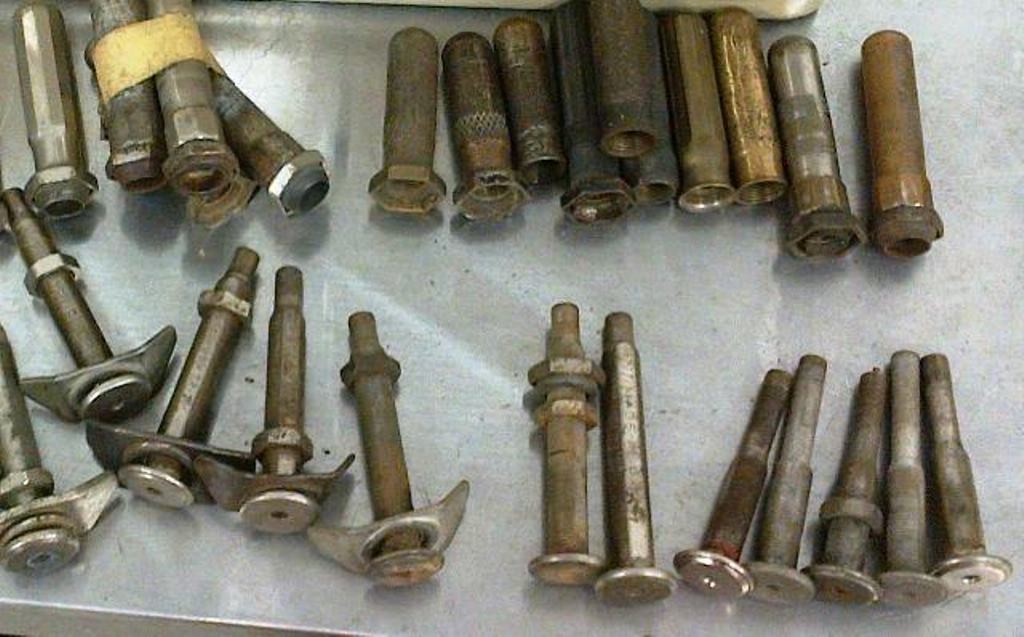
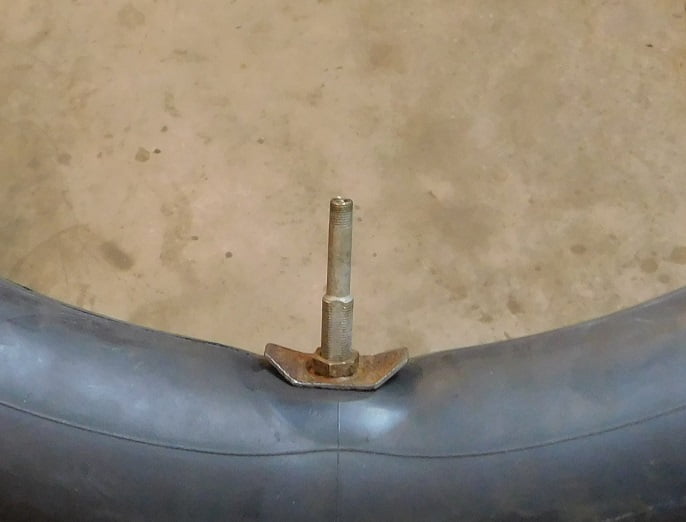
We searched through our box of extra valve stems and selected enough parts to make one suitable for a McLaren wire wheel. The stem for a McLaren wire wheel needs to be about 1″ shorter than a stem used on a wood fellow wheel, to be able to clear the spokes and to air it up. A normal length valve stem hits the spokes.
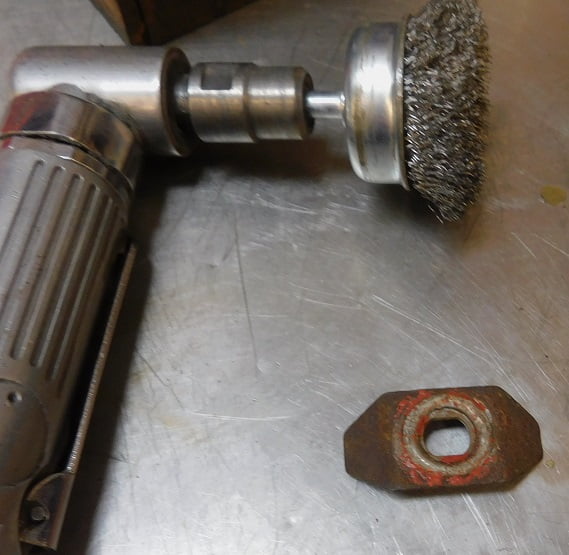
The bridge washer is also the sealing washer on this particular stem. We clean off surface rust and some remnants of an old red rubber tube using the 90 degree high speed motor, this time equipped with a cup brush wire wheel.
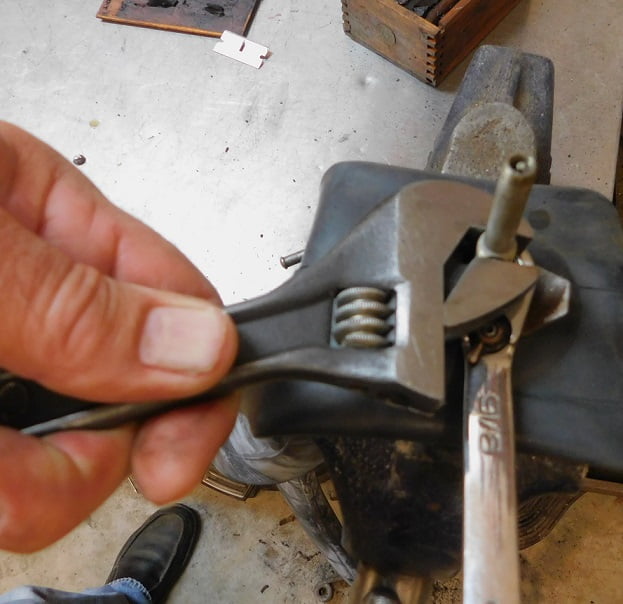
The stem is inserted in the tube. the bridge washer is installed along with the locking nut. The stem is held as the nut is tightened.
We aired up the tire and checked for leaks in a bucket of water. It was good, no leaks.
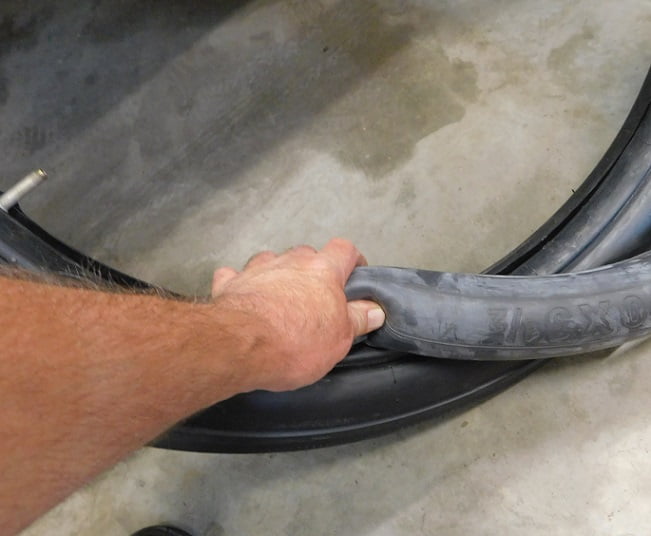
We let as much air as possible out of the tube until it just barely held its shape. Then we stuffed it into the tire.
With the valve stem hole at the top we stuff the tire and tube into the wheel, then rotate the valve stem to the bottom, lower the jsck until the tire just touches, and push the tire over the rest of the wheel. Go – Jo hand cleaner is used to lube the rim. We had to use one duct tape wrapped tire tool at the very end to “help” the tire pop into place.

I had the camera on a tripod and selected video to show how easy this is. Unfortunately the camera battery went dead at the end, erasing the video.

We install the rim nut, air the tire up to 65 PSI, and call it a day.