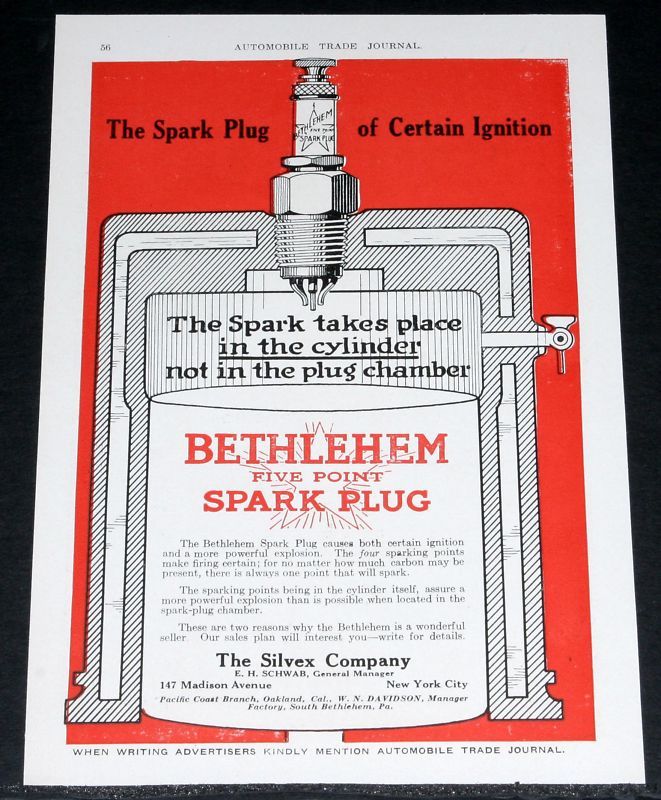
The Bethlehem Spark plug was originally manufactured by Silvex corporation based in South Bethlehem, Pennsylvania. About 1918 they received a contract from Ford Motor Company to supply a quantity of spark plugs for Model T Ford and Fordson production, supplanting the contract given to Champion Spark Plug which was the prime supplier. At the time the chairman of Silvex / Bethlehem was Edward H Schwab. You may have heard of his brother, Charles Schwab who was president of Bethlehem Steel Company. The advertisement above is for one of the company’s “gimmick plugs” which had multiple ground electrodes instead of the normal single ground electrode.
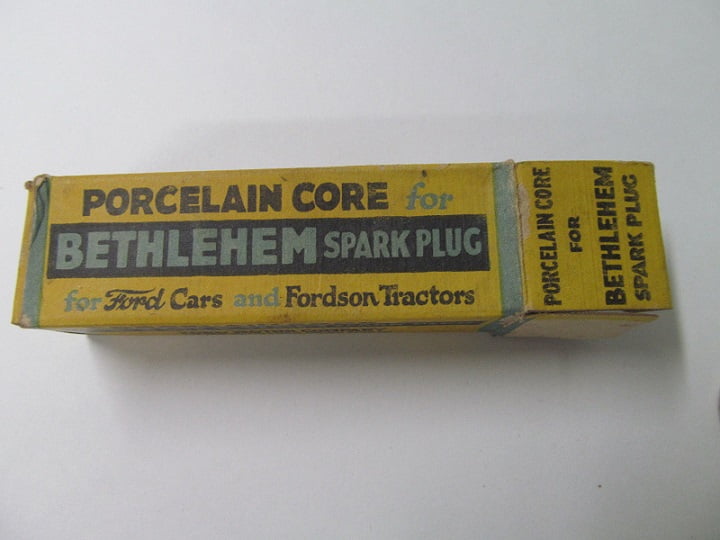
Since the Bethlehem spark plug was used in about 25% of Model T and Fordson production it is not uncommon to see NOS and used examples for sale online and at swap meets.
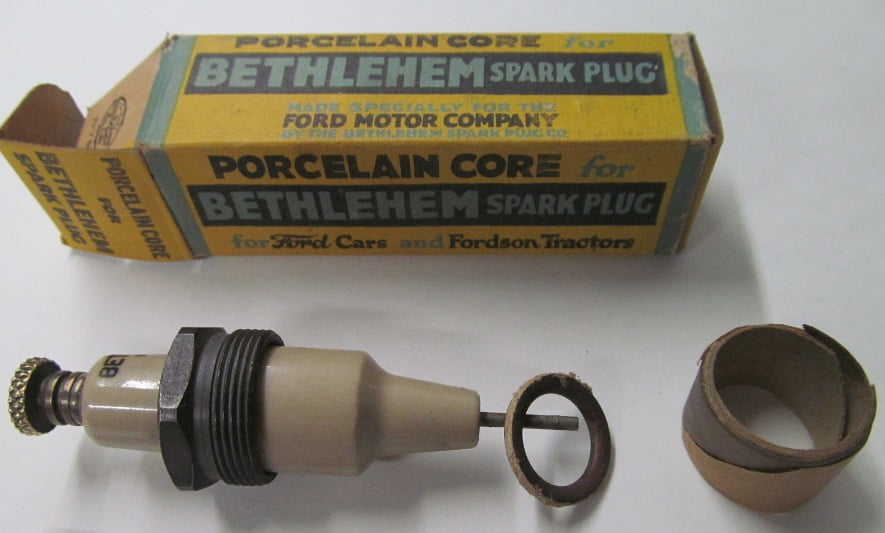
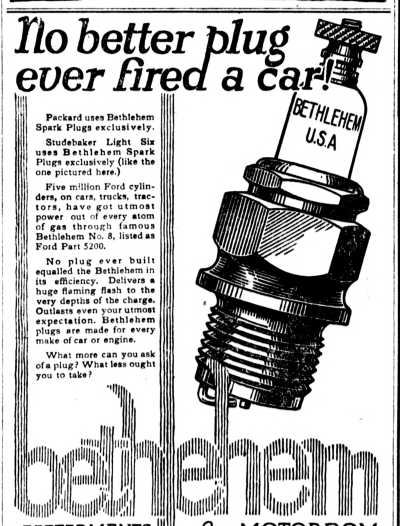
By 1925 Bethlehem advertised that its spark plugs had been used in Five Million Ford cylinders, on Ford Cars, trucks and tractors. Since each car or truck or tractor had four cylinders we believe this means more than one million vehicles total, or about 25% of Ford and Fordson production for the period 1918 – 1925.
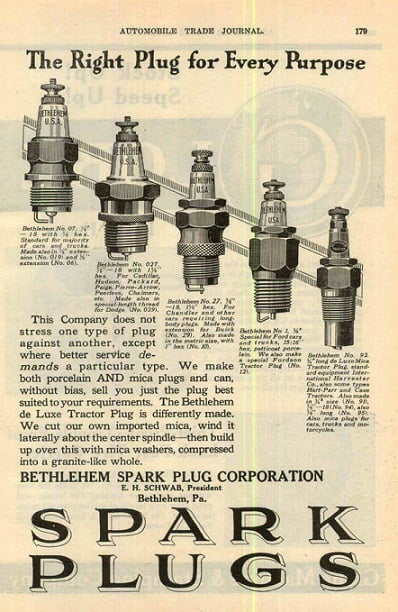
Bethlehem Spark plug corporation was merged with the Edison Splitdorf corporation in the mid 1920’s.
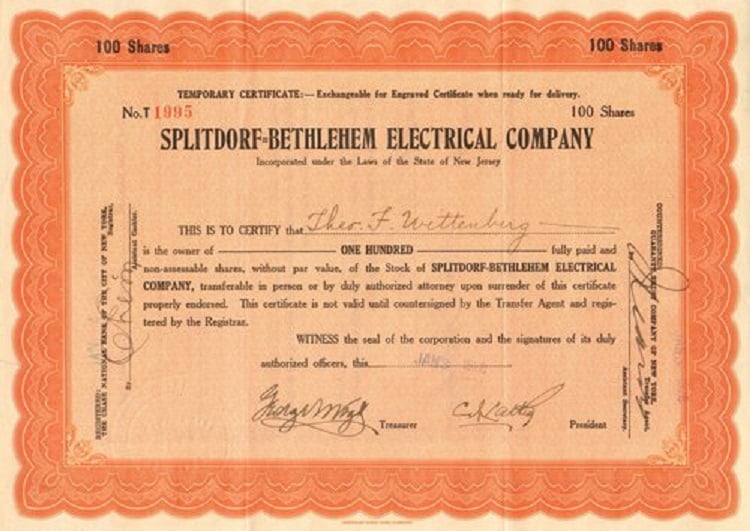
The new Splitdorf – Bethlehem Electrical Company was merged with Bethlehem Steel in the late 1920’s.

Today we are going to clean a set of Bethlehem spark plugs to make them reliable and trouble free for the next time we need a set of spark plugs in one of the T’s. A likely set was picked out of the spark plug collection. Selection was based on no noticeable leakage, no signs of being dropped, and plenty of electrode life left. These are 1/2″ NPT Long plugs from 1924 or later. The Ford factory part number for these would be T1386B. The same cleaning technique applies to any of the Model T spark plugs whether made by Bethlehem, Champion, Mosler, or any of the other brands supplied by Ford during or after production.
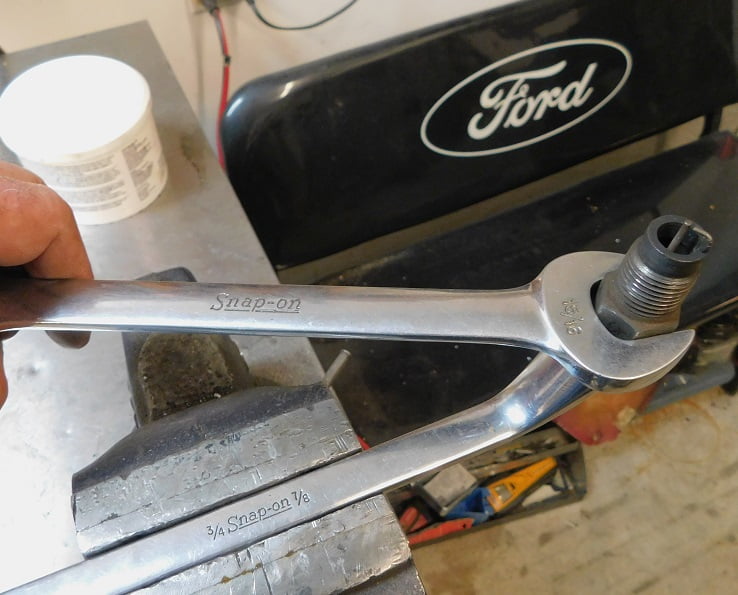
We start by carefully disassembling the plugs. A 7/8″ box end wrench is clamped in the vice to hold the small clamp nut on the plug. The larger 15/16″ wrench is used to turn the base of the plug. We spin each plug 1 full turn then finish taking them apart by hand.
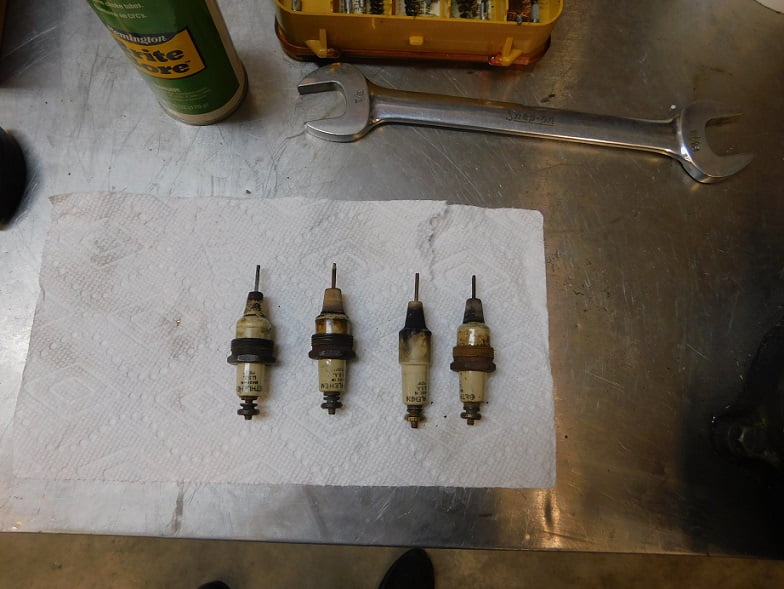
Only one of the clamp nuts comes off readily. We don’t try to force the others off as any manhandling can lead to cracked insulators. We don’t need any of those!
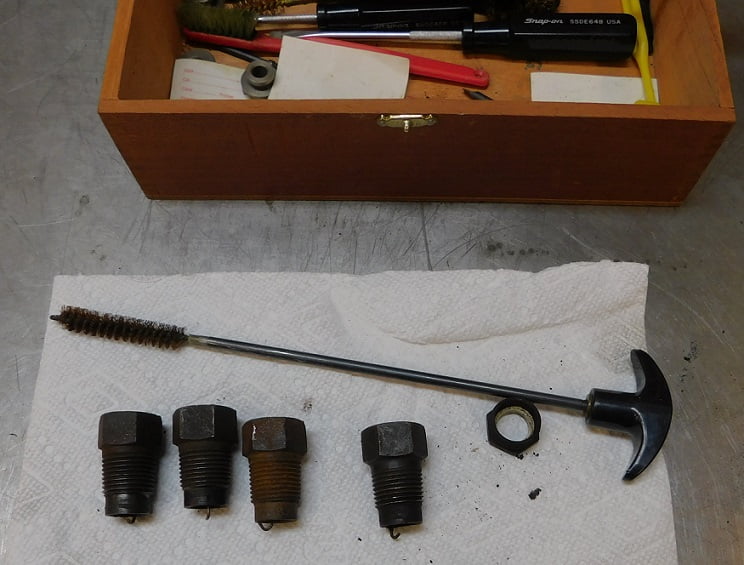
We are using a Birchwood Casey 45 caliber rifle bore brush and a pistol cleaning handle on the plug bases.
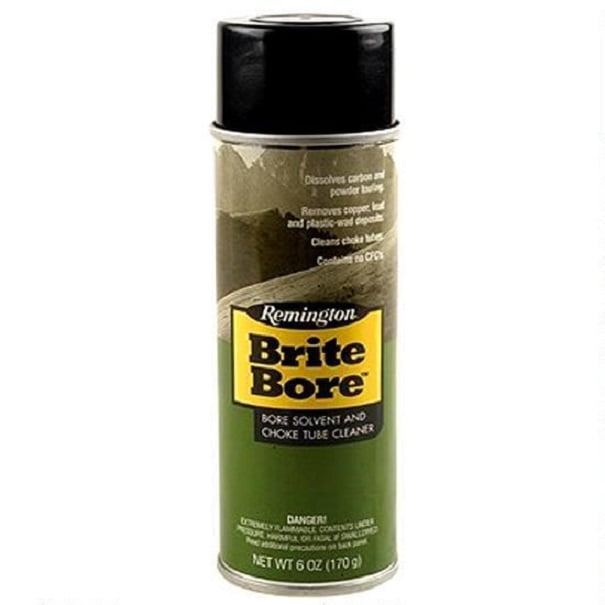
We used Hoppes’s #9 solvent to clean spark plugs for many years. It worked very well but the smell is overpowering. In the past couple years a friend introduced us to Remington Brite Bore. It works very well at loosening carbon deposits and has a very mild odor, making it ideal for indoor use in the garage. This product and the bore brushes and brass toothbrush cleaning supplies can be purchased online or from your local firearms store, Bass Pro Shops, or Cabela’s.
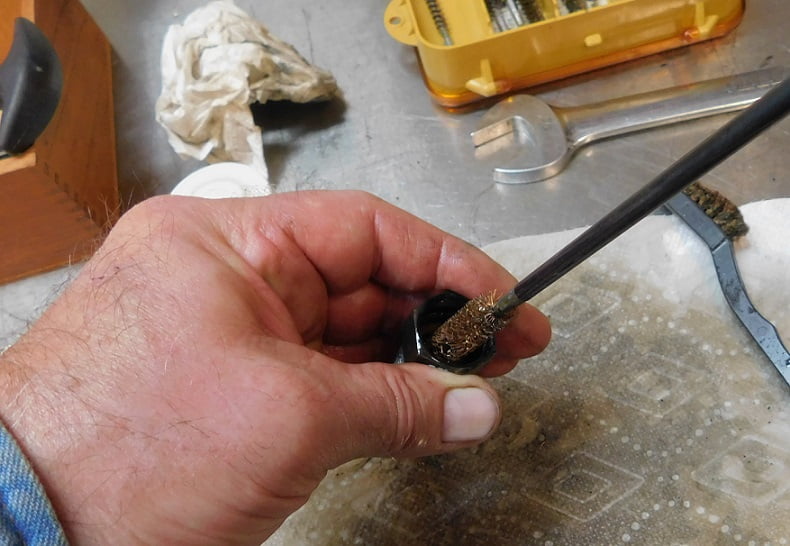
We use the bore brush to scrub the inside of the spark plug bases with a paper towel underneath to catch all the dripping solvent and debris. A brass bristle “toothbrush” is used to clean up the threads and ground electrodes.
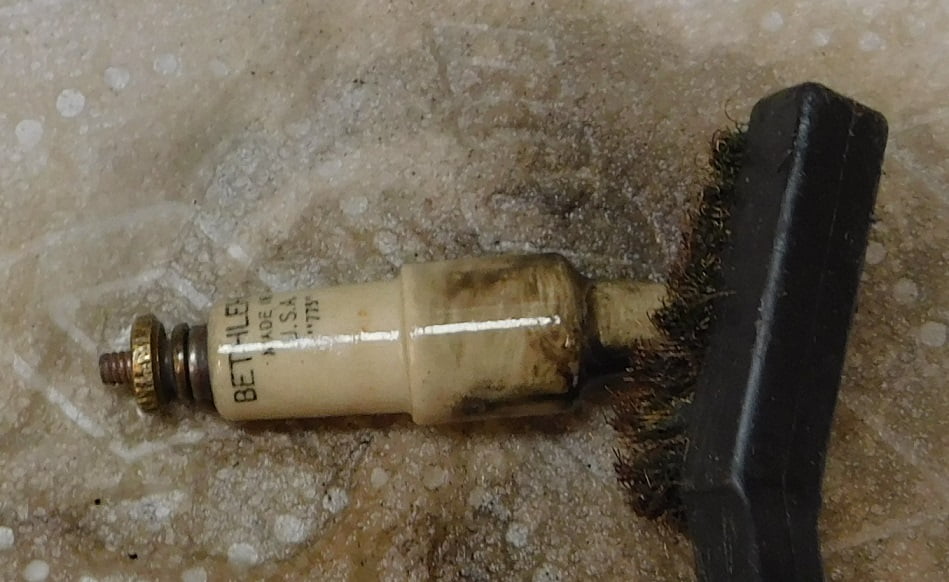
The porcelains and center electrodes are scrubbed with the brass toothbrush and Remington solvent. It takes several applications of solvent in sparing amounts while scrubbing. Take care not to use anything like a steel brush or steel wool on the porcelains. If the porcelain becomes scratched it can foul easily, or the scratch might become a crack which would end the plug’s useful life.

After the porcelains are clean we can inspect the condition. Notice the two on the right have a permanently darkened area that won’t come clean. This is a sign of overheated porcelain caused by it being cracked away from the base. You can see the cracks indicated by the yellow arrows.
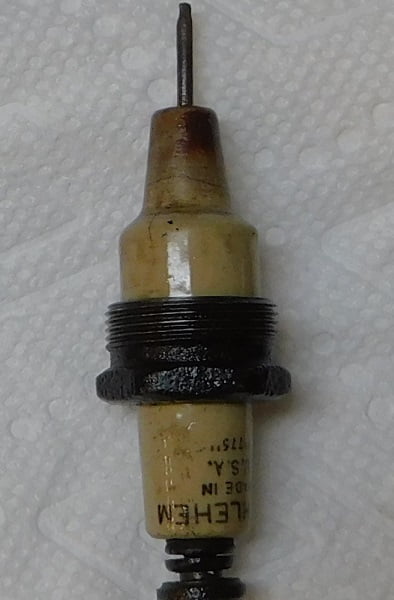
A close up view shows the tiny hairline crack. Plugs that are cracked like this foul rapidly. This plug and the other bad one will be used for parts. This is the reason Bethlehem and other plug manufacturers sold rebuild kits.

We reassemble the plugs finger tight. Then, using the box end 7/8″ wrench clamped in the vice as before, we tighten the base 1/2 additional turn.
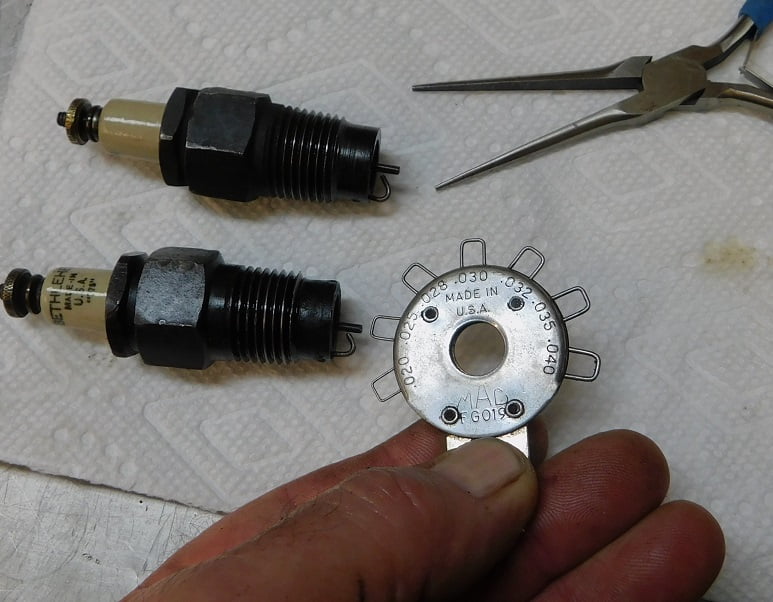
Plugs are carefully gapped to .025″. We use a small pair of needle nose pliers to bend the side electrode, being careful not to disturb the center electrodes.
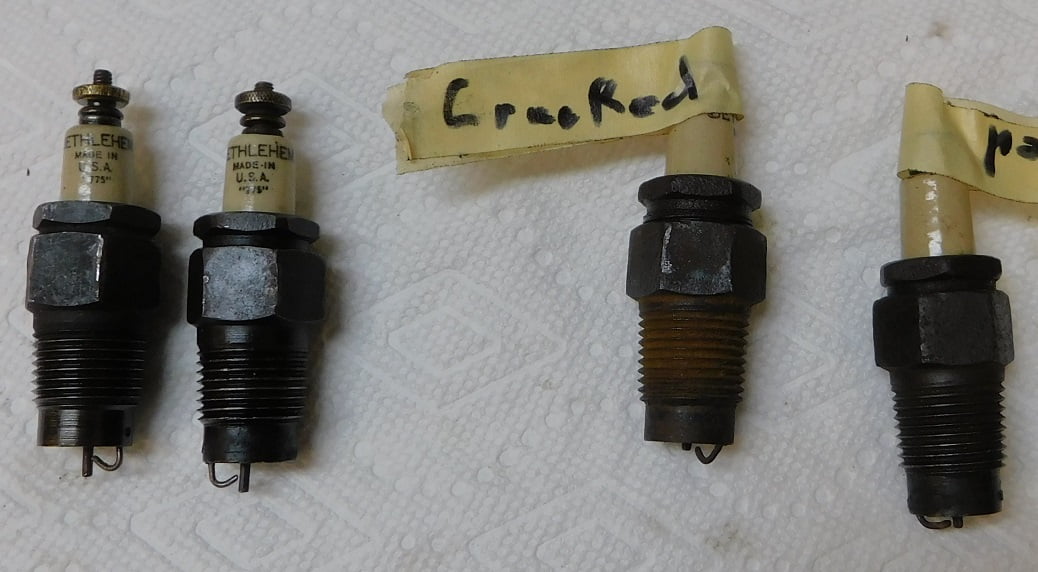
The good ones are tucked away in a storage box for later use. The cracked ones join a growing collection of parts plugs.
