Repairing Block and Cylinder Head Cracks on the Model T Ford
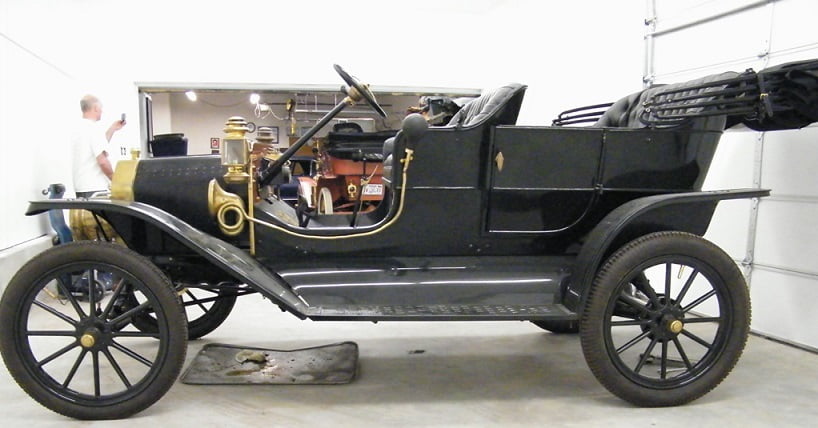
A friend has had this lovely 1910 touring since about 1960. If you look closely at the lower part of the engine block just forward of the intake manifold you can see where water constantly drips between #2 exhaust valve lifter and #3 exhaust valve lifter, staining the block.
Our friend owns this beautiful 1910 touring. Its open valve engine has a water leak from the center of the block where the water jacket has rusted through and cracked. If it was a later block with enclosed valves this would cause water in the oil. Since this is an early block, it mostly causes a big mess.
We decided this was a perfect defect to repair with fairly easy methods. Read below to see what we did to repair this common problem.
Our subject 1910 touring before we worked on it.
This type of crack / leak is caused by using plain water, or water mixed with soluble oil, instead of anti freeze. Anti freeze if a proper mixture of ethylene glycol and water, will prevent corrosion. This engine was run for many years using just water, and drained in the winter time, so that it rusted severely. There are people who can effectively weld cast iron in order to repair this type of damage. The problem is, if you do that, then the block will be distorted and all the Babbitt will be ruined from the heat. We have a less intrusive way to do a repair that will last for years.
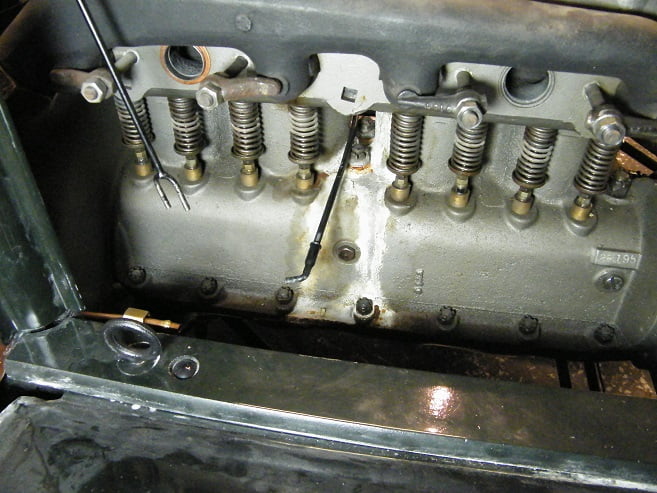
We removed theradiator, hoses, intake manifold and carburetor so that work could be done to the damaged area. Here you can see the corrosion and residue from many attempts at repairing the leakage using Bars Leak and other things that were poured into the radiator. None worked.The exhaust manifold was retained by four 1/2 exhaust manifold clamps so that we only had to replace two of the rings and glands.
We decided to repair the block as follows:
Clean the area with the damage as best we could inside and out, removing paint and corrosion from the area around the repair.
Block off the engine water inlet and outlet so that vacuum could be applied to the inside of the engine.
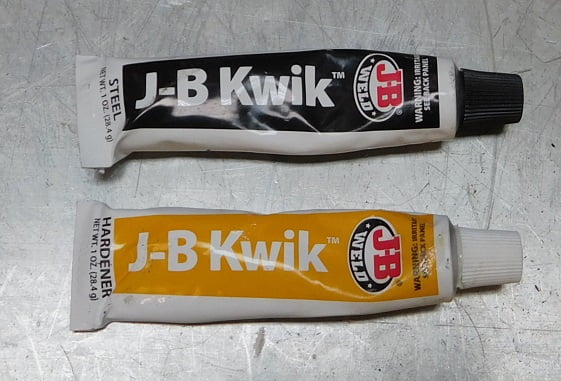
Apply a two part epoxy to the outside of the damaged area so that the vacuum would draw the sealant into the damage. We used JB Weld. Other product brands are Dexter Hy – Sol and 3M Epoxy Patch.
Apply a sealing tape over the epoxy so that the vacuum could only make the repair flush with the outside of the block. If this step was skipped the vacuum would suck the epoxy in until the hole was open again.
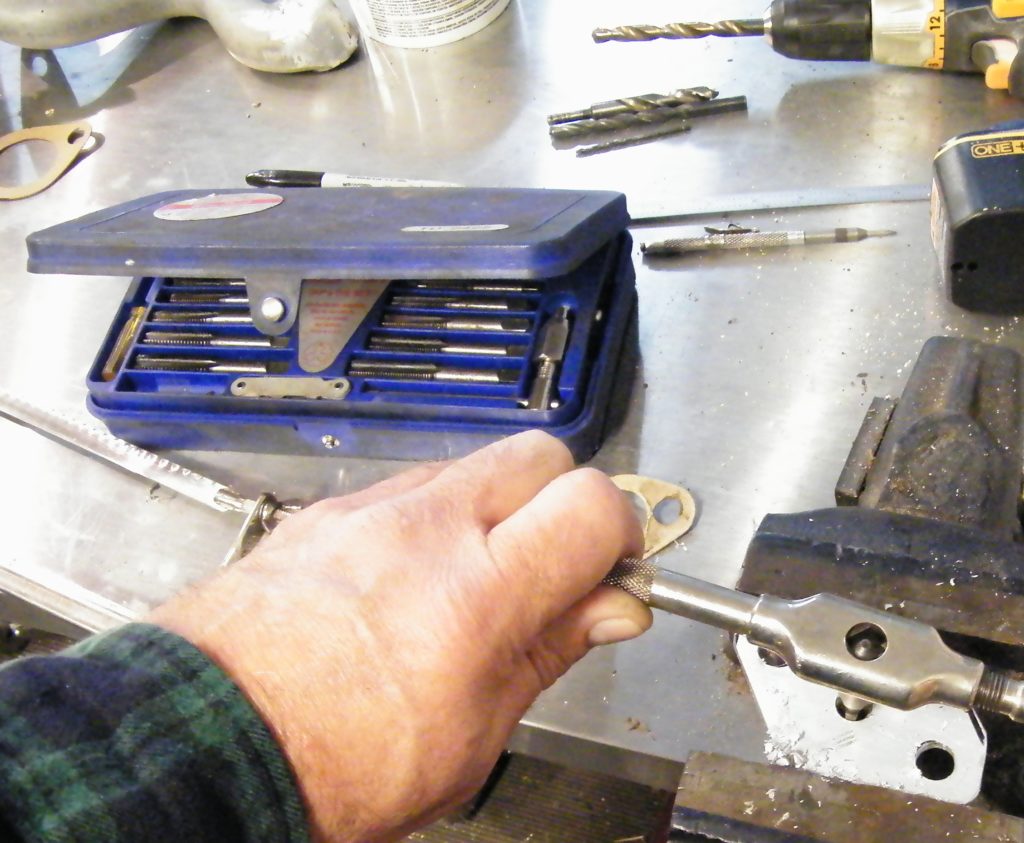
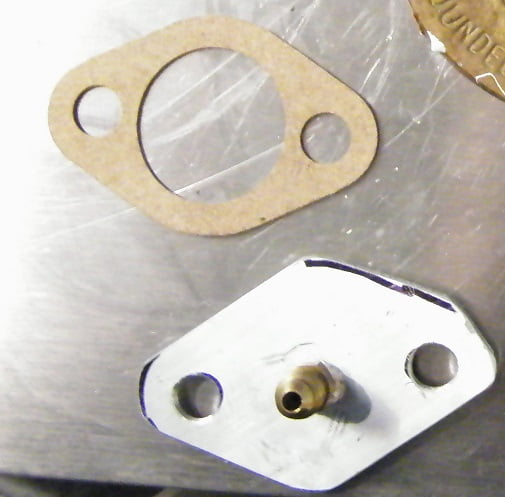
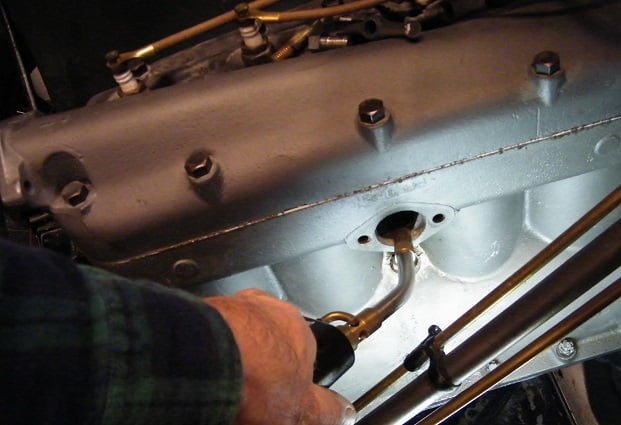
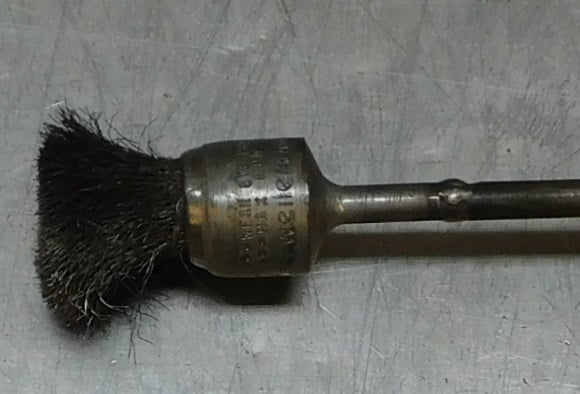
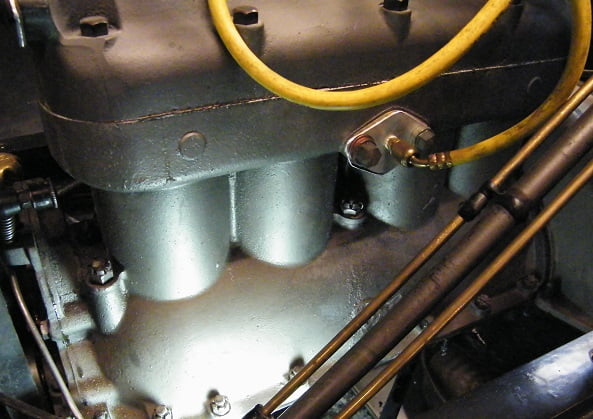
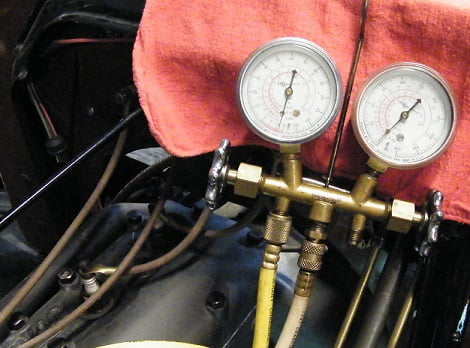
We used inlet and outlet gaskets to determine the size and hole spacing that we needed to make the block off plates. a piece of 2024-T3 aluminum sheet was used. The aluminum stock is .125″ thick. We drilled 7/16″ holes so that the plates could be bolted to the block and head.We drilled and tapped the inlet cover so that a 1/8″ NPT tap could be used.A brass fitting was installed so we could pull a vacuum on the block.We drained the coolant, then removed the inlet and outlet. A propane torch was used to heat the inside of the engine so that it would be dry.With the block dry inside we welded a 1″ wire brush to a scrap piece of 4130 1/4″ round stock. That way we could scrub the rust inside the water passage so that the epoxy would adhere better. We vacuumed out the dust and then used a rag soaked in lacquer thinner to again clean the area of the repair inside and outside.We mixed up about a tablespoon of JB Weld. Half of it was spread inside the block. The other half was applied on the outside, under the repair, then covered with aluminum foil tape.We installed the block off plates and connected the suction hose to the water inlet fitting.We used a rag to protect the firewall and hung the gages there.Our vacuum pump was connected and then compressed air supplied by our compressor was hooked to the inlet. We ran the vacuum pump for 4 hours at 30 inches of mercury.We did take photos of the repair prior to assembly but for whatever reason they show up only as a completely blurred image. In any case the engine was repainted in the damaged area. Then the intake and carburetor, along with the radiator and hoses were assembled. A mix of 1/3 ethylene glycol (Prestone green anti freeze) and 2/3 water was poured in the radiator. There are no leaks and the car drives like new.
Update: As of April 2019 the repair has been in place five years. Still no leakage after all this time.